This Crysis walkthrough is divided into 11 total pages.
You can jump to nearby pages of the game using the links above.
Paradise Lost

As Nomad floats out of the alien structure, the VTOL picks up his signal. Nomad is relieved to see daylight after all the time spent inside the alien structure. The game inspires the same feeling in the player in this cutscene. But just as things start to look good, several Alien Scouts fly out of the caves along with a massive gush of ice-cold air.
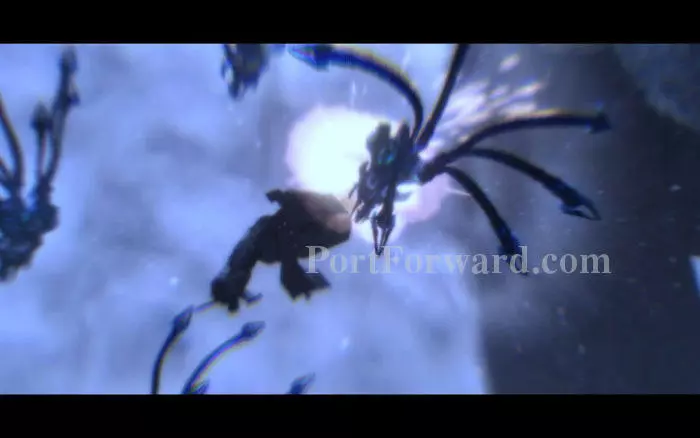
The VTOL takes a hit and is forced to leave. So you are stranded, once again.
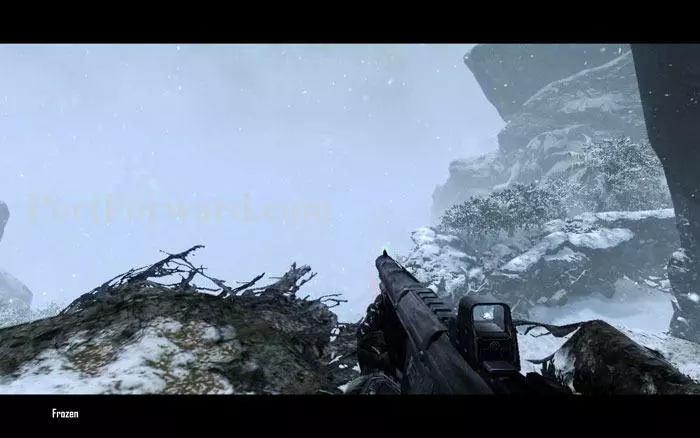
When you regain balance, the whole place has turned tundra. What is it with these Aliens and sub-zero temperature? Anyway, the cryogenic condition seems to match the title of the level.
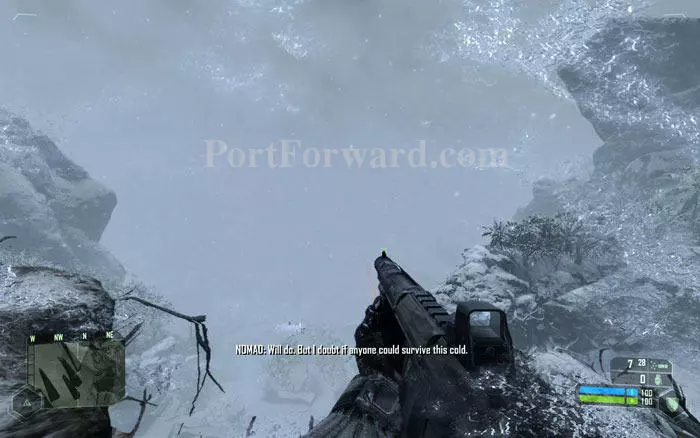
Shortly, Major Strickland will radio in. Apparently the whole mountain is encased in some kind of energy sphere, and you are in the middle of it. The Major instructs you to look for a squad of missing marines while you are here.
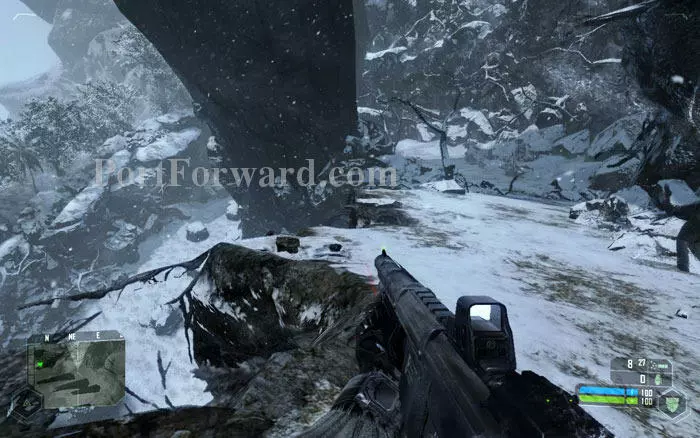
Proceed down the slopes. There is, of course, gravity now so don't think about dropping down the cliffs.
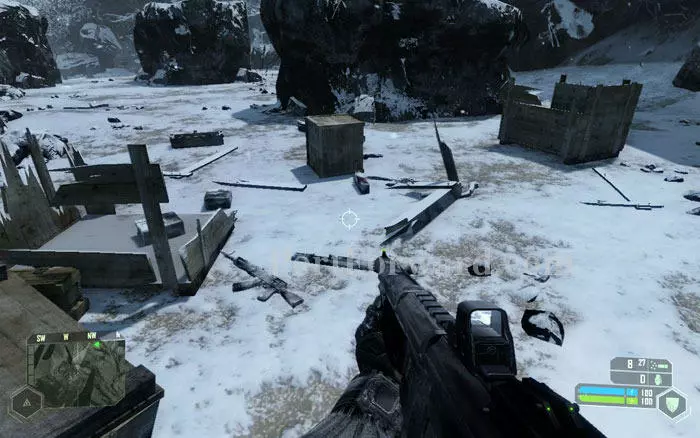
At the bottom of the first slope you'll find some weapons and ammo. Pack up and continue.
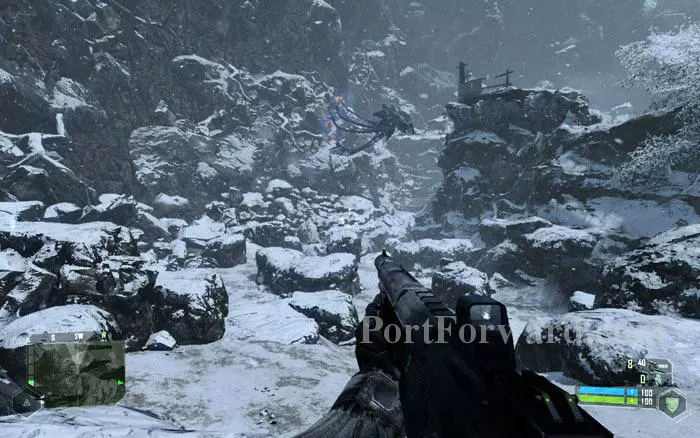
Proceed down the mountain till you see an Alien Scout carrying several smaller Aliens. The Alien Scout simply drops the smaller ones, called Alien Troopers, in front of you and flies away ignoring you so no need to worry about it.
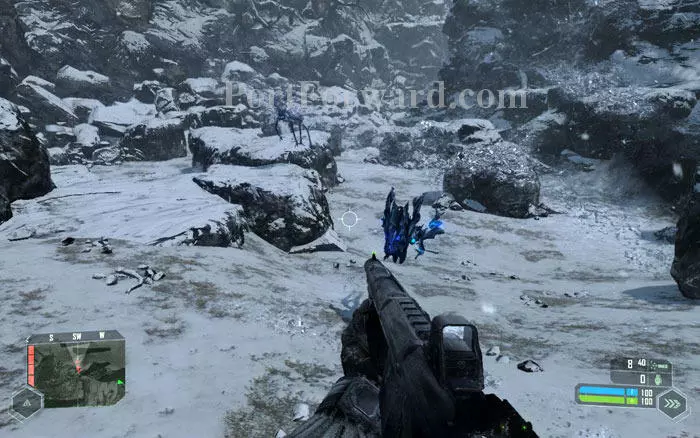
However, the Alien Troopers will attack you on sight. Each one will take about 3 shotgun rounds or equivalent rifle fire to go down.
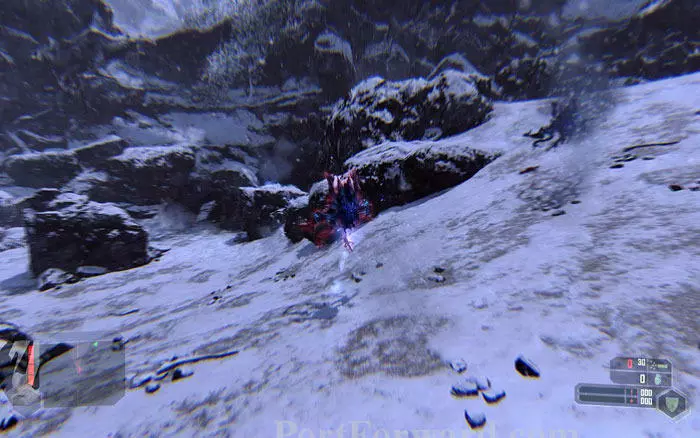
These guys have a distinctive 'spin and charge' attack as well as the ability to shoot ice crystals at you. Engaging multiple Alien troopers at the same time is not a good idea.
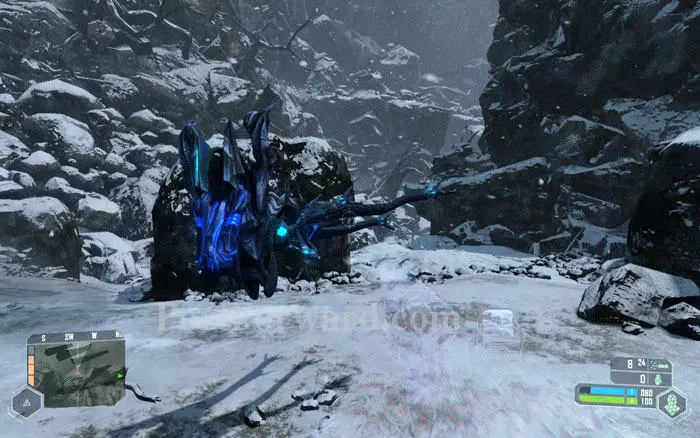
Try to isolate them and take them out one-by-one. They can't locate you when you are in 'cloak mode'. Hide behind rocks and wait for one of them to come close, and then attack.
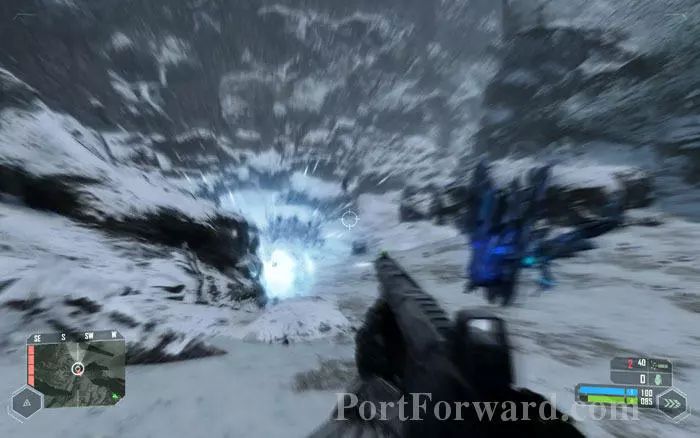
Note that once killed, their bodies will explode in a short while so you have to move away from a downed Alien Trooper.
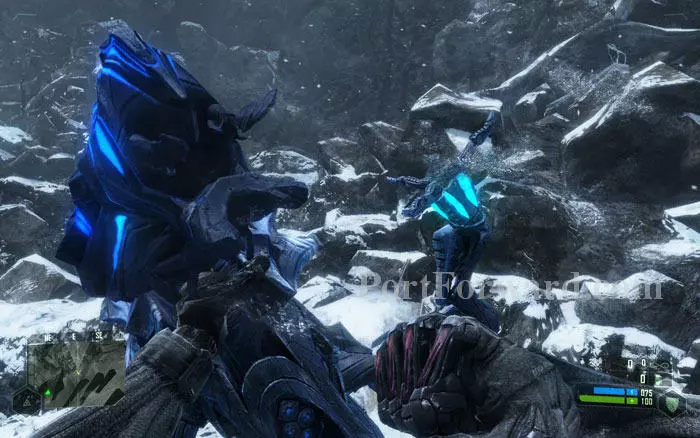
Also note that you can grab them by the neck just like you did with KPA soldiers. Upon releasing, they will be dead. This is, in fact, quite effective against these guys. Move close to one and grab and release it to quickly finish it off.
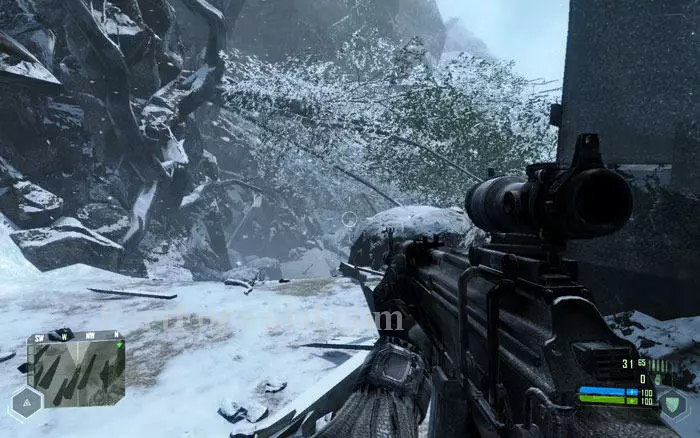
Proceed downhill. The map is pretty much useless but navigation here is quite simple -- keep moving down slopes.
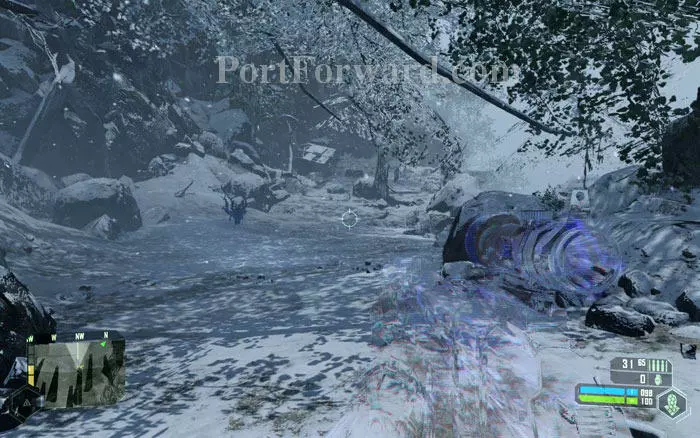
Here you'll encounter two more Alien Troopers. Engage them or evade them using 'cloak mode'. If you stand still while cloaked, they will just pass by you.
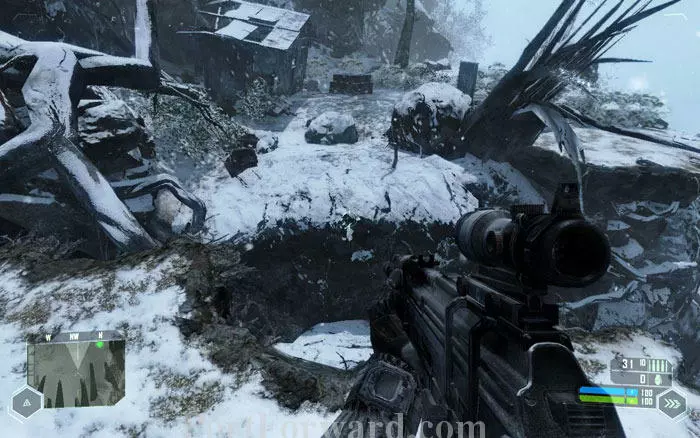
Straight ahead you'll see a chasm. There is a lot of ammo near the shack on the other side. Use 'strength mode' or 'speed mode' to jump across.
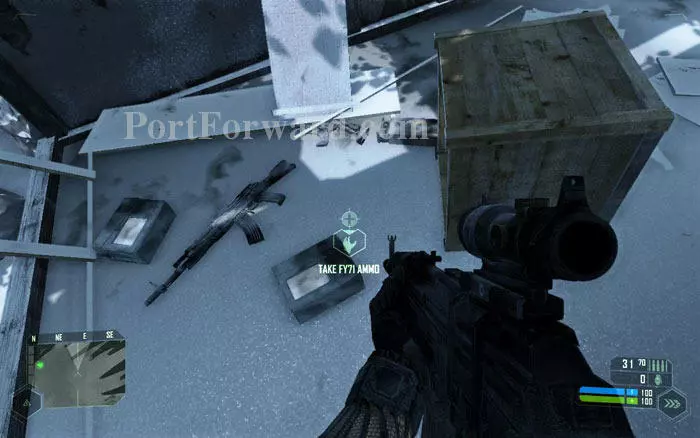
Collect the ammo and go back in to the chasm.
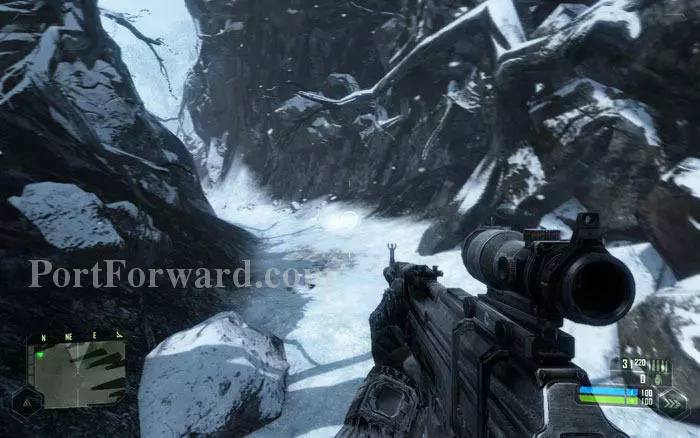
Drop into the chasm and follow the narrow path.
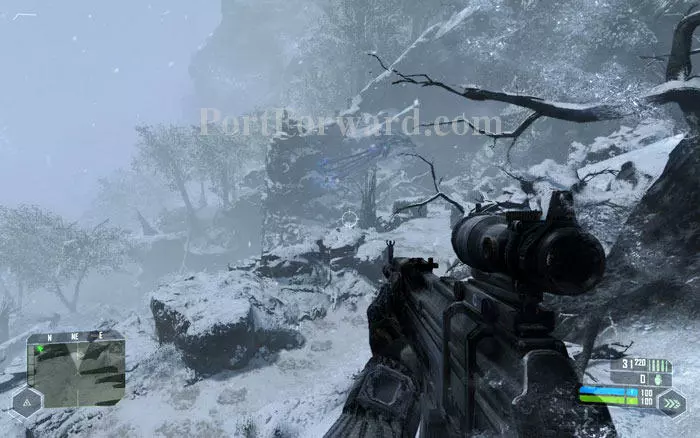
This path leads you to a cliff. When you hear the Alien roar, look to the right. You can see another Alien Scout flying by and dropping a bunch of smaller Aliens. You may either move there and engage those guys or bypass them by taking the path to the left. Both paths will take you to the same area.
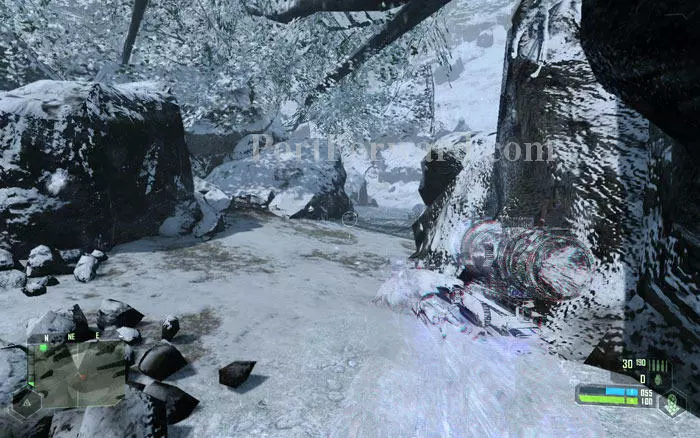
If you prefer to bypass the Aliens, it's better to use 'cloak mode'. Proceed downhill. You will hear the roar of another Alien trooper just ahead, indicating that there is another bunch of smaller guys at the bottom of this slope.
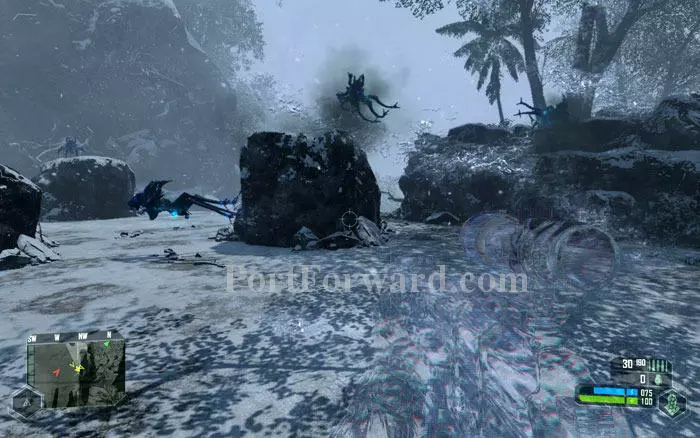
If you move in cloaked, these bad boys will be completely unaware of you.
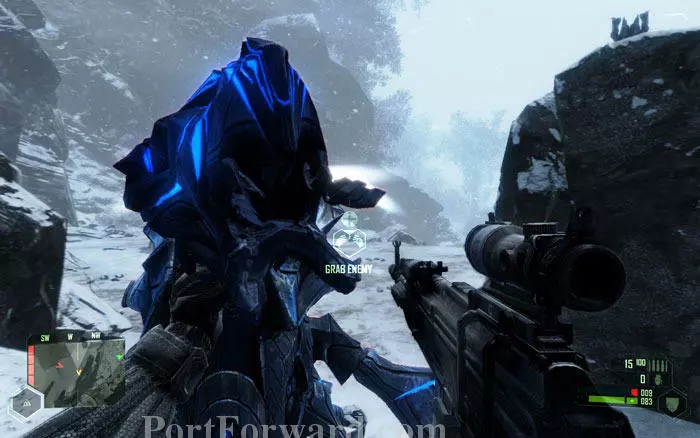
This is a good opportunity to try the grabbing trick. Run around grabbing and tossing the Aliens one by one. All four of them can be downed without firing a single shot.
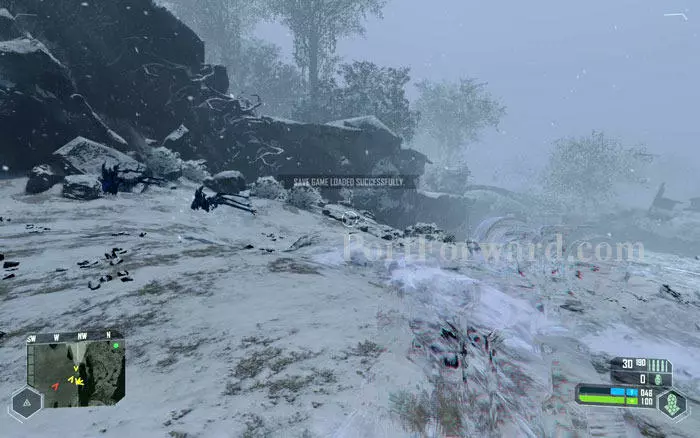
Proceed further and two more Aliens will come at you. If you stand still in 'cloak mode' they will just pass by.
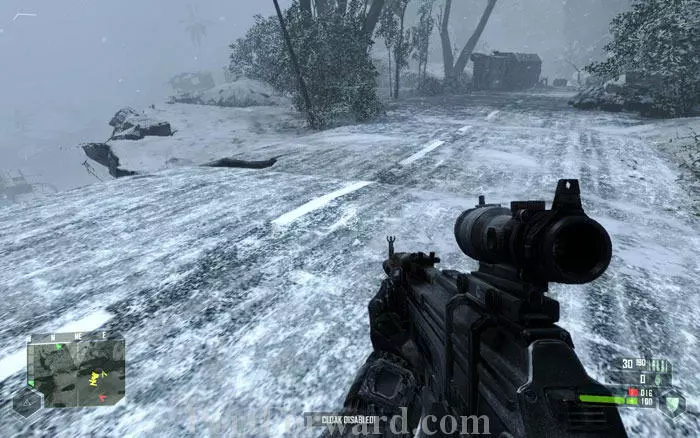
Go further down the slope and you'll reach a road. Turn right and pass by the overturned truck.
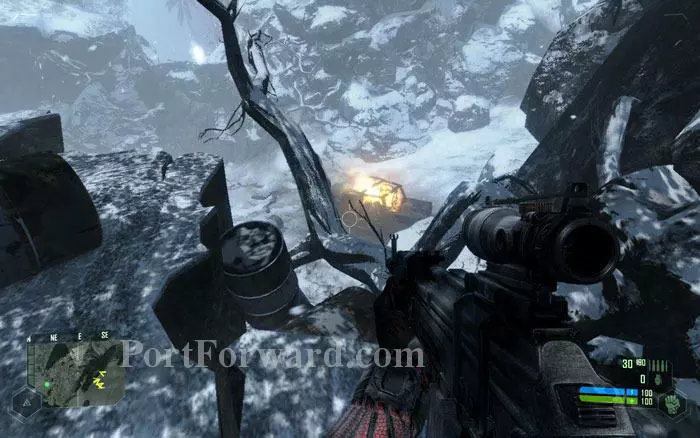
The road is broken down into a chasm. You'll spot a burning car below. Carefully drop down into the gap.
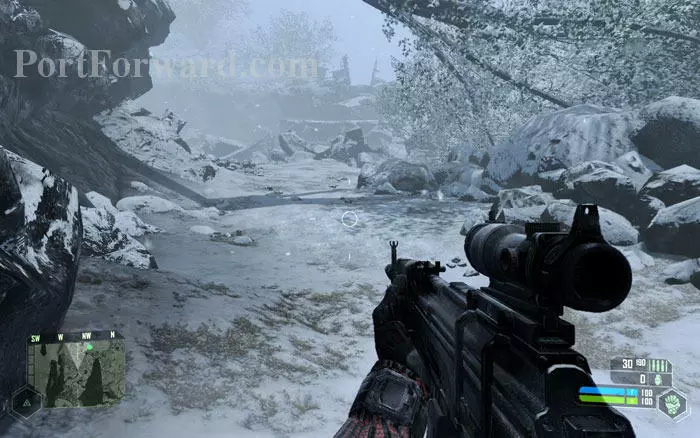
By now your objective location will be so close that you can see it in the radar. Simply walk up there.
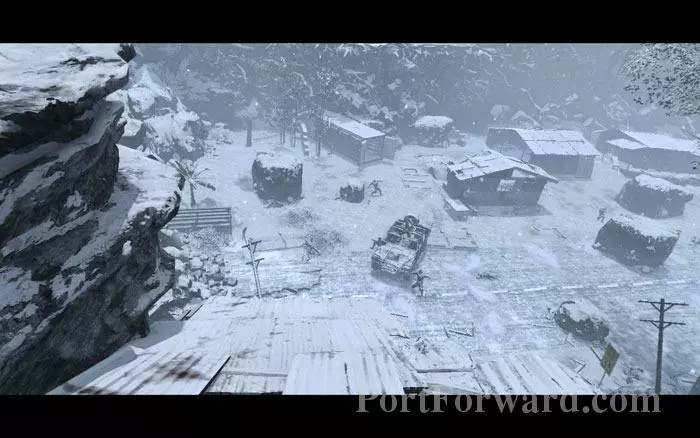
When you are close enough, a cutscene will roll in, revealing the fate of the missing marines.
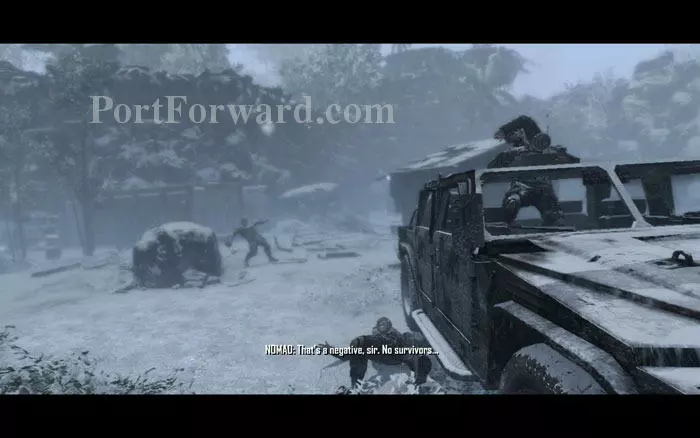
The poor marines are frozen solid. Nomad will pass on the tragic news to Strickland, who instructs Nomad to get to the edge of the Alien energy sphere.
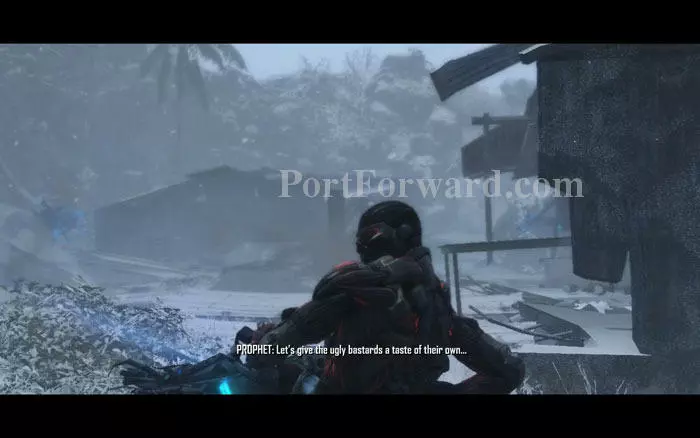
No time to mourn as another bunch of Alien troopers pop in. And guess who is back from the dead? Prophet! He wipes out the Aliens with a fancy new gun.
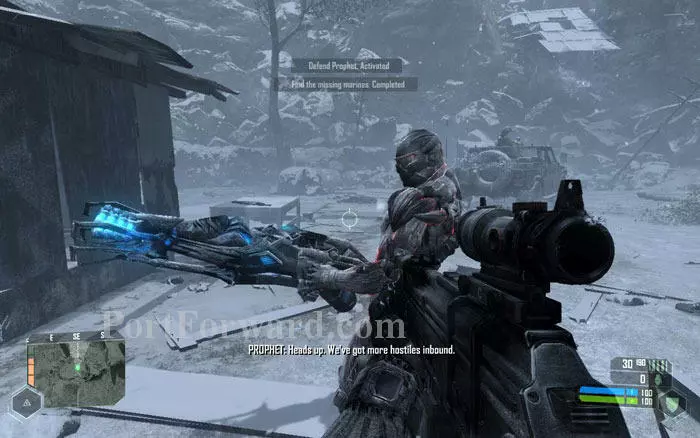
From the looks of it, he stole that gun from the Aliens themselves. As soon as the cutscene ends, another wave of Aliens will fly in so prepare for war.
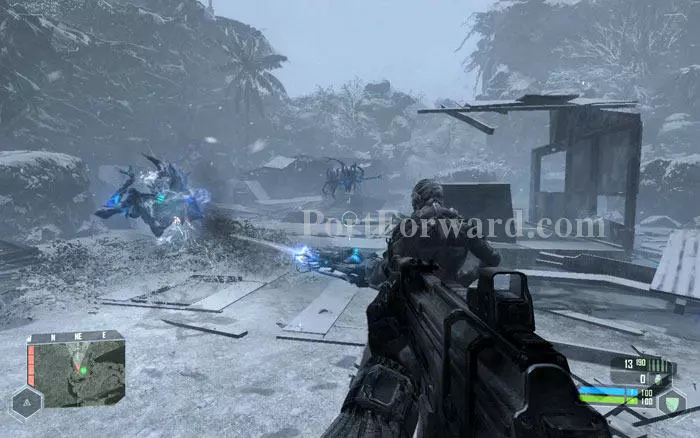
Help Prophet defeat the attacking Aliens.
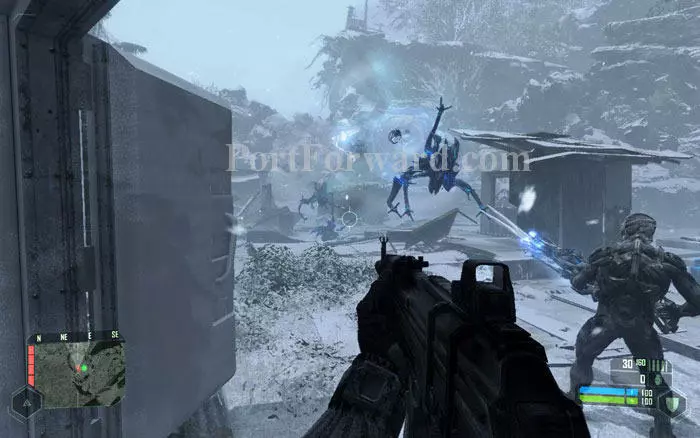
These Alien troopers are more aggressive than the ones you have encountered earlier so expect a tough fight.
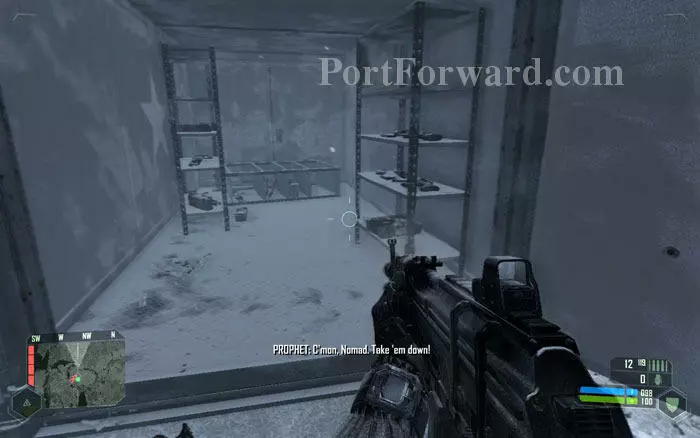
There is a container full of weapons right behind you. No big guns though, only shotguns, rifles and grenades. You'll find the original US standard issue SCAR rifle here. Grab ammo as you need, especially grenades.
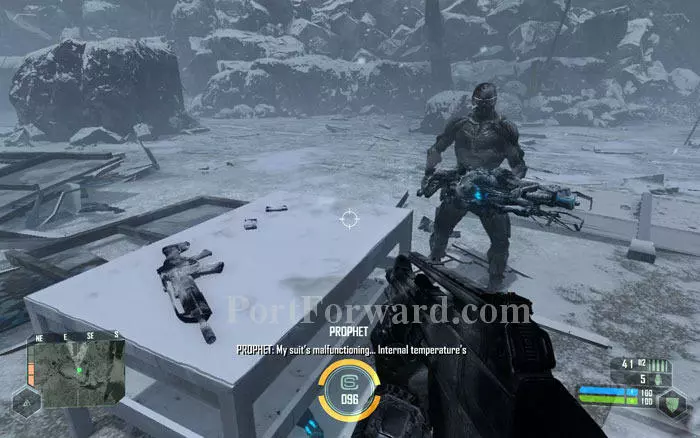
Once all the Aliens are dead, Prophet will tell you that his suit is not holding up against the cold. A counter appears on screen showing Prophet's suit power. If it drops to zero, Prophet will die and mission will fail.
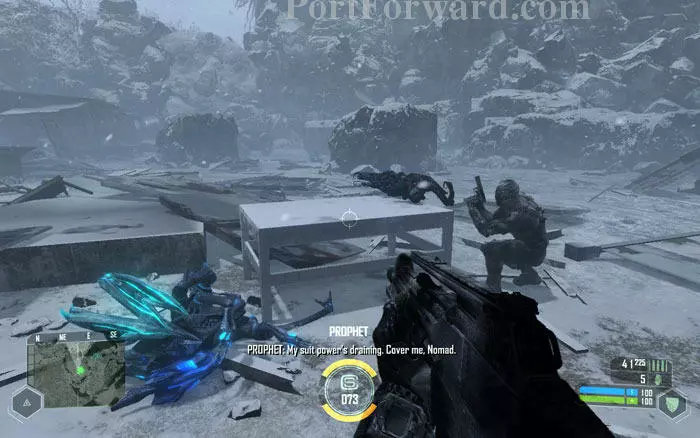
While you are talking, another bunch of Aliens will close in. Prophet takes cover, leaving the Alien gun for you.
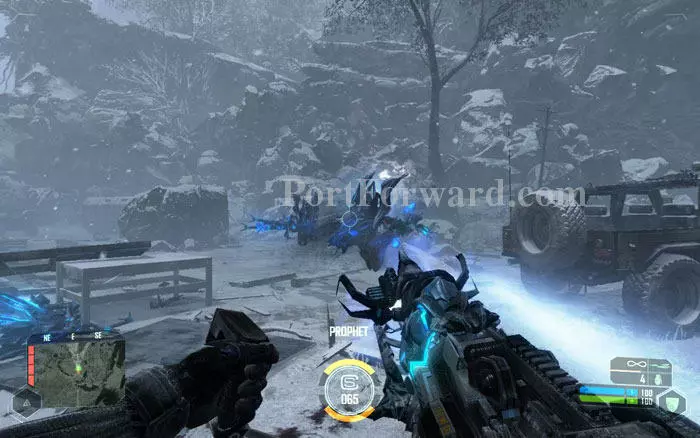
This weapon is called the Molecular Accelerator or MOAC in short. Sadly it's not as effective as it looks -- it overheats very fast and needs a long cooling time. You'll find it easier to kill the Aliens with your rifle.
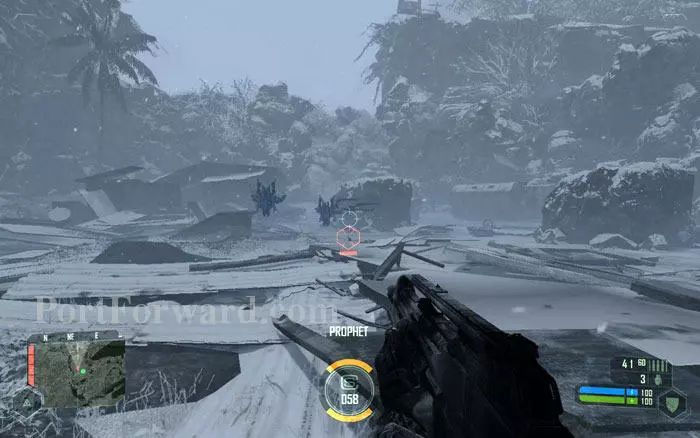
Clear out the Aliens quickly. Throw grenades at them when they are approaching in a group. Prophet will take cover inside the container so it's up to you now.
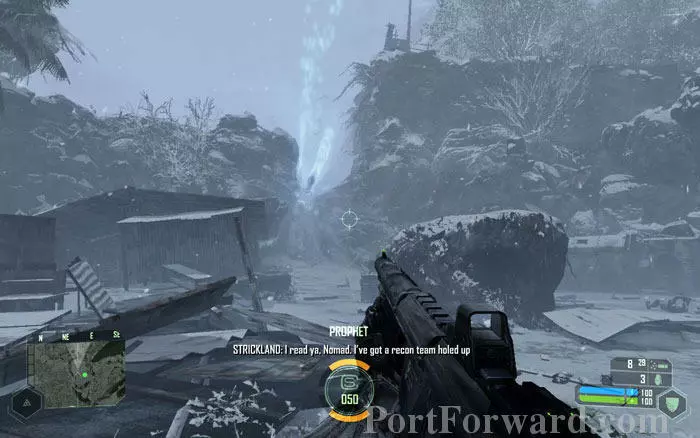
Once you take out all the Alien Troopers, a path will be opened up by Alien fire. At the same time, Major Strickland will radio in giving you new coordinates. Move to the path. Prophet will follow you.
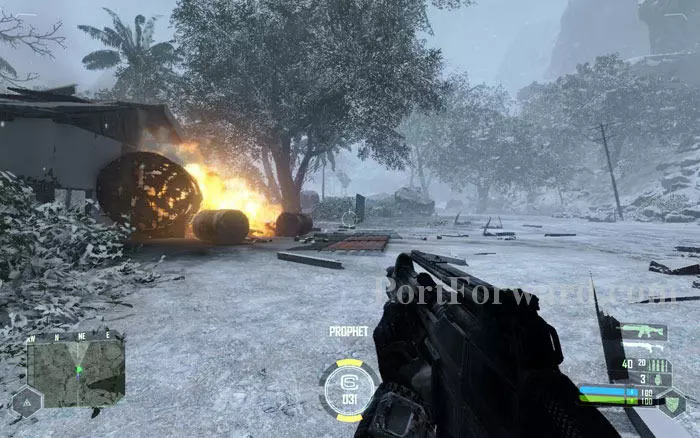
Go down the path. By now, Prophet's suit power will be reduced so you need to find a heat source. Move close to the fire.
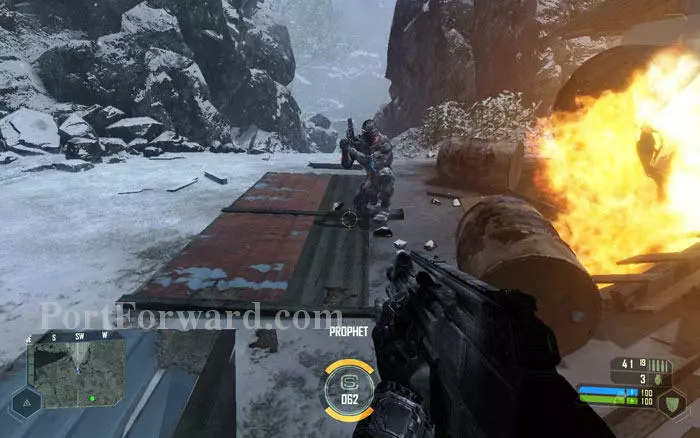
Prophet will position himself near the fire to recharge his suit. Wait till it fills up to 100, and then proceed to the next location marked in the map.
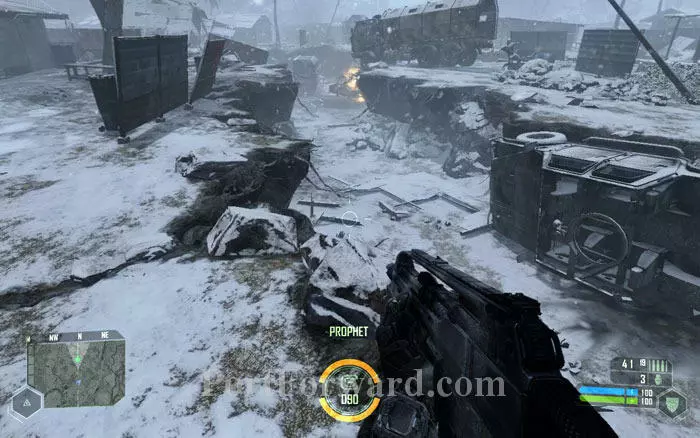
The spot marked by the green dot in your map is another heat source, a burning car. Move close to the fire so that Prophet can refill his suit.
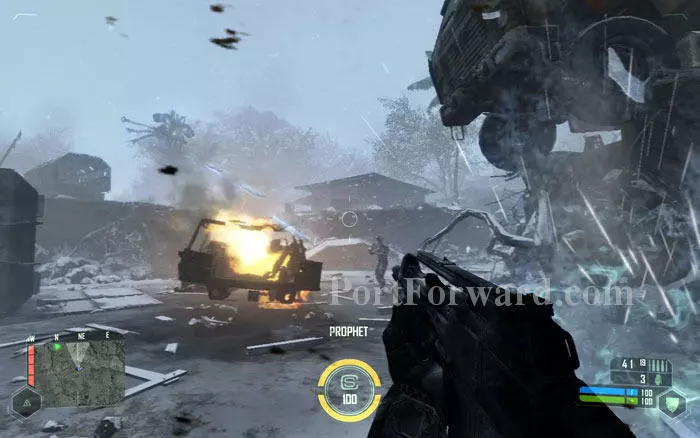
When you get here an Alien Scout will fly in to hunt you. Its fire will eat up your health fast so watch out. Keep moving around to dodge the attack. Or better, you can switch to 'cloak mode' and hide.
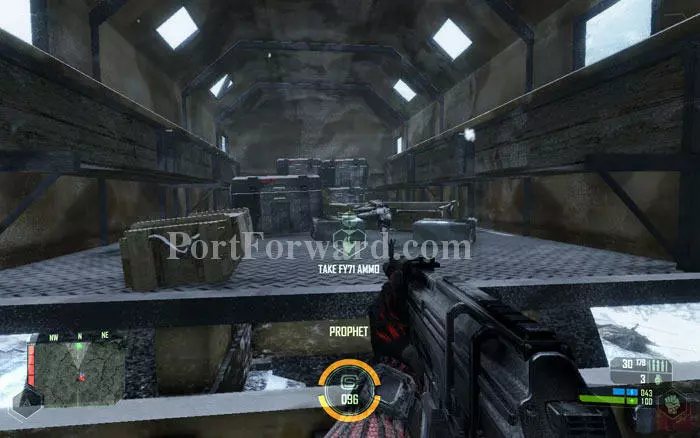
You can pick up some ammo from the back of the trucks. The truck north of the burning car holds a missile launcher.
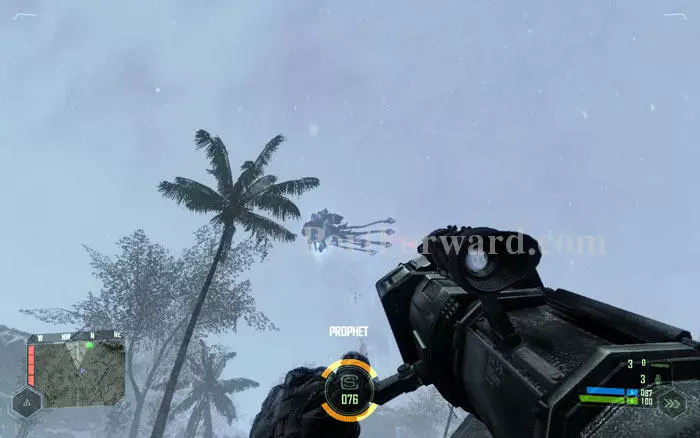
You can try to bring down the nasty Alien with the missile launcher, MOAC, or a lot of rifle fire. However, this is not going to make things any better because if one Alien Scout falls, another will join the hunt. The priority is to get out of here with Prophet.
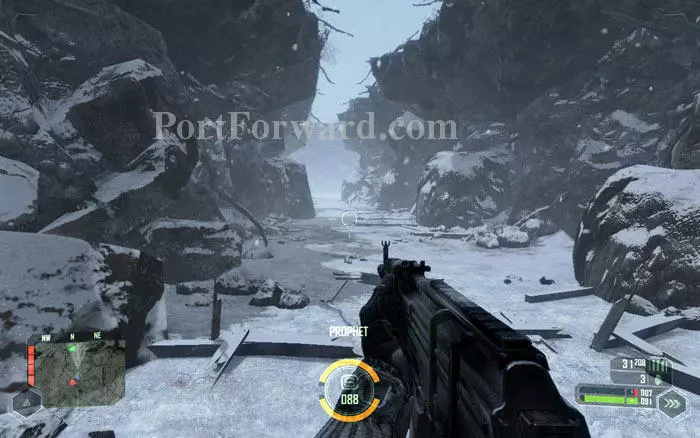
Once you are ready to leave, move through this narrow path to the next objective seen in the map.
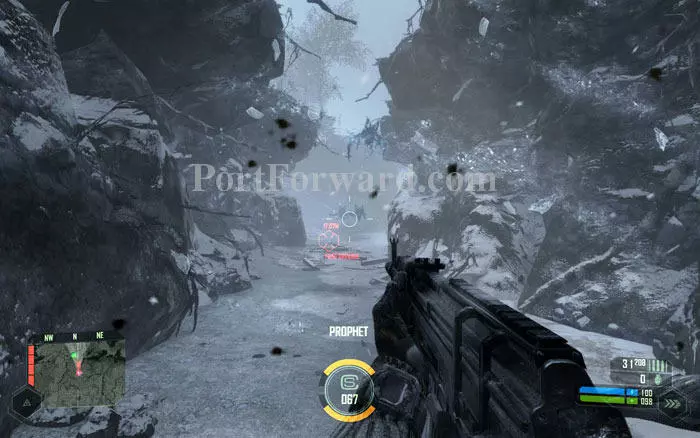
As you pass through, a bunch of Alien troopers will come at you. Use grenades to take them out quickly.
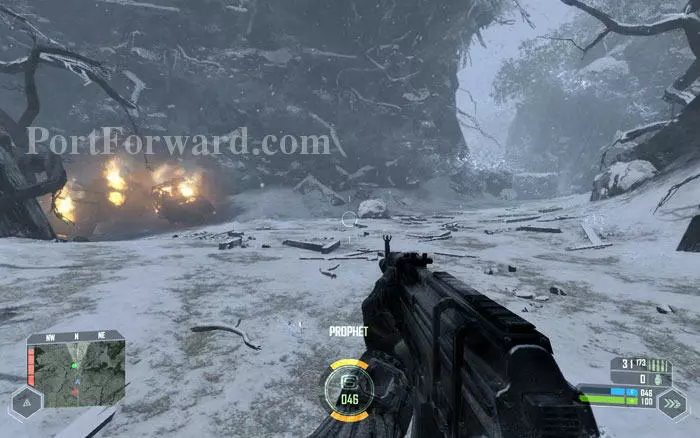
Ahead of you there is another heat source. Avoid the Alien attack from above while Prophet refills his suit power. Then proceed to the next objective.
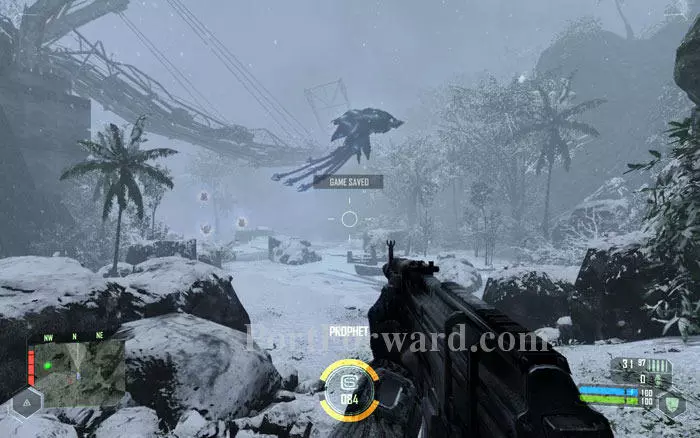
When you reach a frozen river with a mashed up bridge going over it, an Alien Scout will drop in a bunch of smaller Aliens in front of you. Move in and engage them.
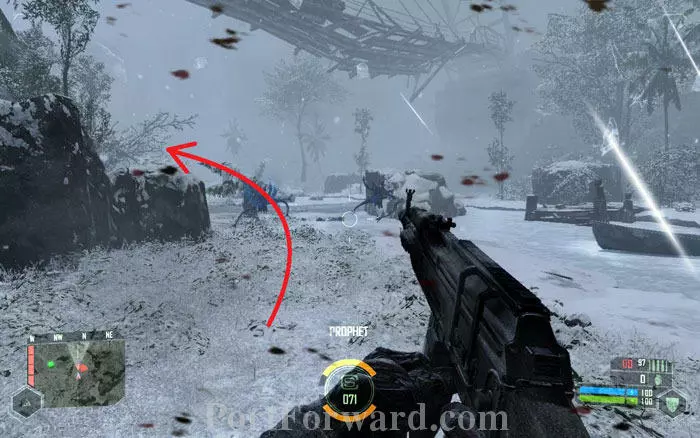
While fighting the Aliens, don't forget to keep up the run to the next heat source. Disregard your assailants and press forward if the counter goes too low. Next objective is to the left of the river.
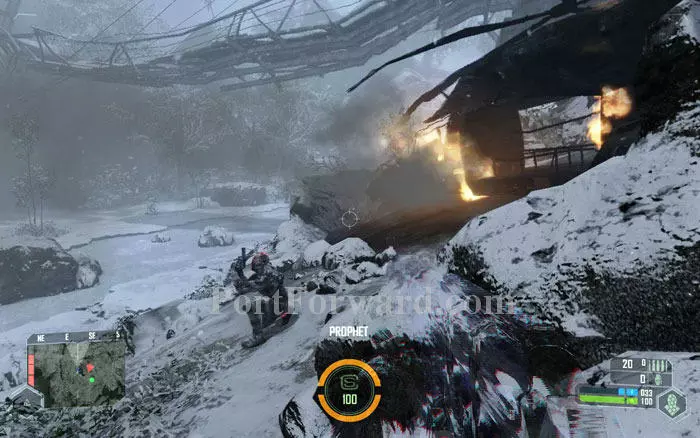
Let Prophet replenish his suit power from this downed helicopter. While waiting, stay cloaked to elude the Alien Scouts.
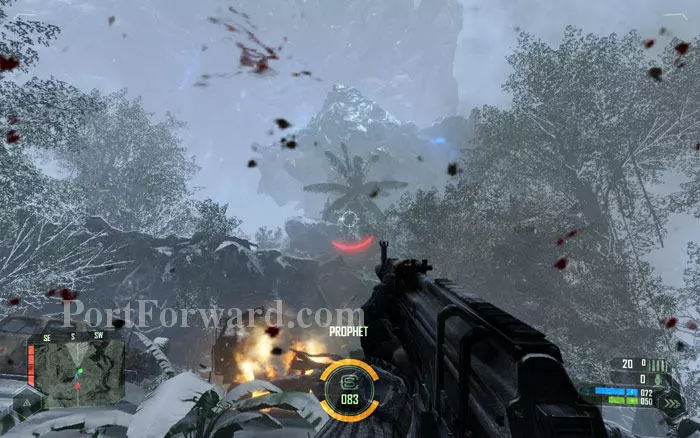
The next objective is just a few steps away. While moving in here, look above you to see a seriously-big Alien warship fly over you. It's not a threat for you but the Alien scouts are still on the lookout.
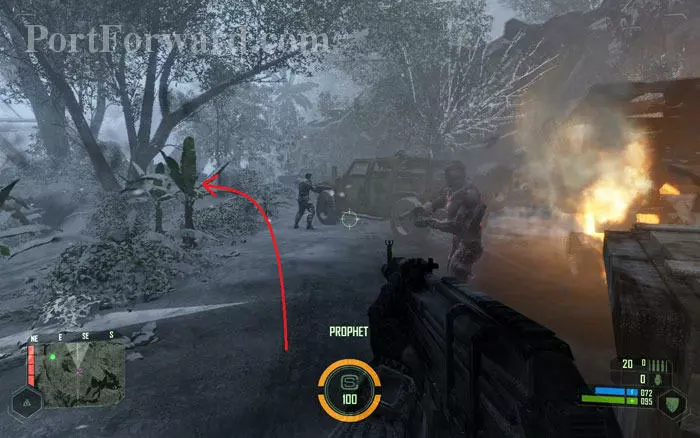
Wait a bit near the burning truck then rush to the next spot marked on the map. Go past the frozen soldiers and their Jeeps. No need to look for ammo from here on.
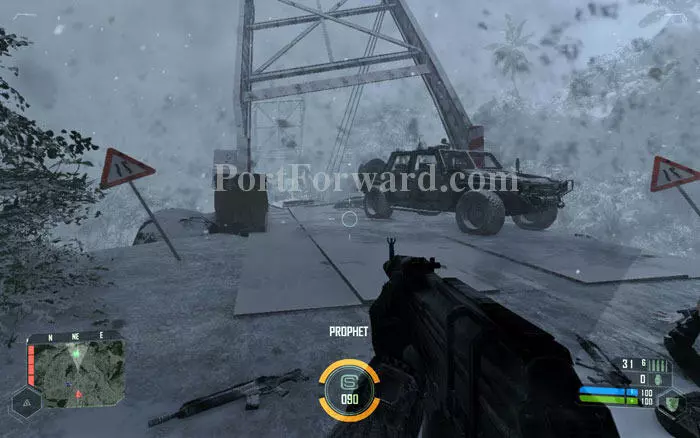
You'll find yourself at one end of a nearly broken bridge. Step onto the bridge and run.
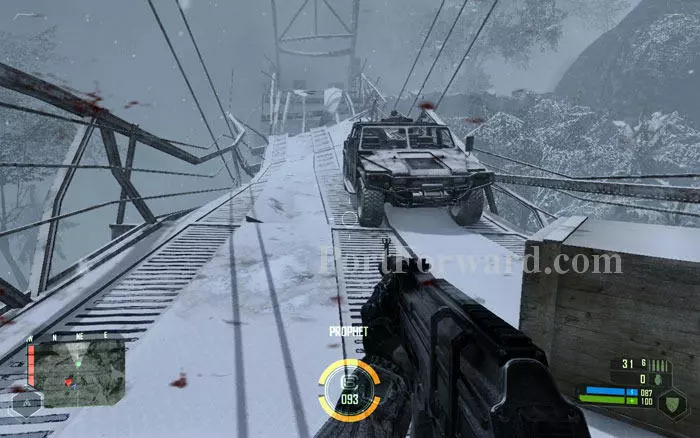
Carefully make your way to the other end of the bridge. The chapter ends as you exit the Alien energy sphere.
More Crysis Walkthroughs
This Crysis walkthrough is divided into 11 total pages.


