This Broken Age (Act1) walkthrough is divided into 8 total pages.
You can jump to nearby pages of the game using the links above.
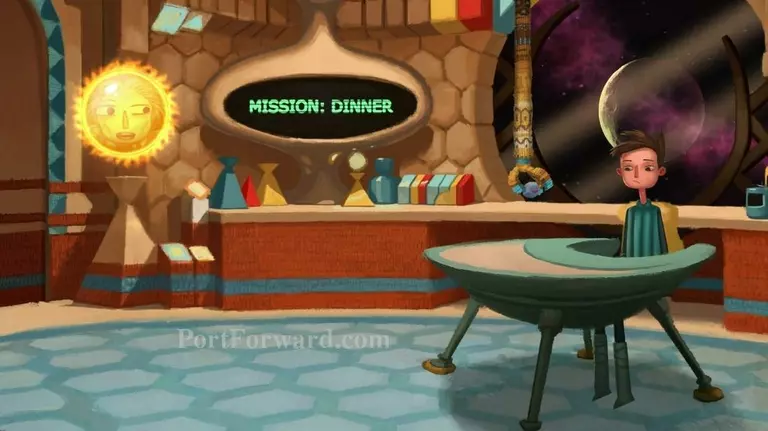
Broken Age (Act1) Walkthrough Onboard the incubator vessel Bassa Nostra
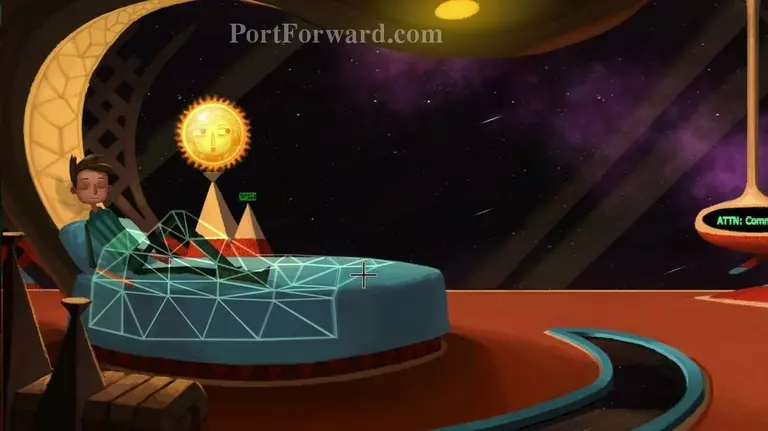
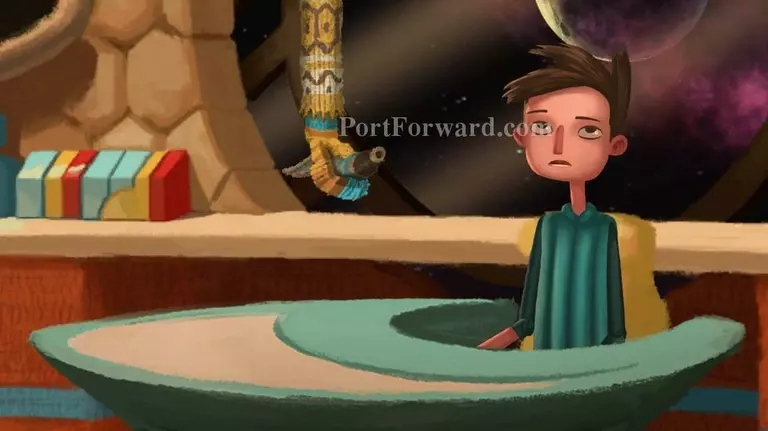
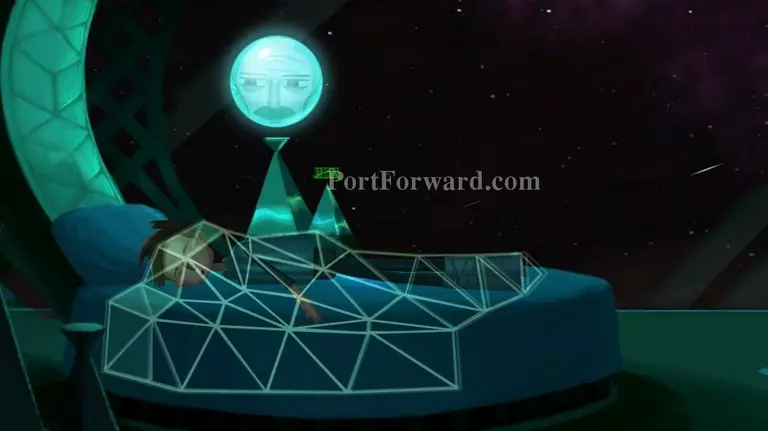
The opening for Shay starts automatically once you've completed Vella's Act 1 quest. This one doesn't have the same ambience as Vella so when you're done enjoying the art go ahead and click to wake Shay up (like Vella, anywhere is fine).
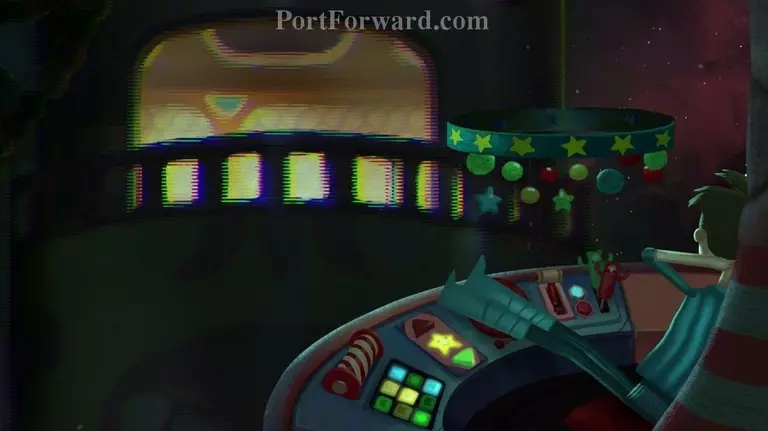
The onboard computer has lots of plans for Shay. There's an odd amount of motherly audacity to the computer who seems to do everything for Shay.
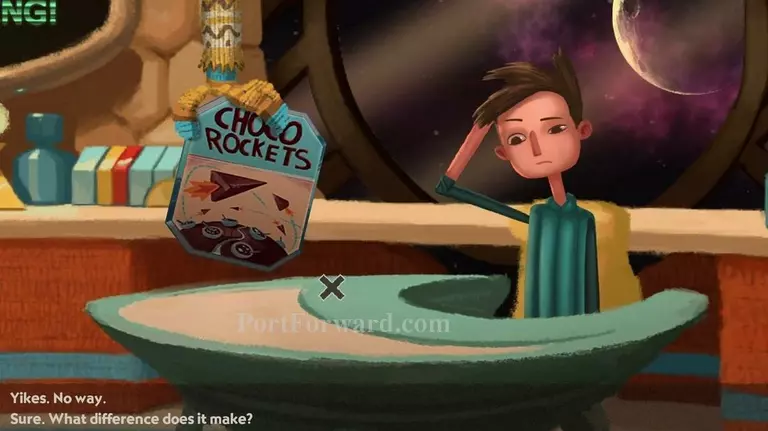
Once you're in the kitchen it gives you the option to choose what cereal Shay should eat. To be honest, other than dialogue, what you pick doesn't really matter. To start let's just say "Sure" to Choco Rockets.
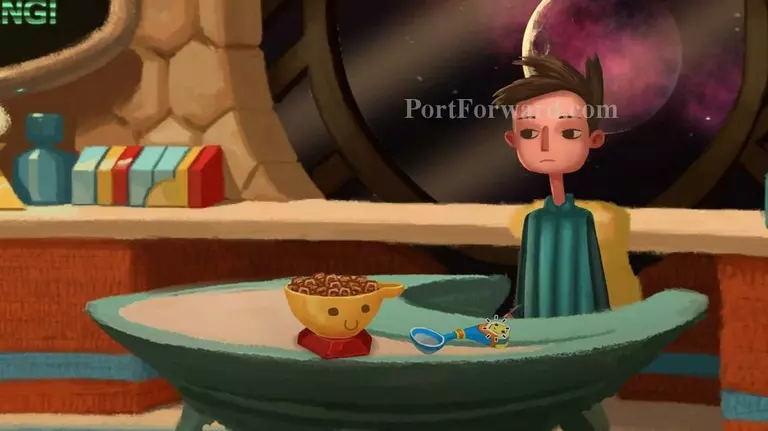
You also get Shay's first inventory item here. Pick up the spoon.
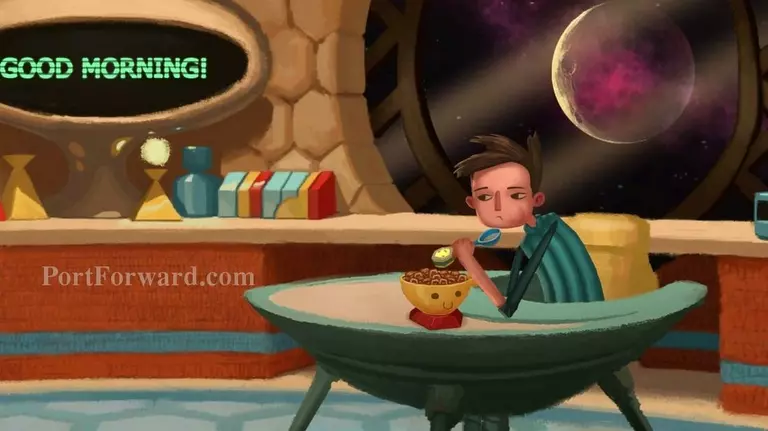
Use the spoon on the cereal so Shay can eat some breakfast. The spoon enjoys being useful a little too much.

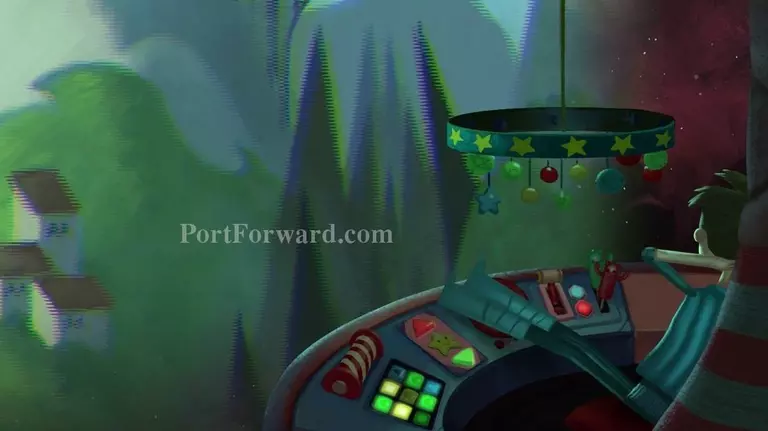
While Shay is eating breakfast an Alert will sound. It's time to spring into action and see what the problem is!
Shay is pretty noncomittal about all this. He doesn't react with much interest to most things that are going on right now.
We'll just start from the top and go down all the missions here. I recommend first choosing the avalanche on Galartica.
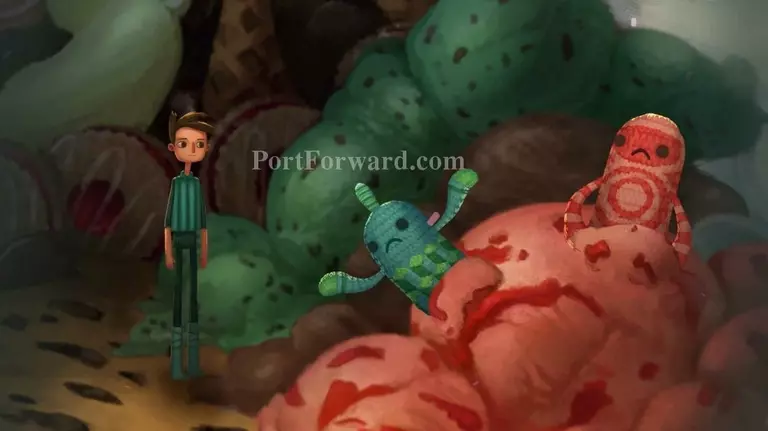
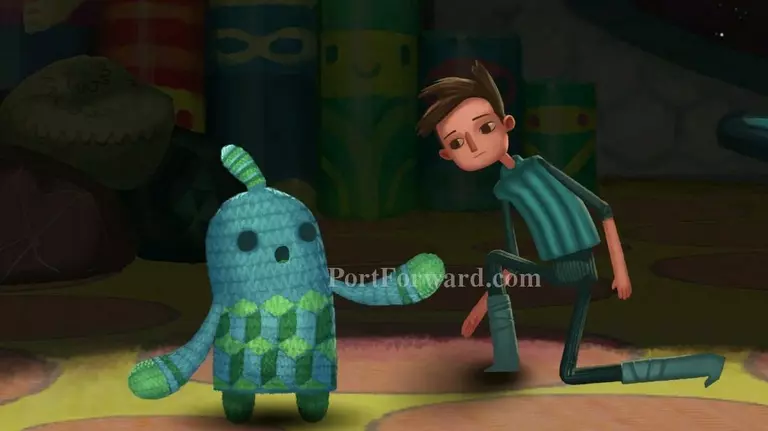
Upon arrival Shay finds two knit looking creatures stuck in an avalanche of ice cream. They're surprisingly stoked about this turn of events even though they are requesting that Shay save them.
Use the spoon on the ice cream avalance and Shay will eat the ice cream and save the creatures.
After that Shay will have lunch. I'm not sure he really needs to eat after eating creatures out of an ice cream avalanche but whatever the computer says goes.
When lunch is over Shay is tasked with choosing another mission. Let's keep going down the line. Next choose the run away train. Shay is a little bit more excited about this one, but not much.
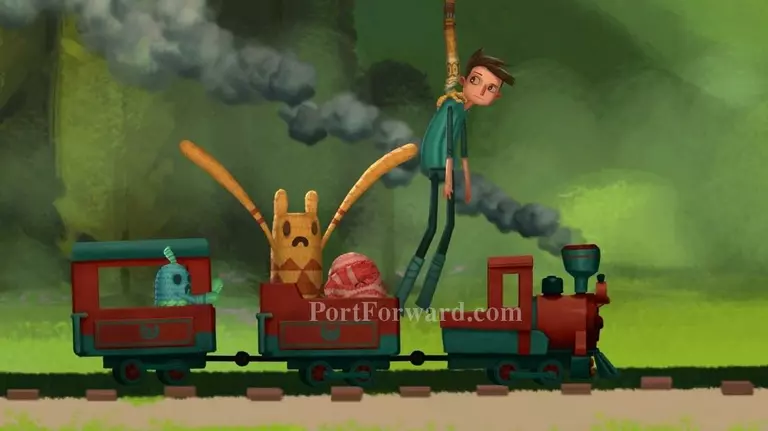
Shay is dropped off on System 7 to help some more knit creatures this time on a run away train.
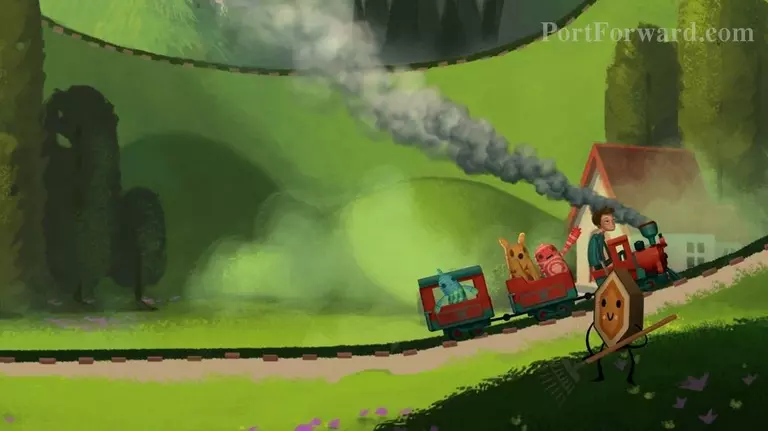
Strangely this run away train moves very slowly and the only danger is the mountain man (named "the bridge man") who usually completes the track but is now sleeping.
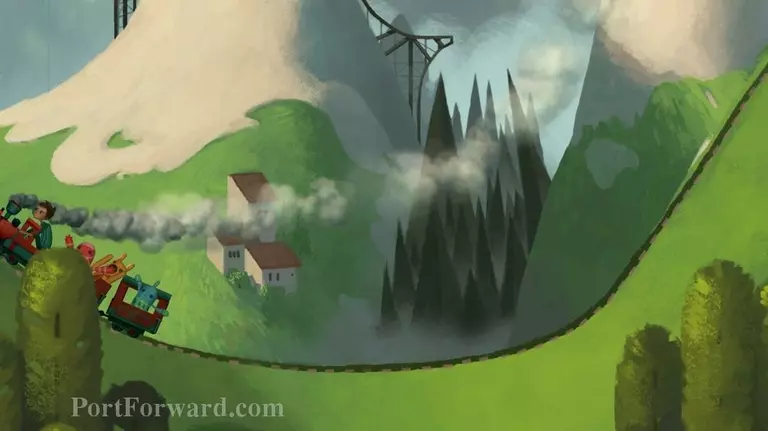
At about this point you will also notice that the screaming knit creature is yelling things. Most importantly she is telling you to wake up "the bridge man".
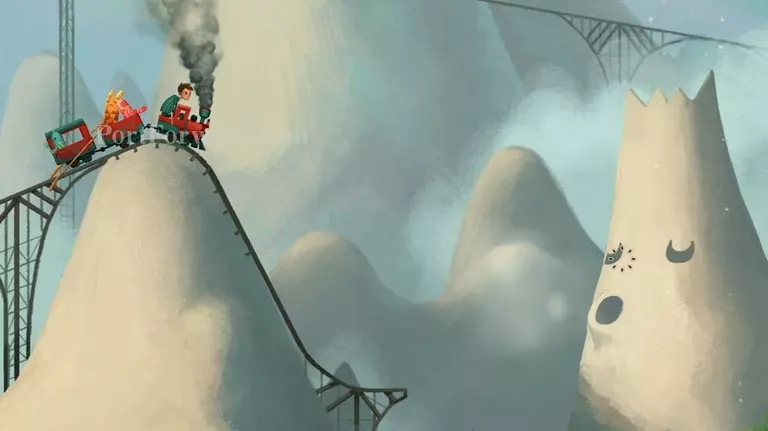
Upon reaching the final hill the screaming knit creature will hold the train in place waiting for Shay to save the train. The computer will again reitterate that you should wake up "the bridge man." Really, all you have to do is click on the mountain to wake it up.
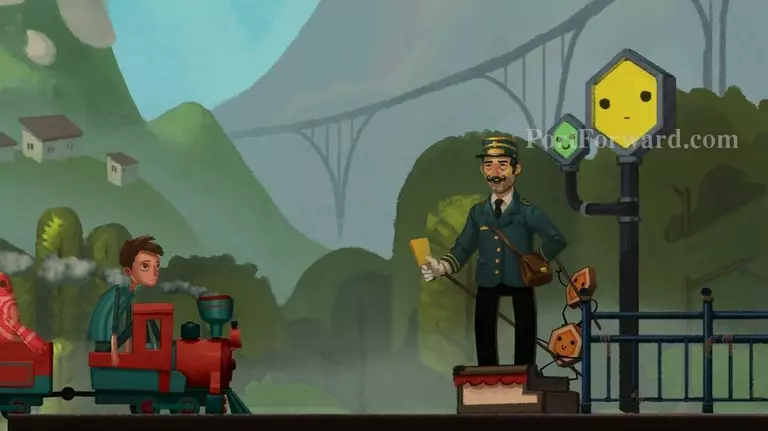
When the train ride is over the conductor will thank you for staying safe. I mention this because it will be important later.
After saving the train it's time for dinner. Let's just hope it's spaghetti. Shay seems more bored with his life than ever, giving a depressed sigh.
Next choose to go on the mission to inspect the distress beacon coming from Friendship Circle.
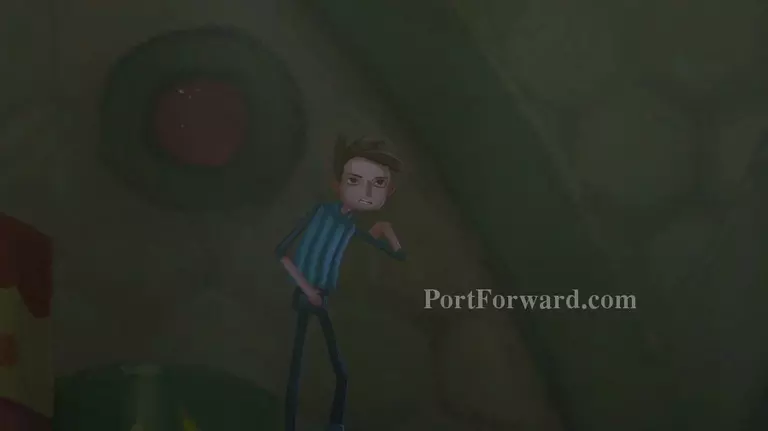
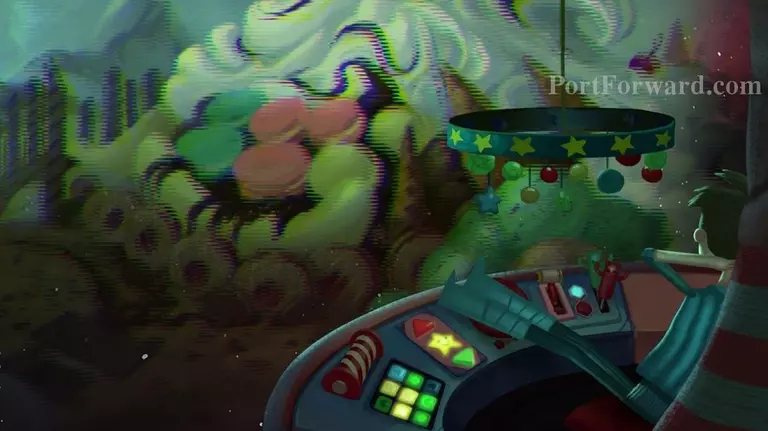
It's eerie and dark in here. There are also components around that appear to be broken.
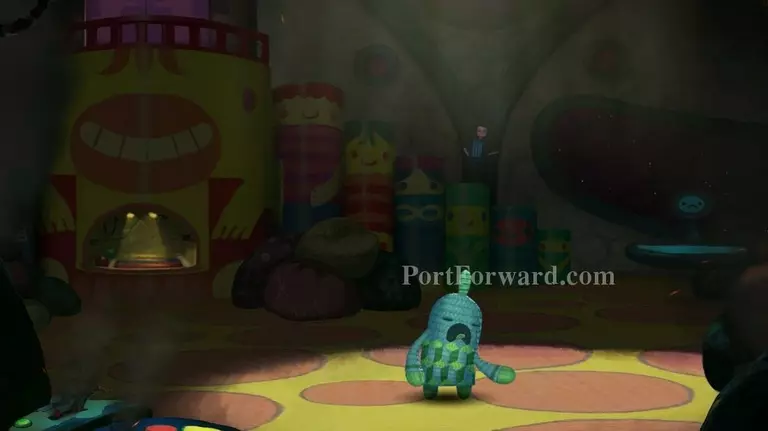
There seems to be a crew member in distress as well. Is it possible we've finally stumbled on a real problem? Click on the knit creature to speak with it.
What troubles you strange knit creature? Aliens? Another vessel on a rampage? SPACE MADNESS?!?
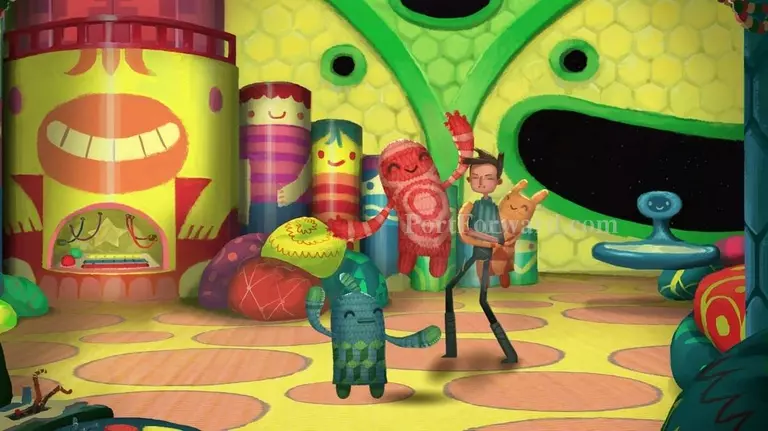
Nope. Just another non issue. These problems are starting to seem suspiciously safe.
After the hug attack Shay will resign to his quarters to rest for the... evening.

The next day, for breakfast, you can say no to the Choco Rockets and say yes to Cinna Moons just to mix things up. Or don't. It doesnt actually matter.
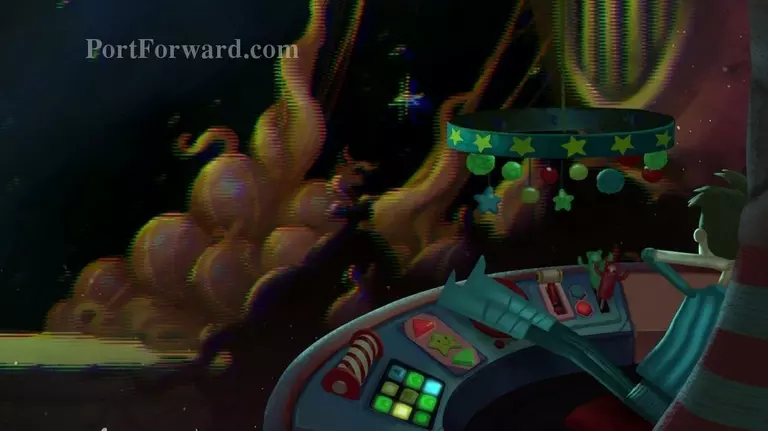
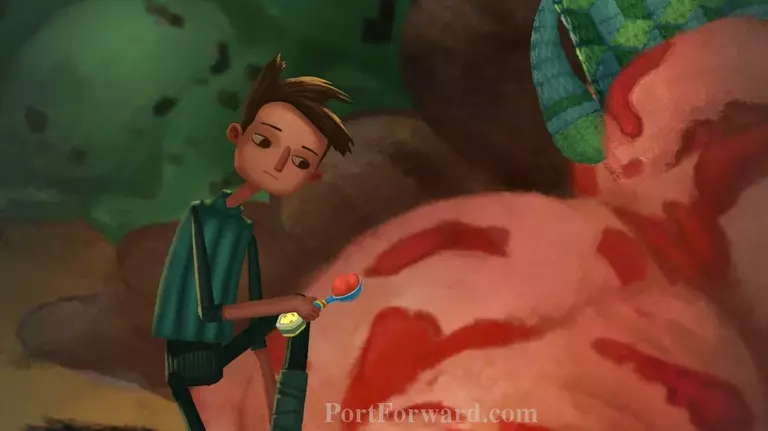
For the next mission, choose to inspect the hull of the ship where an alien life form has attached itself to your vessel.
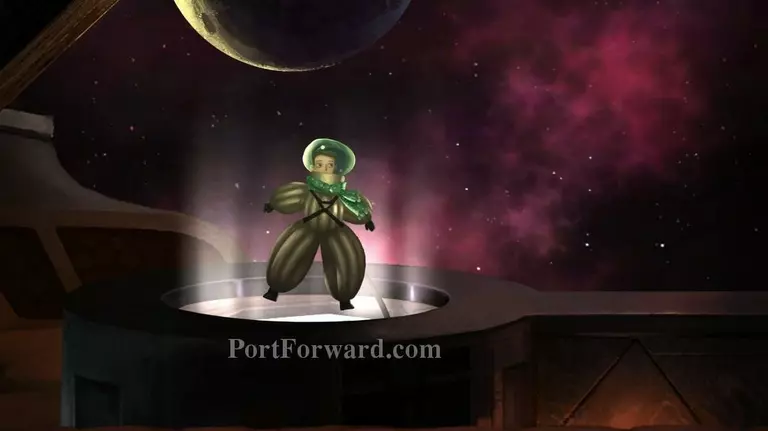
As usual, the ships computer is way to safety conscious, but at least Shay gets to go outside into space so it's not all bad.
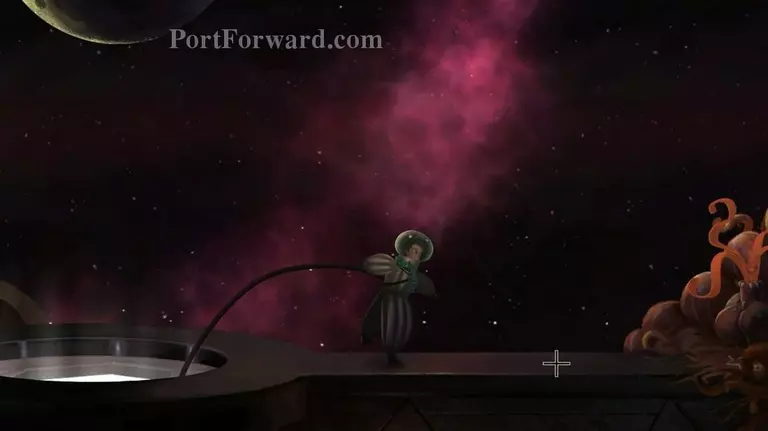
After surveying your surroundings head to the life form that's attached to the ship on the right.
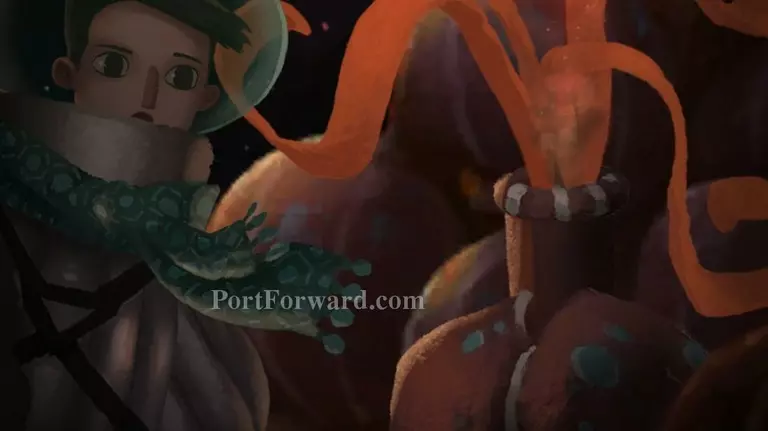
Click on it and Shay will be so attracted to it he sticks his face in it like any smart Commander would do.
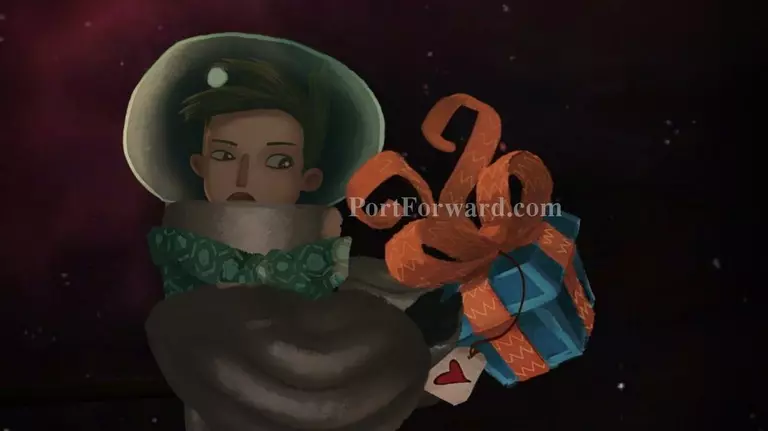
Oh, it's just a present. Oh well. I guess the ship's hull is safe, too.
More Broken Age (Act1) Walkthroughs
This Broken Age (Act1) walkthrough is divided into 8 total pages.