This The Darkness II walkthrough is divided into 8 total pages.
You can jump to nearby pages of the game using the links above.
Occupational Hazard
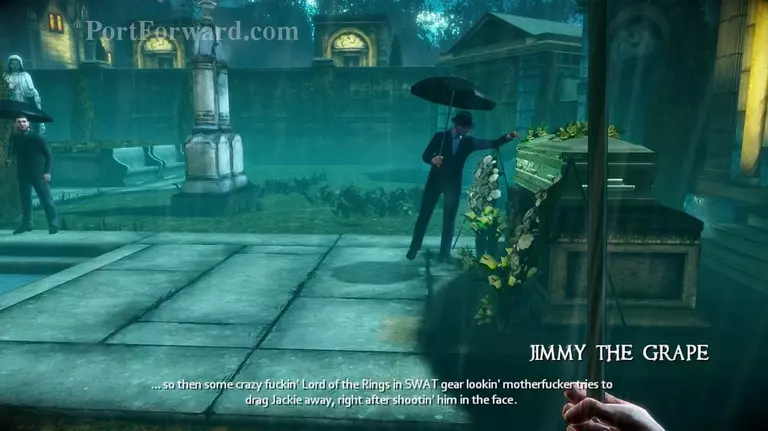
Head through the graveyard and talk to Jimmy next to your Aunt's casket.
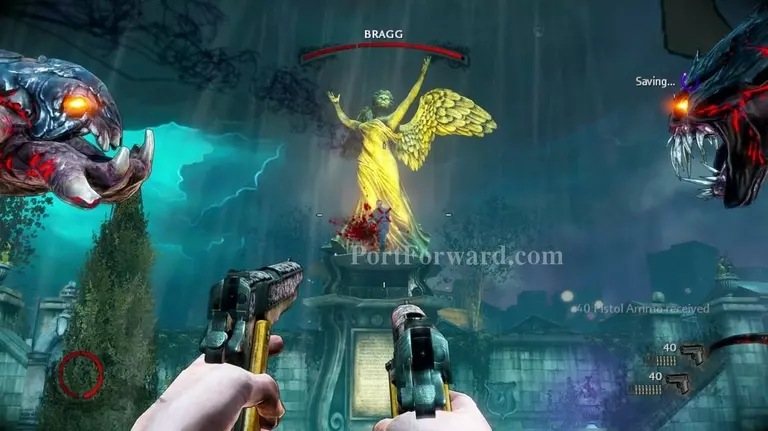
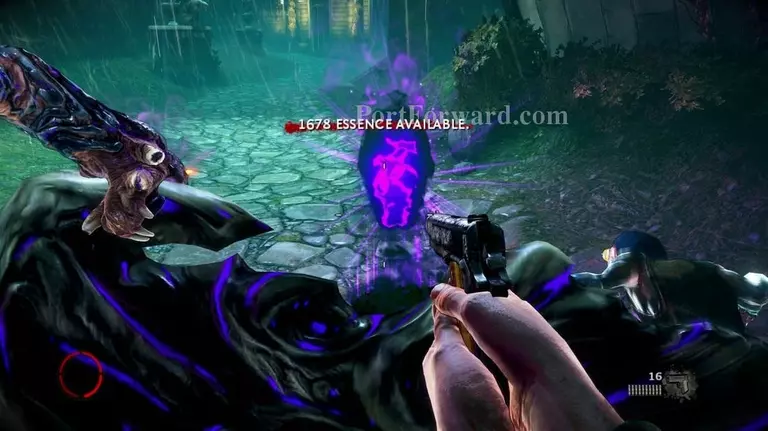
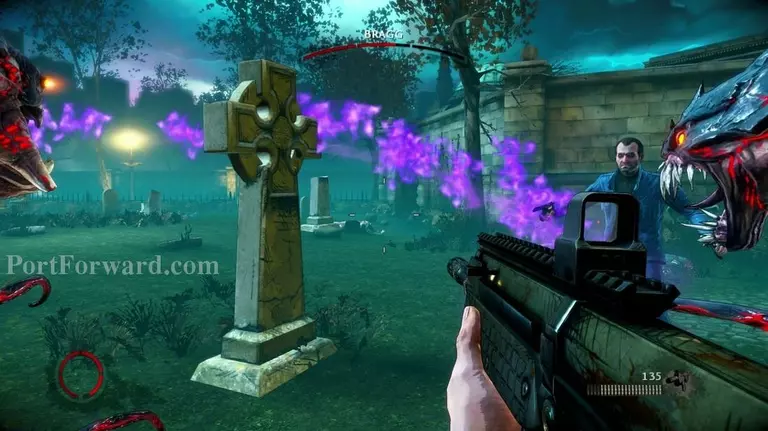
The burial service will abruptly end as you are ambused by Bragg and a wave of Darkness enemies.
Take them out and chase after Bragg once he flees further into the graveyard.
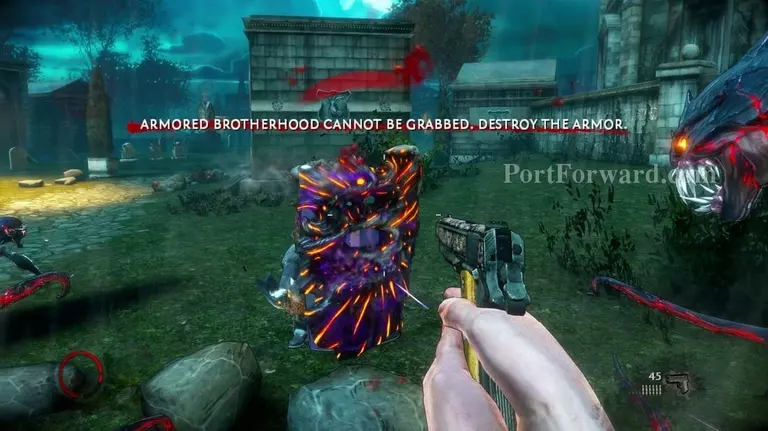
You'll come across more infused shields. Damage and tear them off.
There will be a shrine ahead. Use it as needed.
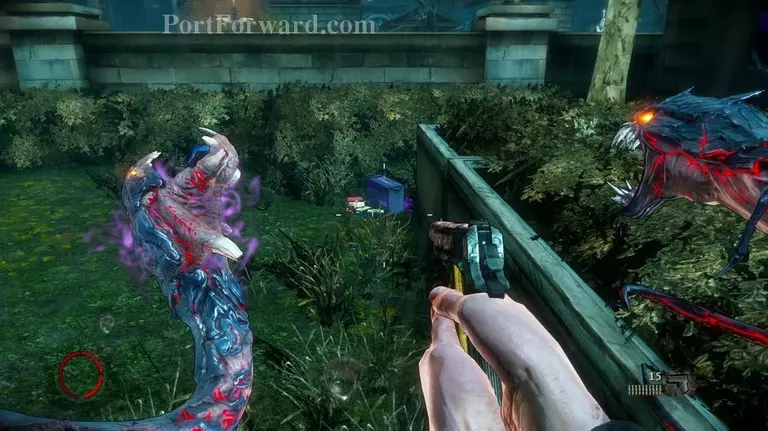
There will also be a few ammo-boxes scattered throgh-out the graveyard. Keep an eye out for them if you still haven't gotten the Hitman Execution skill.
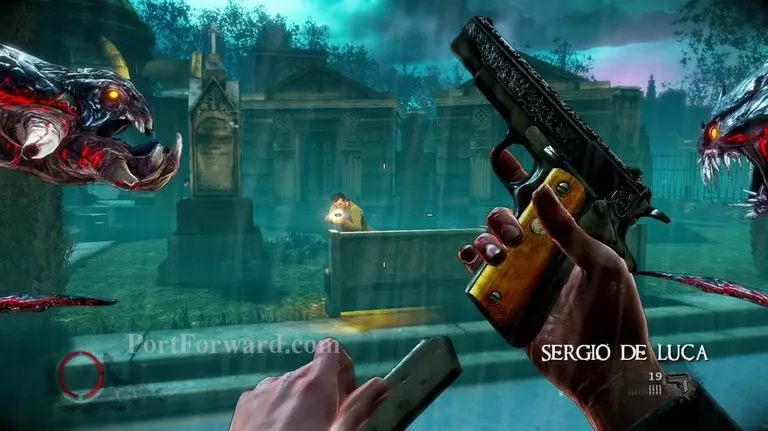
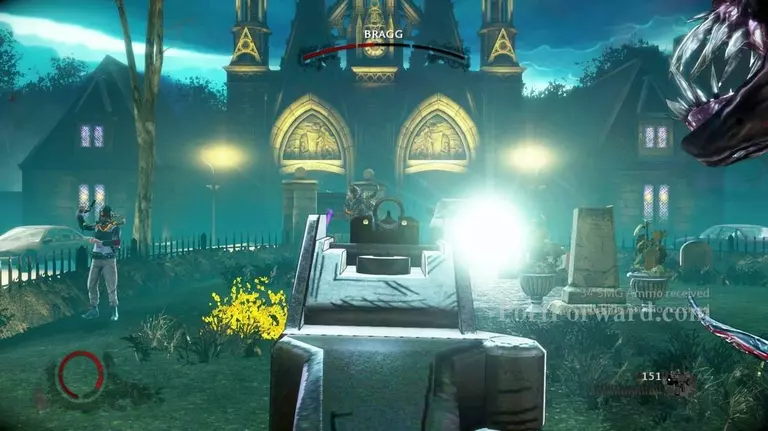
Keep working yourself through the waves of enemies and take out the light as you go.
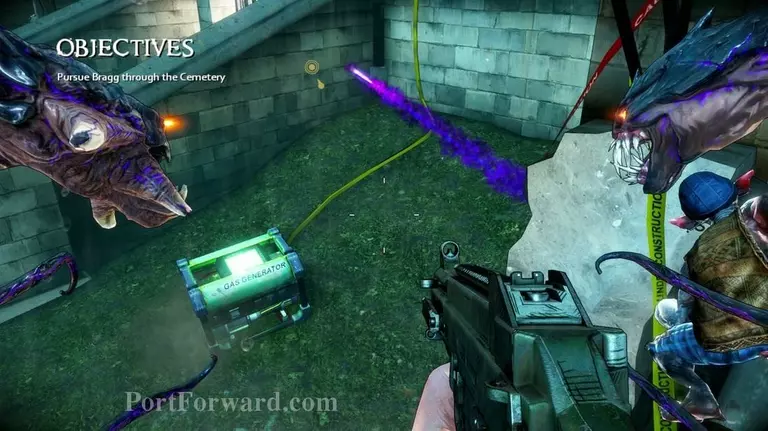
You'll eventually reach an electrical generator. Destroy it and backtrack to the gate.
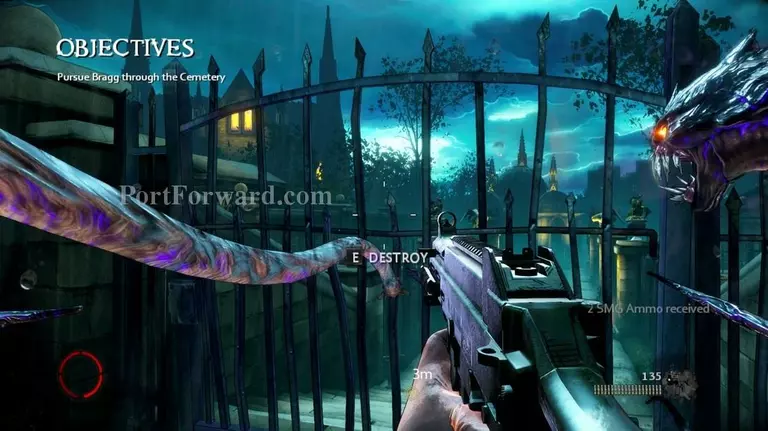
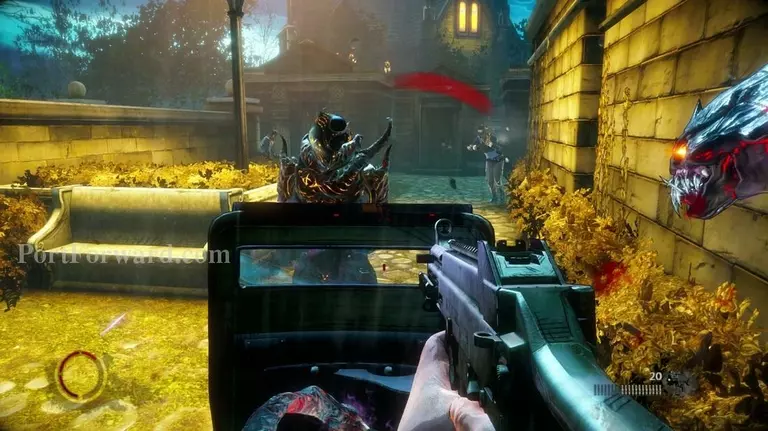
Once the gate is destroyed, prepare for a new kind of enemy;
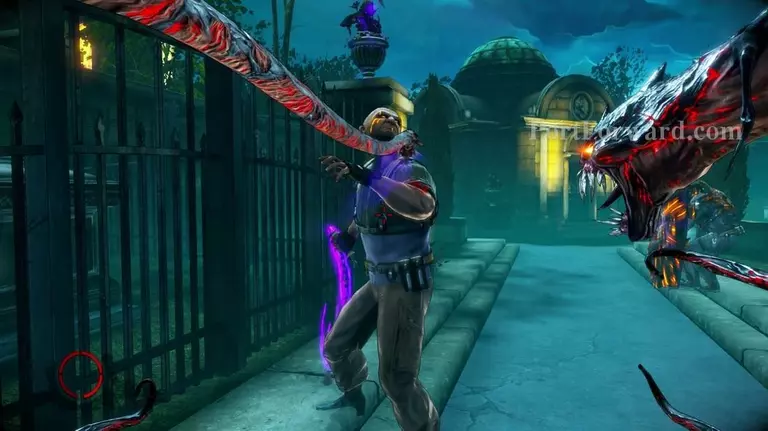
These fellows dinstinguish themselves by their height and the long, intensively purple-colored whip. If given even the slightest opportunity, they will whip any weapons you're currently holding, repeatedly disarming you which can become an insane bother at light-covered areas. Take them out ON SIGHT.
They will even steal your weapons through your shield, leaving them one of the most threatening enemies you'll come across. Stun & Grab them as soon as you have the opportunity to do so and conjuct a shield to keep all the enemy fire off you while you search for new weapons.
In this graveyard, however, weapons will be plenty and dropped frequently off enemies so the disarming will most likely only be an annoyance depending on your difficulty setting.
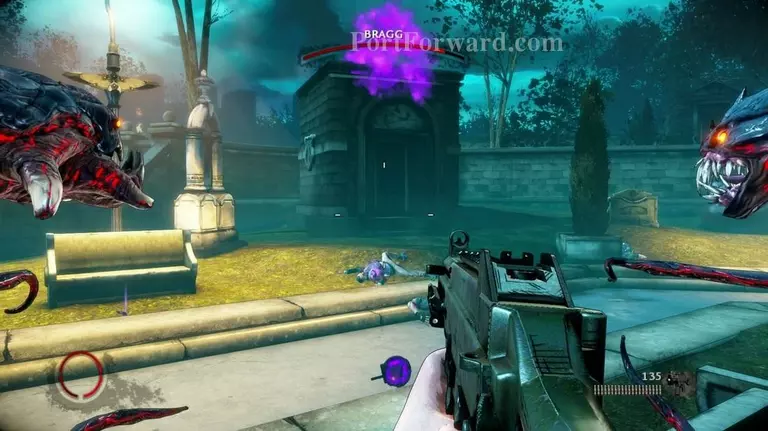
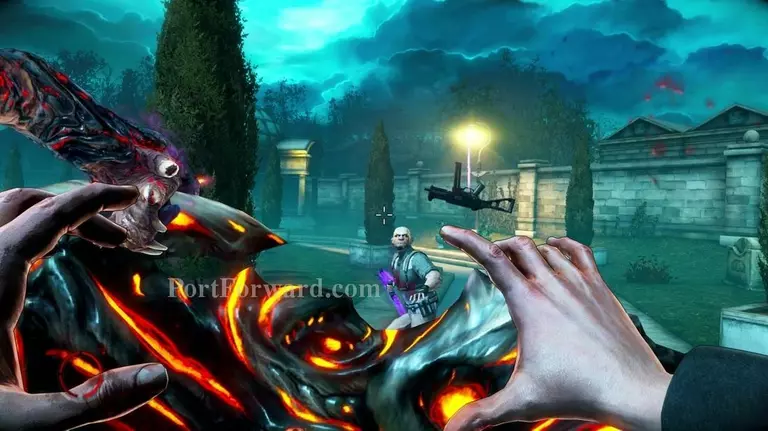
Once you have killed a sufficient amount of enemies, Bragg will appear once again in the form of a big purple cloud of smoke.
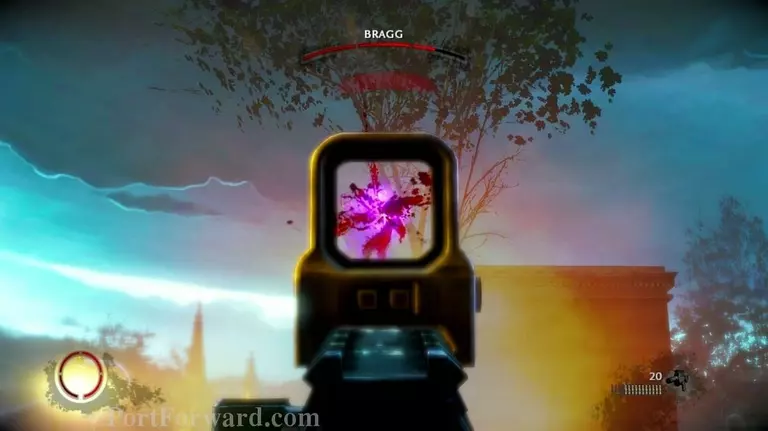
Grab a high-damage weapon and blow away his health. I recommend the bullup rifle.
Once damaged enough, he'll disappear again, leaving you to continue through the graveyard. An altar will be on the path ahead, use as needed.
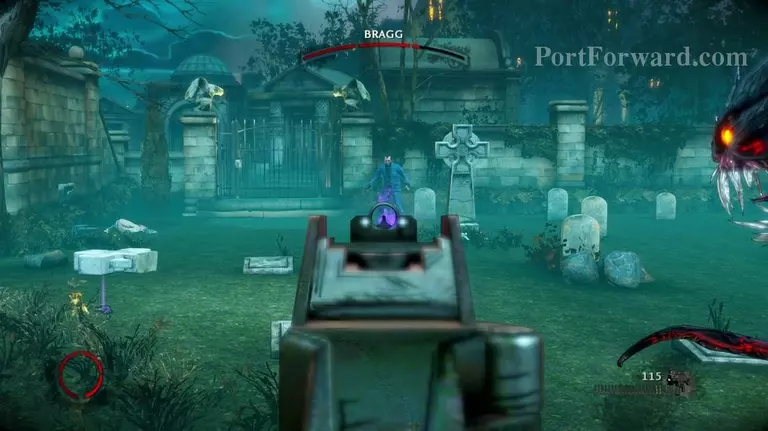
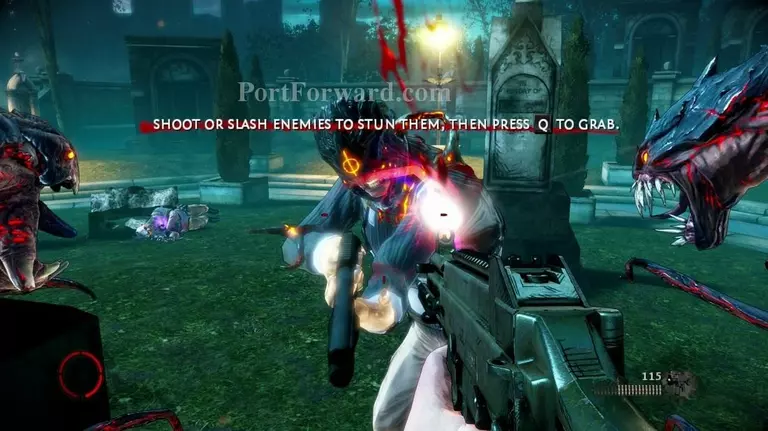
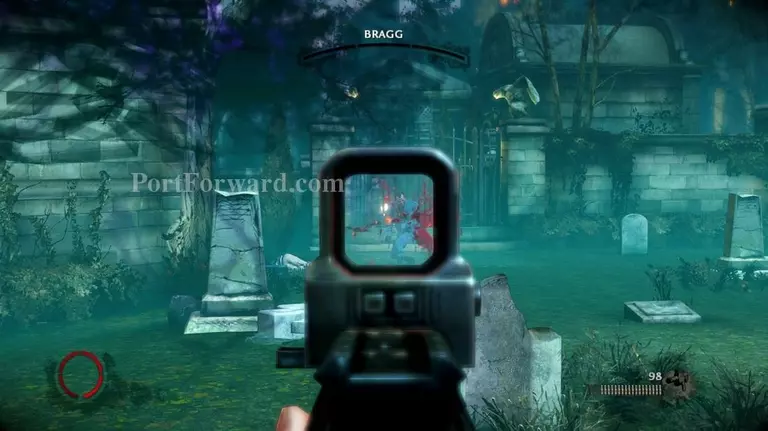
Eventually, you'll reach a flat, circular plain of grass with the occasional grave-stone. Here, the final battle with Bragg will commence.
He will wildly teleport around as you damage him, throwing darkness artillery at you. Keep the damage up on him.
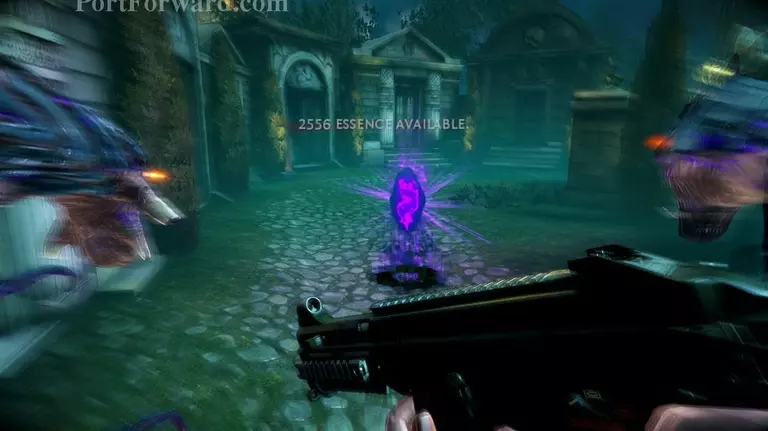
Eventually, more darkness enemies will jump into the frame as you fight him. Take them out and grasp the opportunity to perform plenty of hitman executions on them, supplying you with a large supply of ammo to kill Bragg with.
He has a surprisingly large amount of health but he'll eventually fall dead.
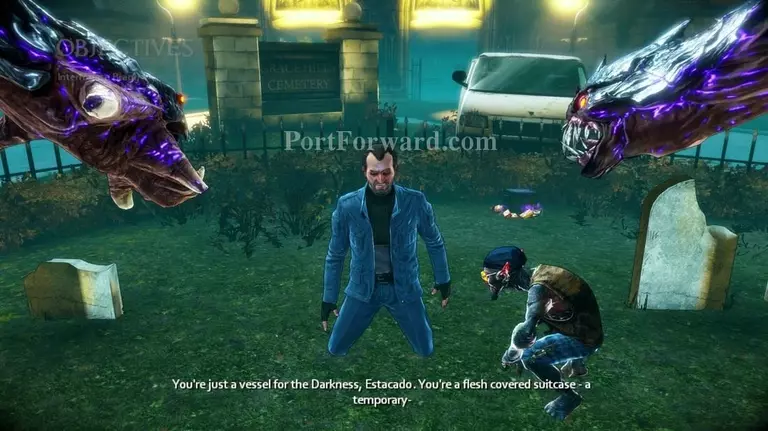
Once knocked down, interrogate him. and get thrown into the next cutscene.
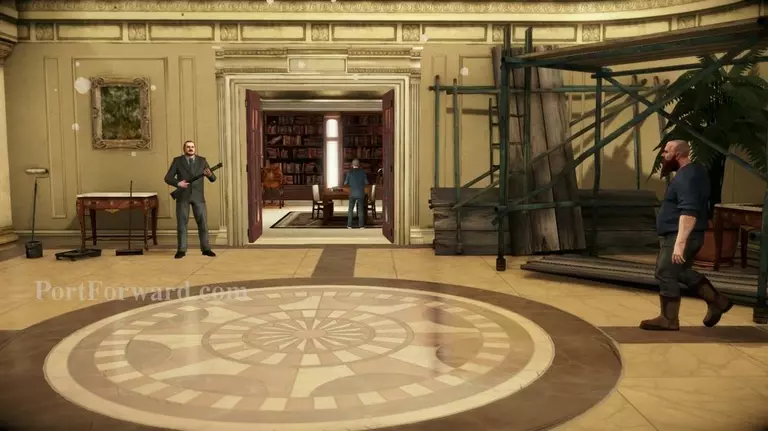
Enter the study and talk with Johnny.
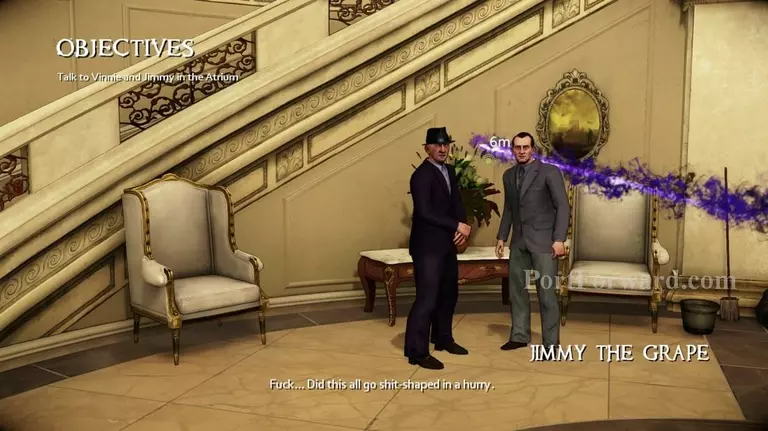
Once you talked to Johnny, find Vinne and Jimmy & talk to them before heading to the elevator and proceeding with the next mission.
More The Darkness II Walkthroughs
This The Darkness II walkthrough is divided into 8 total pages.