This Broken Age (Act1) walkthrough is divided into 8 total pages.
You can jump to nearby pages of the game using the links above.
Broken Age (Act1) Walkthrough Breaking the routine

After eating lunch Shay now remarks how he needs to break out of the routine. All you can do is the same safe missions over and over. How can we stop this safety madness!?!
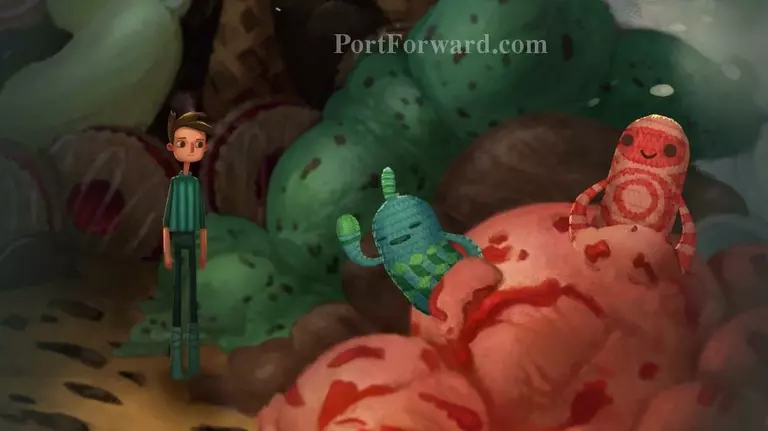
For now go back to Galartica and see the knit creatures are once again trapped in ice cream. The same old story. They like ice cream but not this flavor.
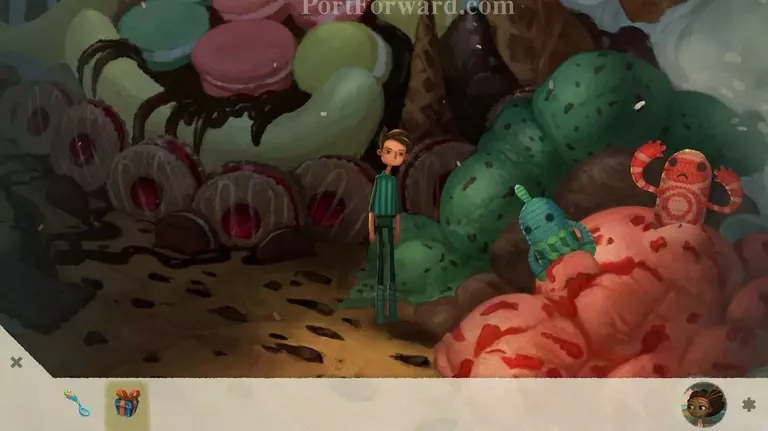
You'll notice now in your inventory you have a present. You can click on it to open it.
It's not a puppy, but it is a Grabbin' Gary. He could be useful later but right now he's not.
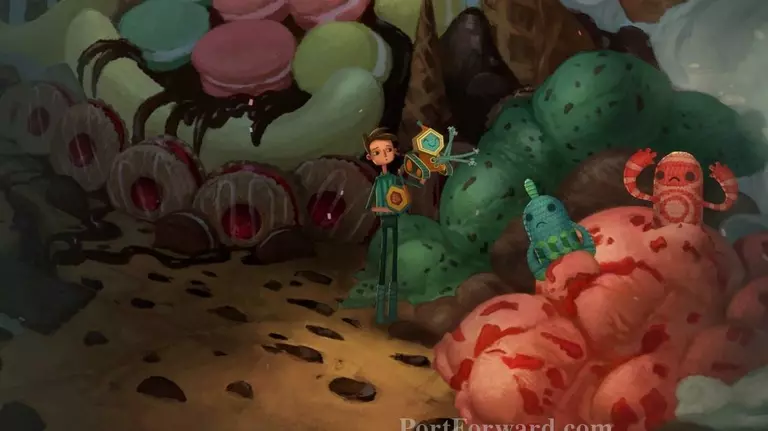
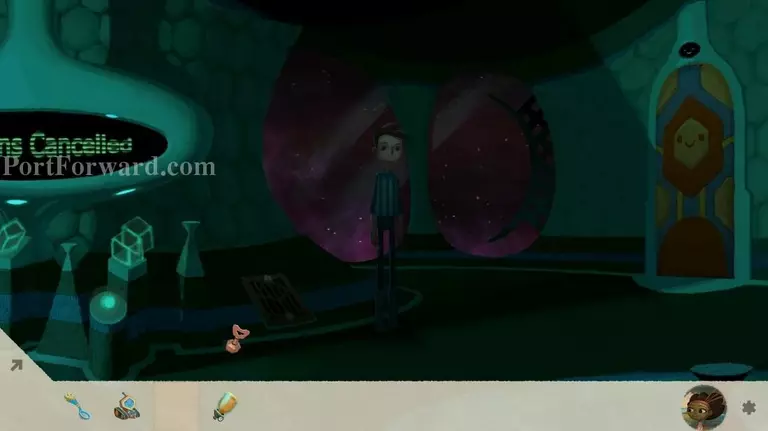
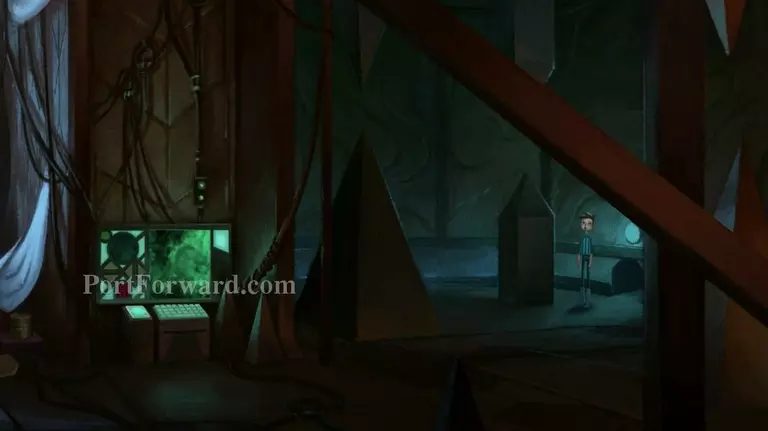
If you head to the left you'll notice the backdrop has a strange door. It's starting to feel a little bit like the "Truman Show" in here.
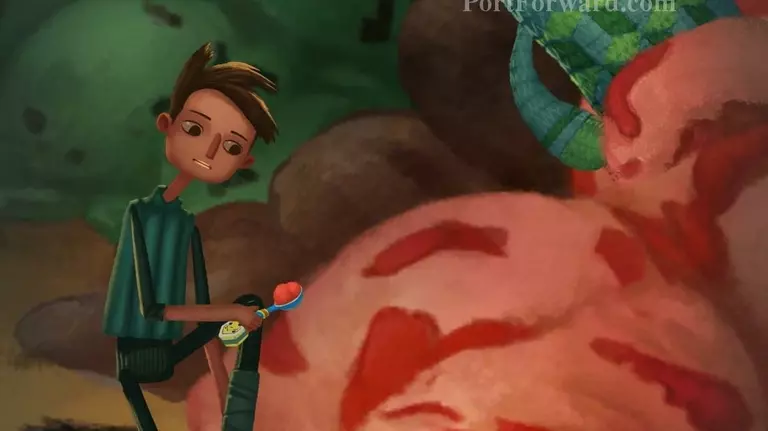
Oh well. There's nothing left to do except eat them knit creatures out of that mound of ice cream.
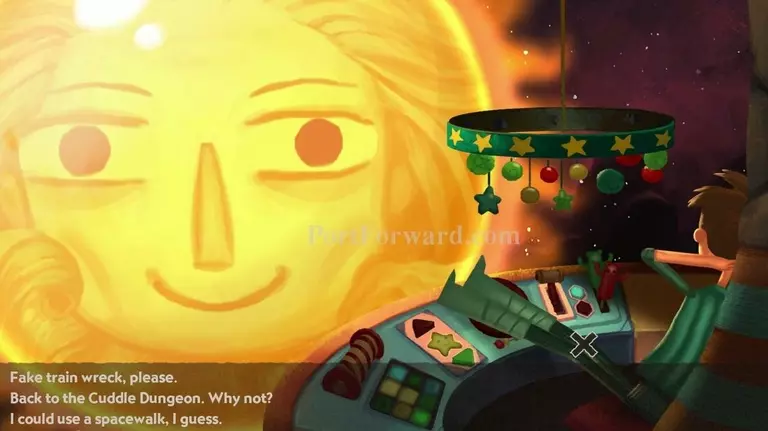
After dinner you might as well choo choo choose the train next.

This time you start near the top. You can click on "the bridge man" to wake him up, but before you do I've got an idea and you need to be ready for it.

Click on "the bridge man" to wake him up. Then immediately click on him again and Shay will tell him to go back to sleep.

This will cause "the bridge man" to retract his tongue while the train is riding over it which in turn causes science to take over and the train plummets.
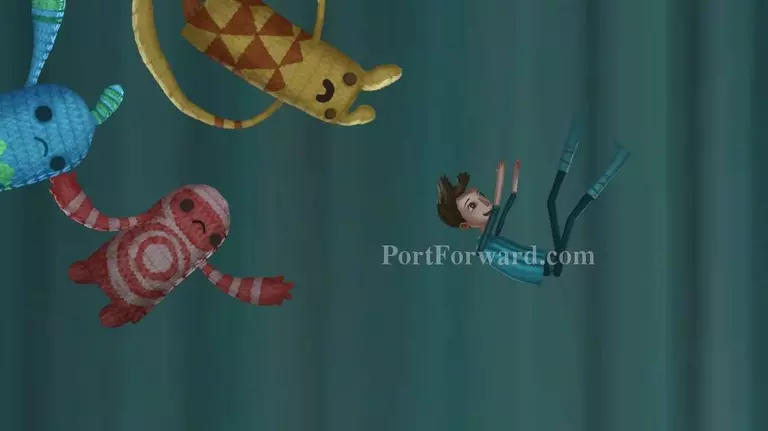
The knit creatures aren't particularly happy that Shay did this, but Shay is actually having fun for once.
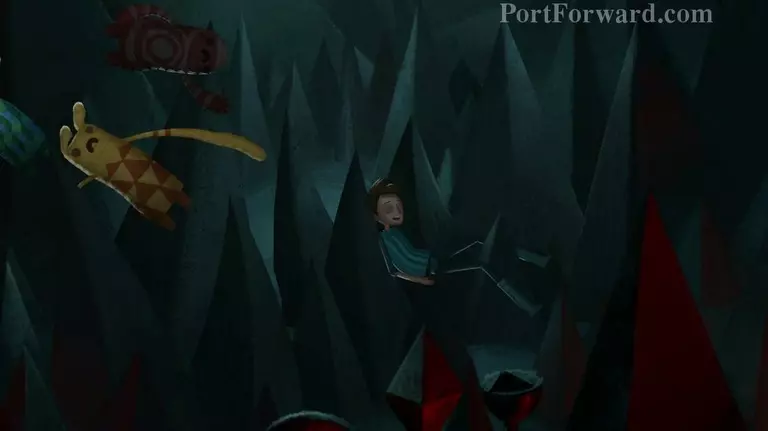
Shay will land on the spikes at the bottom. Like anything else around here they're perfectly safe. Shay is grateful for having something different, and potentially dangerous, happen to him for once.

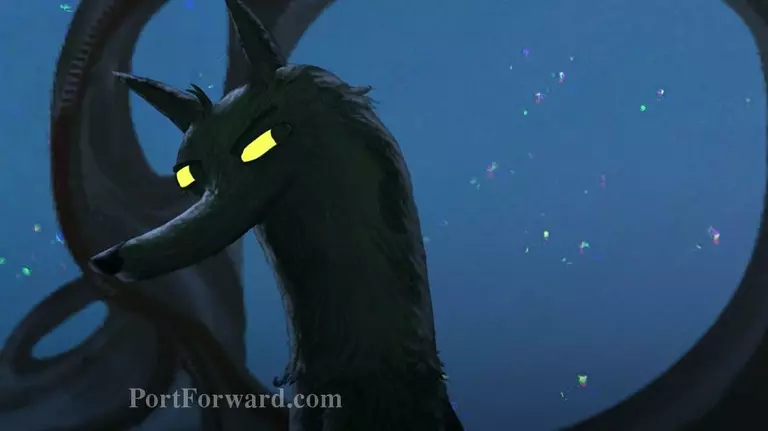
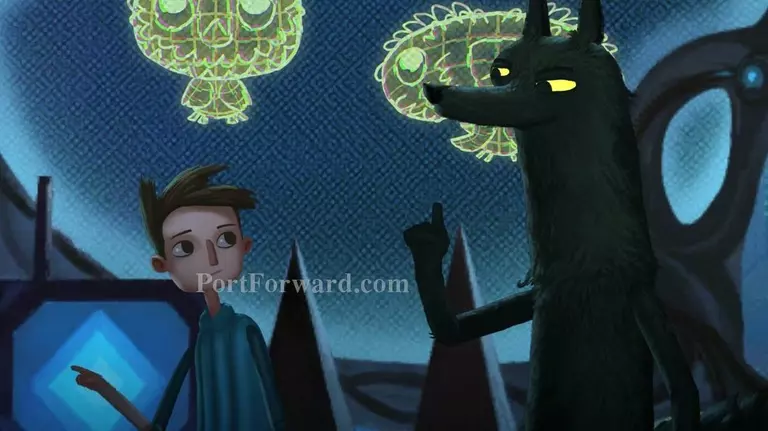
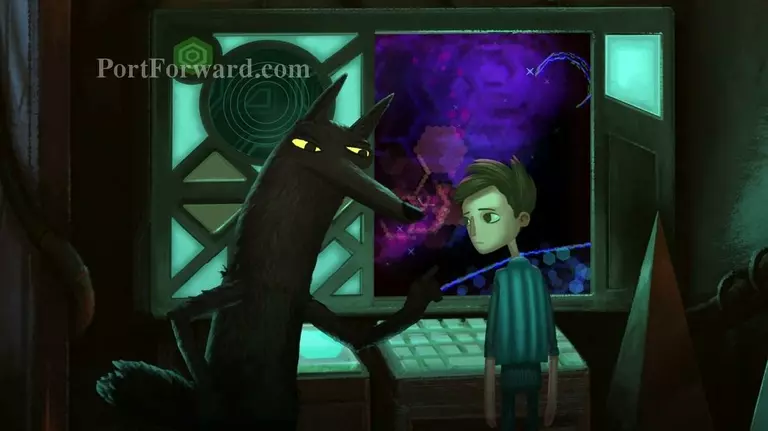
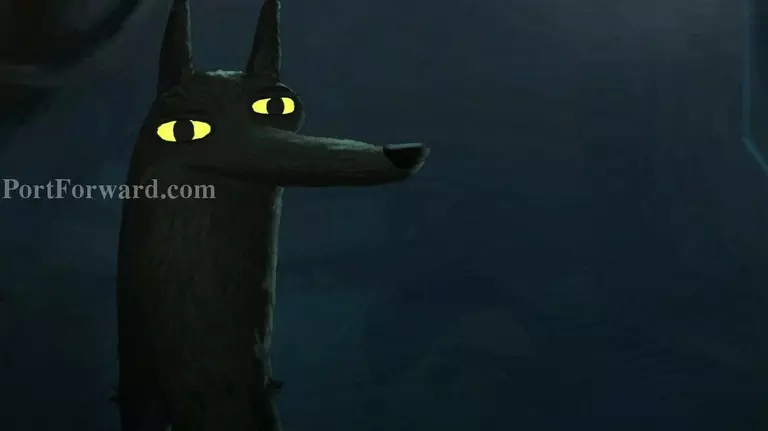
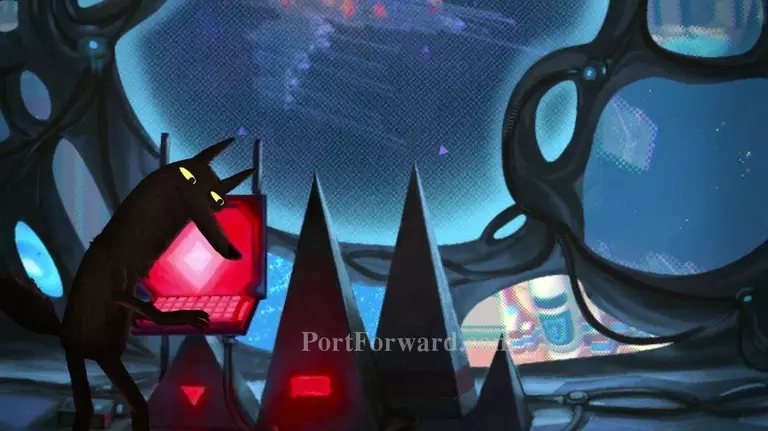
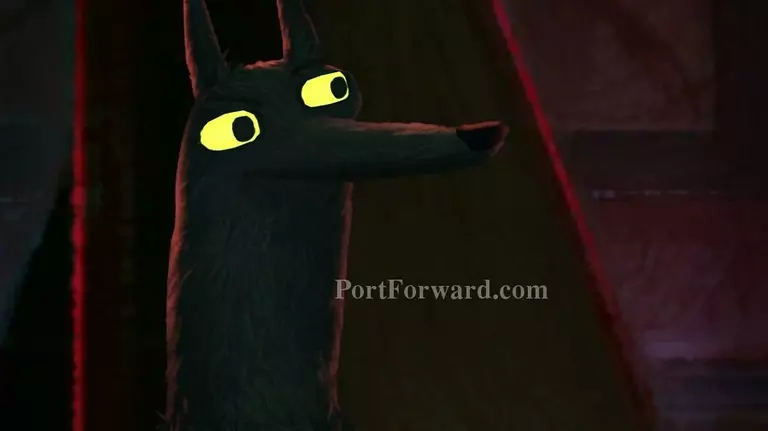
When the knit creatures are gone a shady wolf figure appears from the foreground.
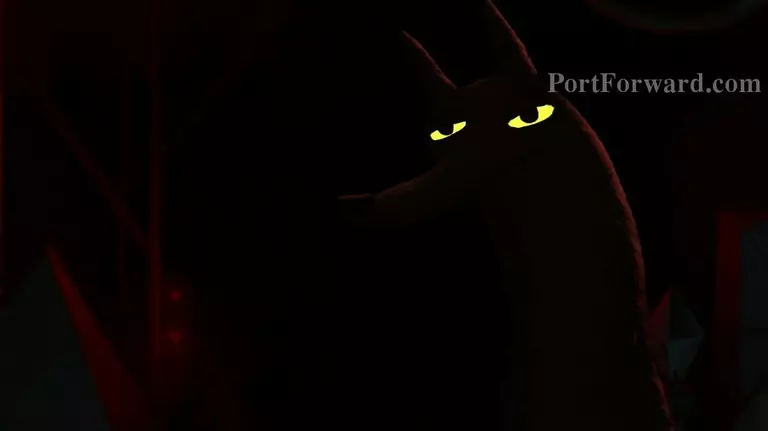
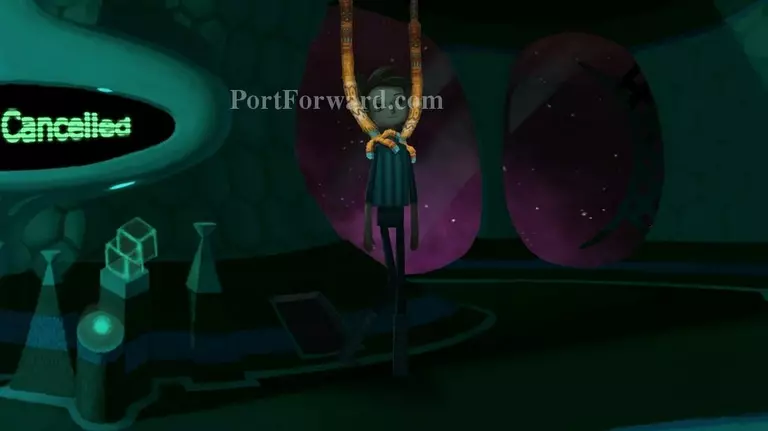
The shady wolf tells Shay to come find him when he's done playing kids games and gives Shay a socket wrench of some sort. Before disappearing back into the shadows he tells Shay to not let anyone know about this.

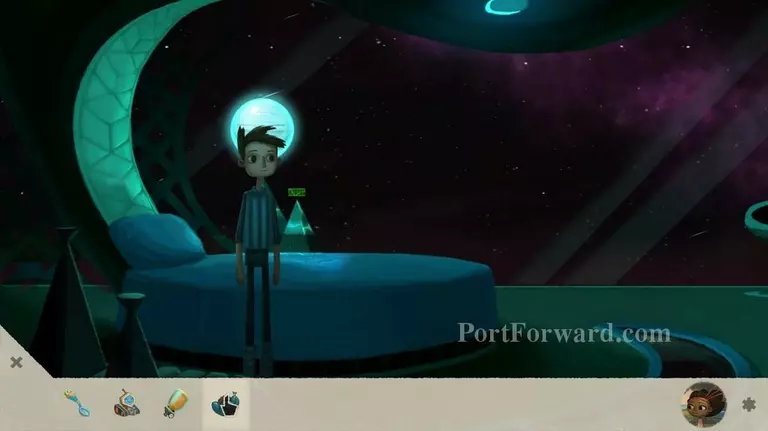
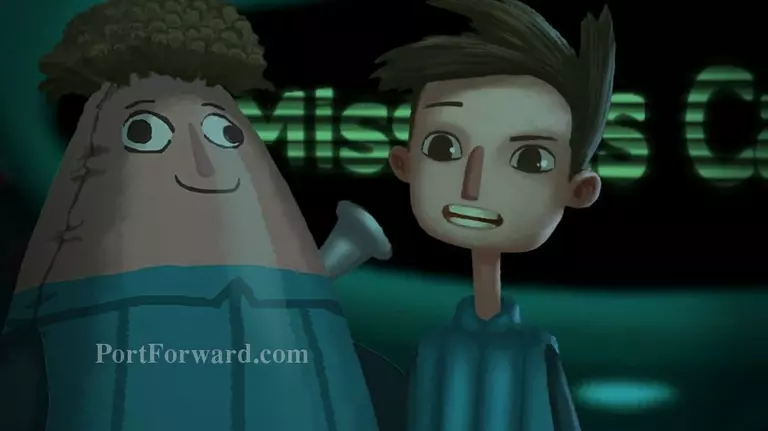
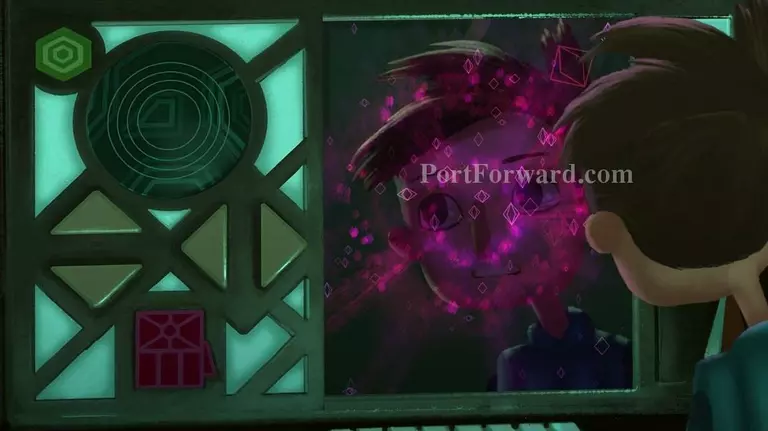
After the wolf is gone the computer picks Shay up and takes him back to his room to "heal up in bed until further notice". She says Shay may have a delayed fracture. I think I had one of those in college.

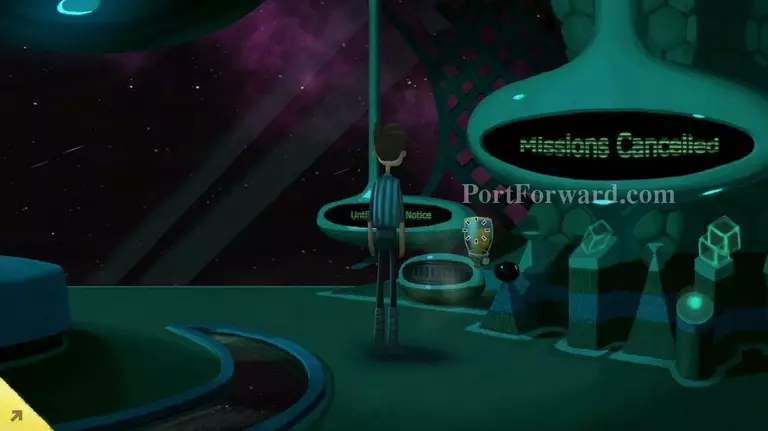
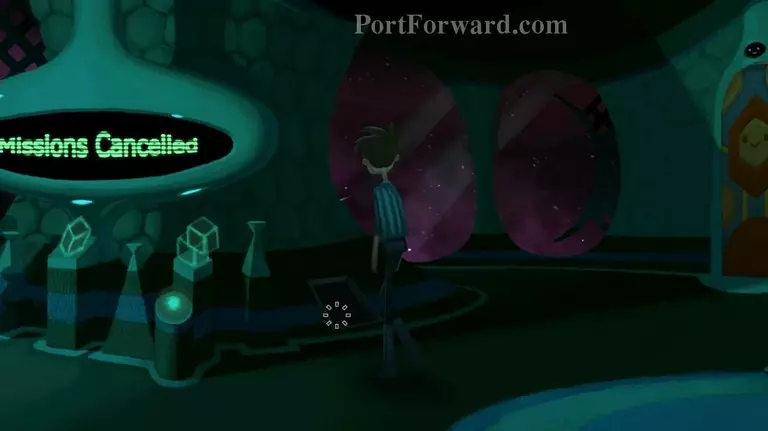
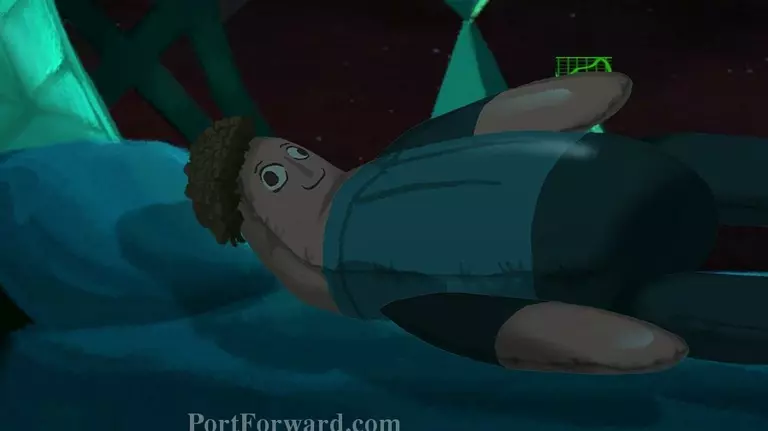
In the middle of what we will assume is space night, Shay awakens when you click anywhere on the screen.

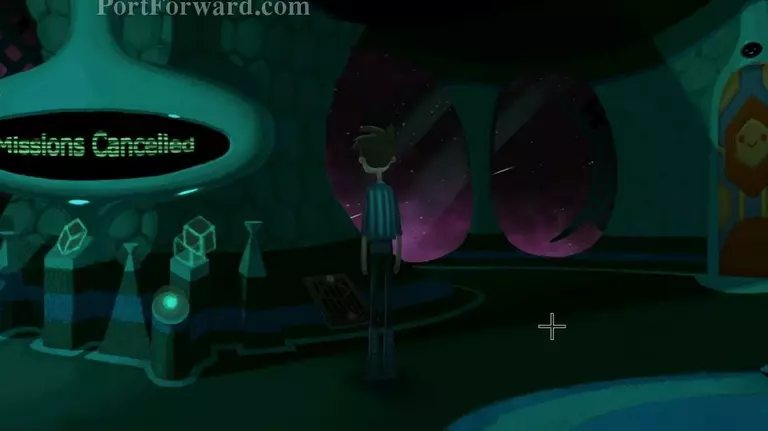
Shay comes to find that, for once, all his missions are cancelled which means he is free to mostly do whatever. Heads up, though, Shay is still confined to his room and the computer is still making sure he doesn't leave.
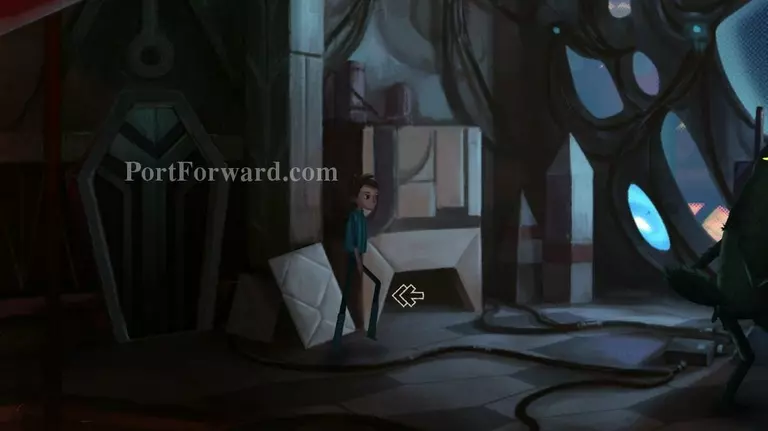
You can look around the room for now, though. You'll see a humidifier (it doesnt really do anything) and attached to it is some sort of air pump. You can click on the air pump to pick it up.
Then head to the right and you'll notice an air vent near the floor. If you click on it (you should) Shay will say it has weird little screws.
Just so you know, if you try to leave through the door on the right, Shay finds it's still locked and the computer puts him back into bed. This starts the sequence over (you will not lose your inventory, though, so you retain what you've already picked up).
Anyway, once Shay wakes up again head to the right, again, and use the socket wrench on the vent to open it.
Click on the vent to take what's inside. If you examine it Shay says it looks like an inflatable raft.
You can try to enter the vent now, but the computer will notice and put Shay back in bed- every time. We need to find a way to distract the computer so it thinks Shay is still in bed.
Once you wake Shay up again, combine the "raft" with the air tank to fill it up with air.
Oh my. That is not a raft. It's a blow up doll of Shay; If he gained 100 pounds and curled his hair. Creepy!
To distract the computer you need to place the creepy blow up doll in Shay's bed.
Once that's done head back to the right and climb in the vent again.
Luckily the computer is kind of stupid and can't tell that's not Shay in the bed so he can continue down the vent and move on now.
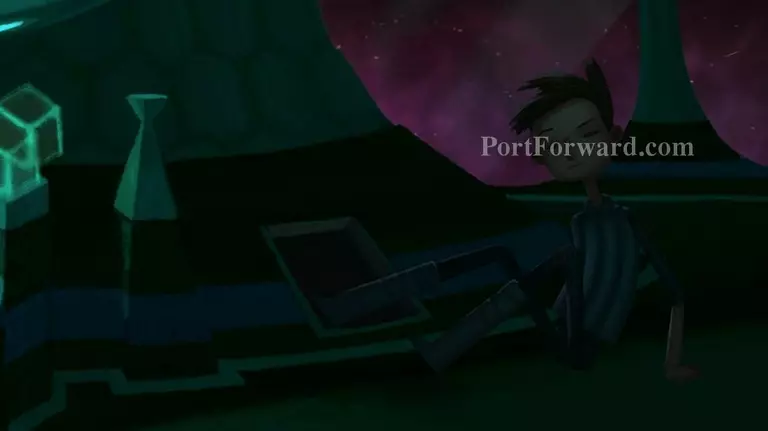
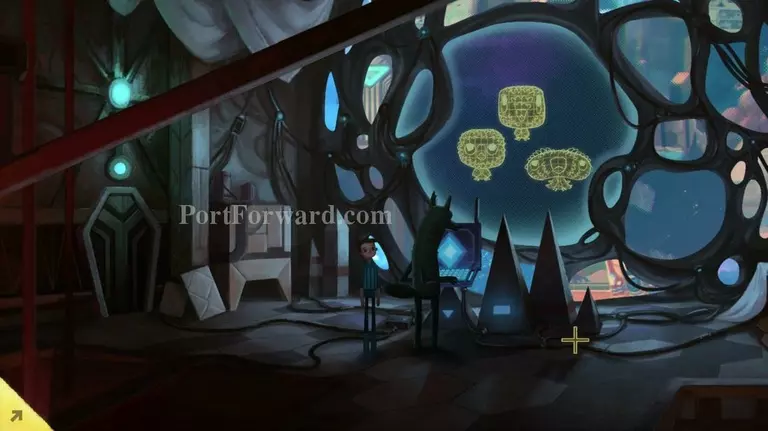
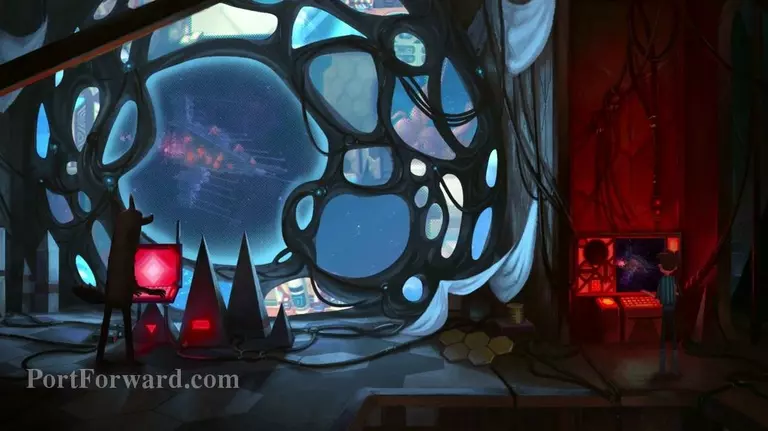
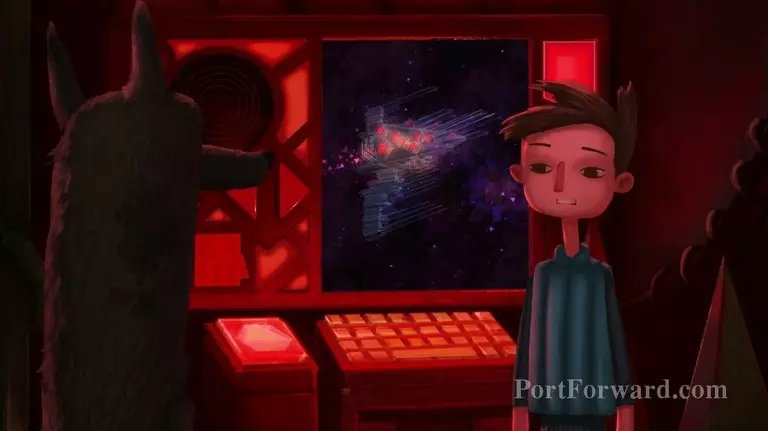
You arrive in some secret part of the ship. Shay remarks on how he's never seen this part of the ship, but I get the feeling he hasn't really seen much of the ship in general.
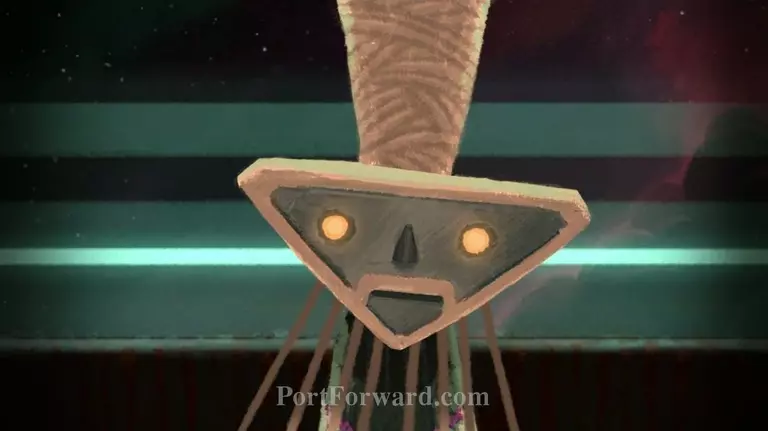
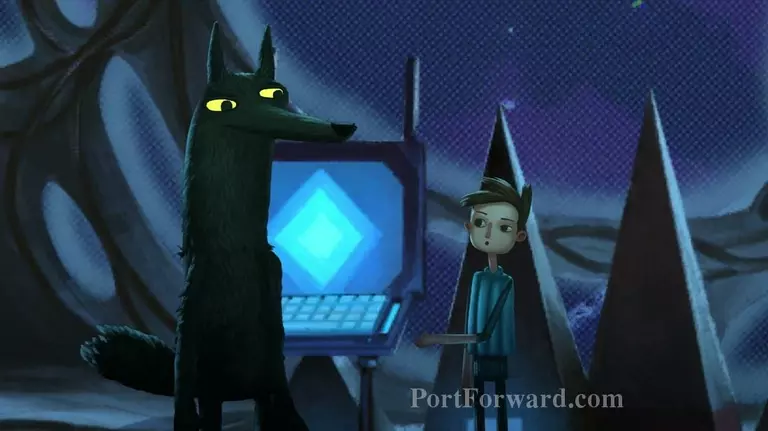
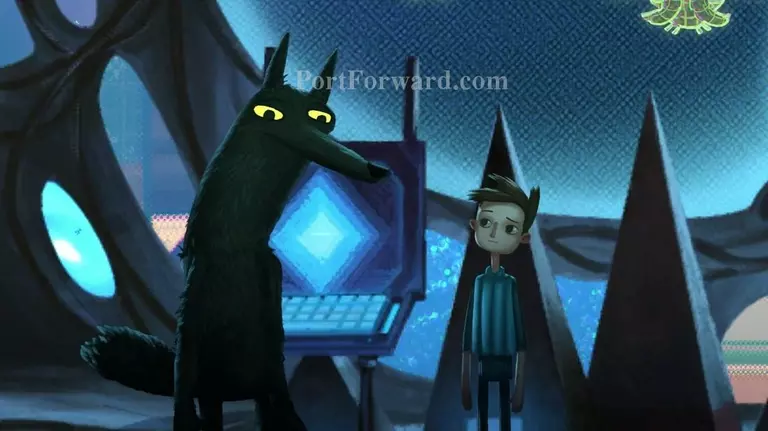
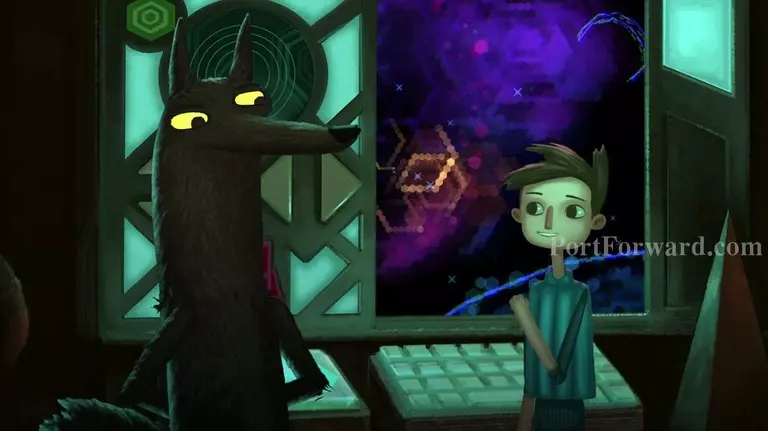
The wolf immediately greets Shay with more introspection on being done with children's games. We come to find this is Merrick and he is going to show Shay real problems that need solutions.
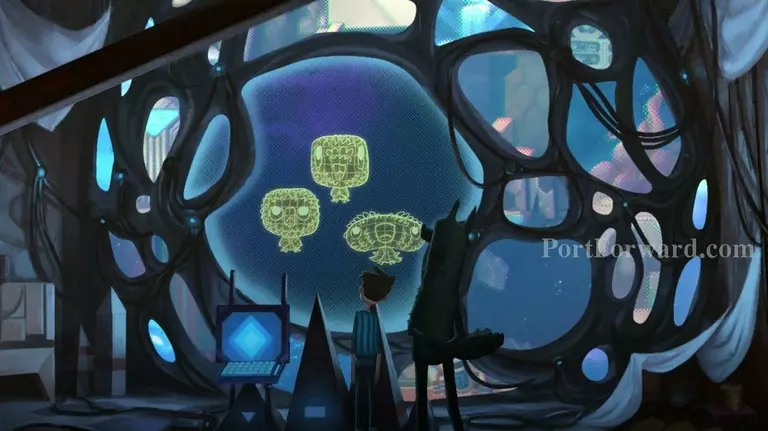
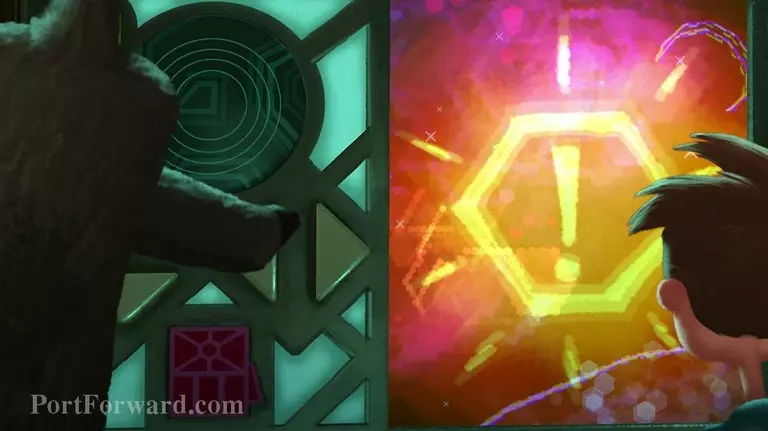
Merrick recieves a distress signal and goes on to show Shay some creatures that are being held captive in the Talon Nebula. He says if they are not saved then they will be executed.
Shay is ready to save the creatures without much more information or thought. He wants to tell the computer, but Merrick begs him not to as he doesn't believe the computer would understand- being that it is overly protective of Shay.
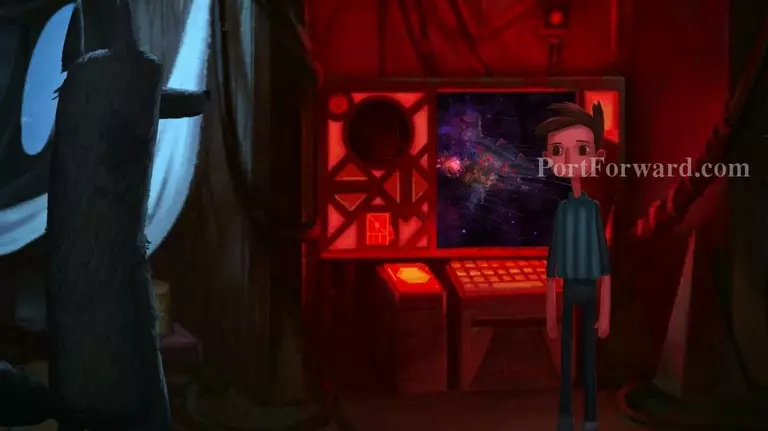
Merrick gives Shay a star chart so he can rechart a course and head to the right location in space to save the creatures.
He advises Shay to take the vent on the floor to the left and to hurry.

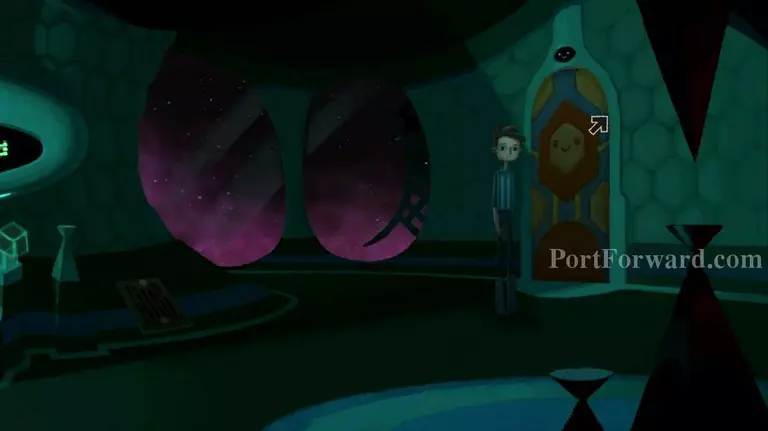
You can look around the room a little bit if you wish. One interesting thing is how Merrick says that the amount of cameras being used are for Shay's protection. He also requests you not touch the control computer on the right, yet. You also cannot go through any of the doors.
Welp, time to head into the vent on the floor on the left side of the room.
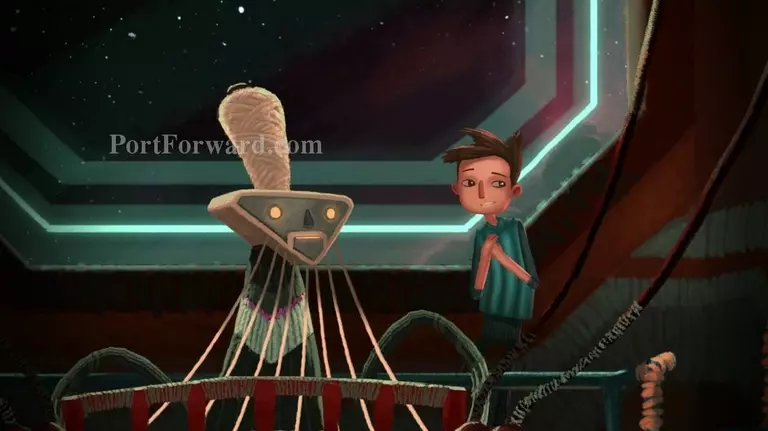
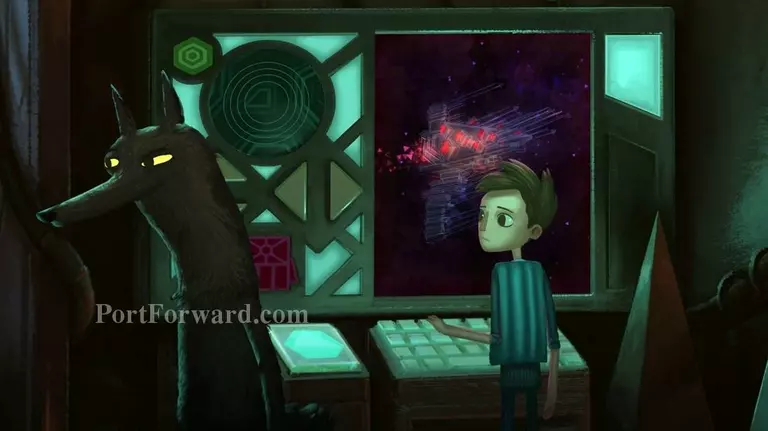
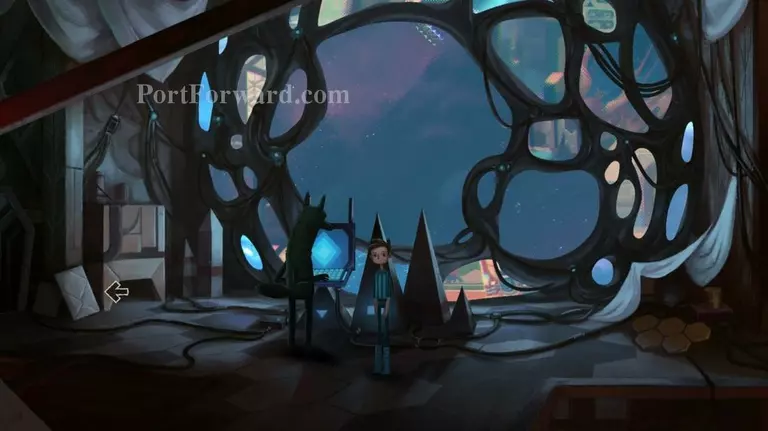
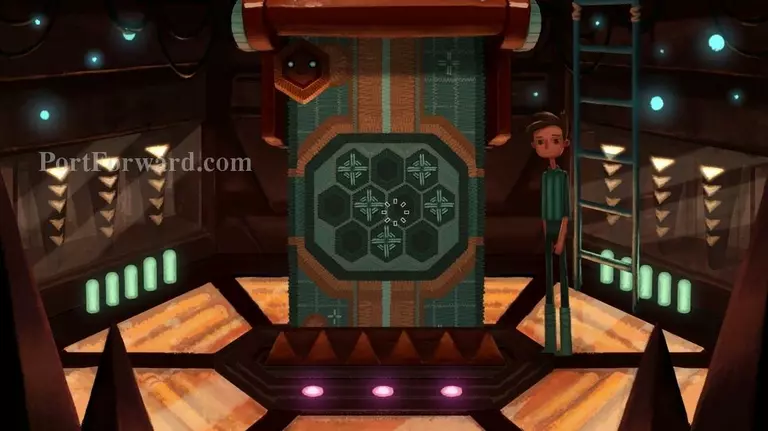
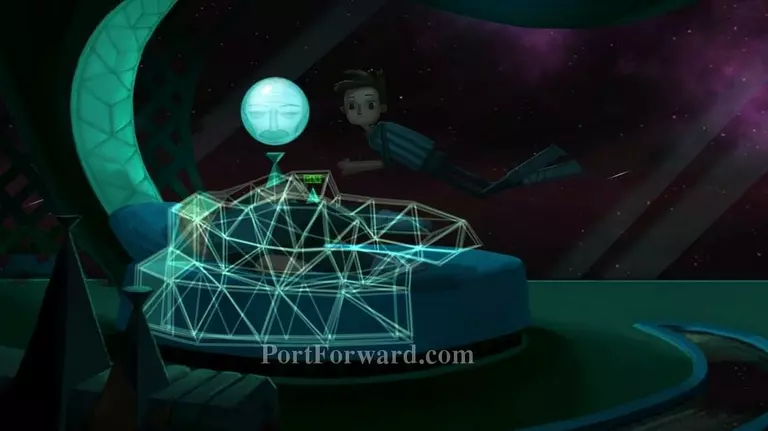
Shay is super stoked to be on a real mission for once. When you arrive here you'll meet the Space Weaver which is basically the ships navigation system. The really neat thing about this character/technology is that it weaves star patterns into the ships navigation system which then plots a course for places you want to take the ship.
Click on the Space Weaver to talk with him. The important thing to note is the Space Weaver won't take Shay somewhere dangerous. He also just requires you bring him a star chart and he will weave the star signs into his "NavScarf" to plot a course.
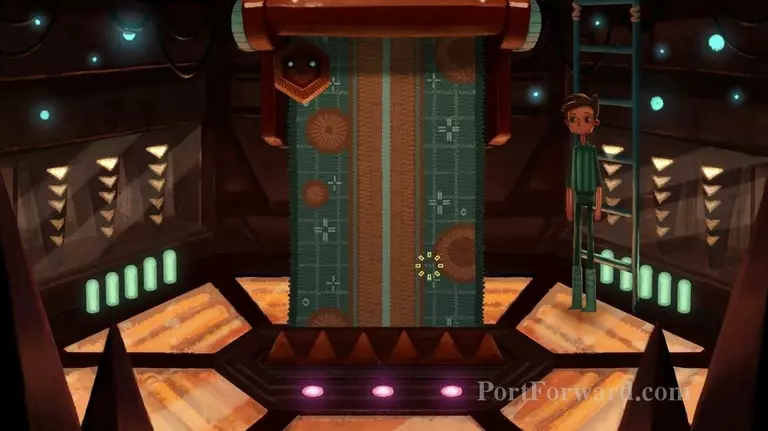
You can walk down to the "NavScarf" if you want but Shay just reitterates what the Space Weaver already said.
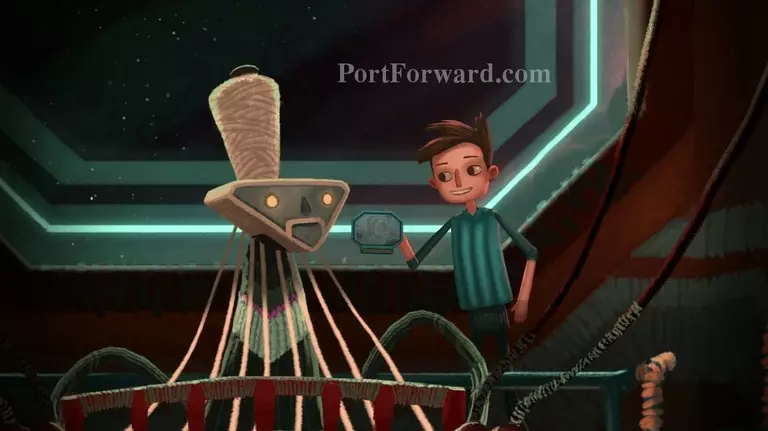
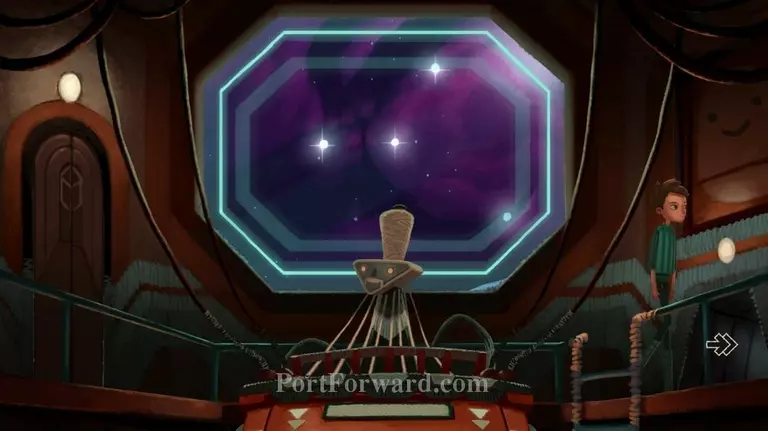
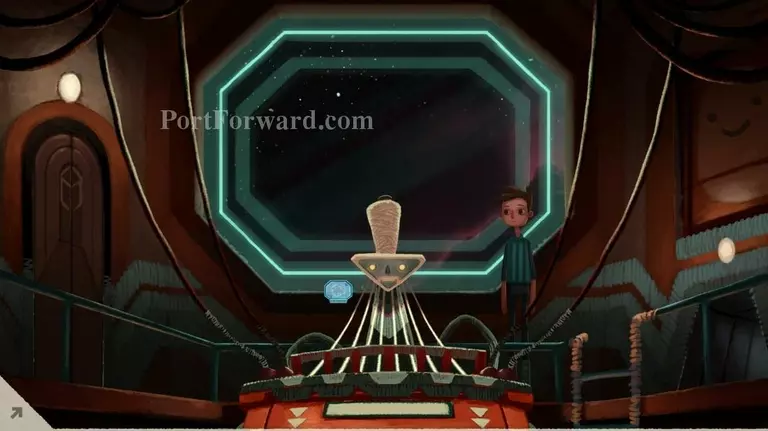
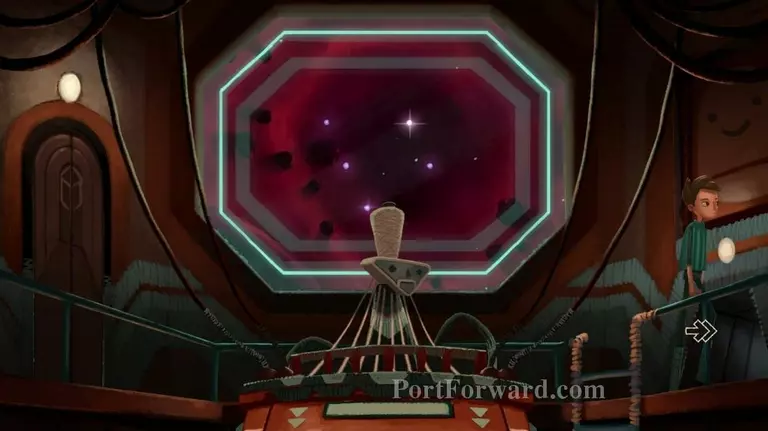
When you're ready give the star chart Merrick gave you to the Space Weaver.
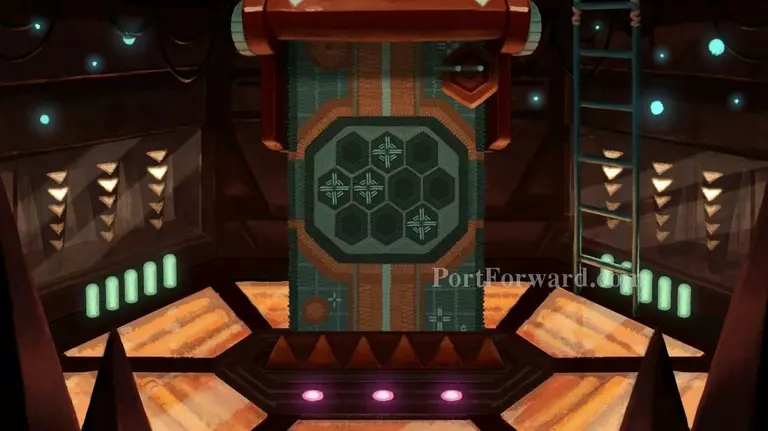
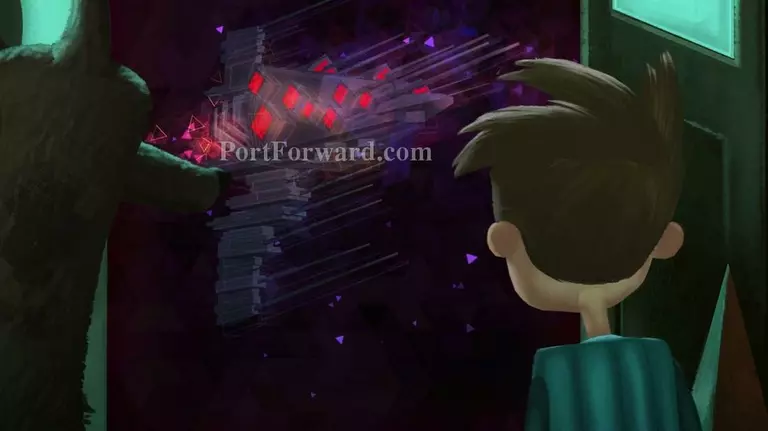
When you do the Space Weaver will do his thing weaving the pattern into the "NavScarf" which it will show you (this is important to remember later).
After the count down the ship will go through a knit pattern like form of hyper speed and then arrive in the Talon Nebula.
When that's done head back through the vent on the right to go back to the secret room where Merrick is.
Head to the right and click on Merrick to talk with him.
Merrick tells Shay that the creatures aren't being guarded. He then walks Shay over to the computer he wasn't allowed to touch earlier.
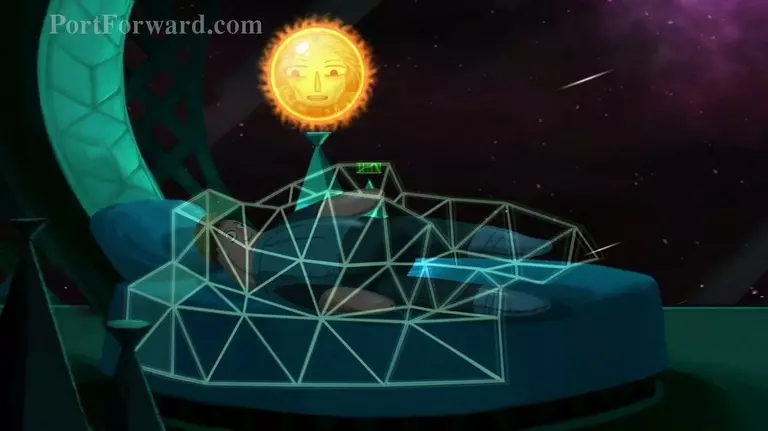
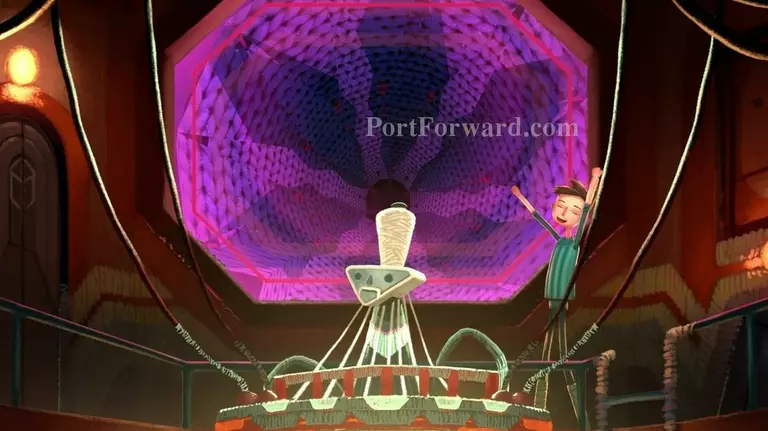
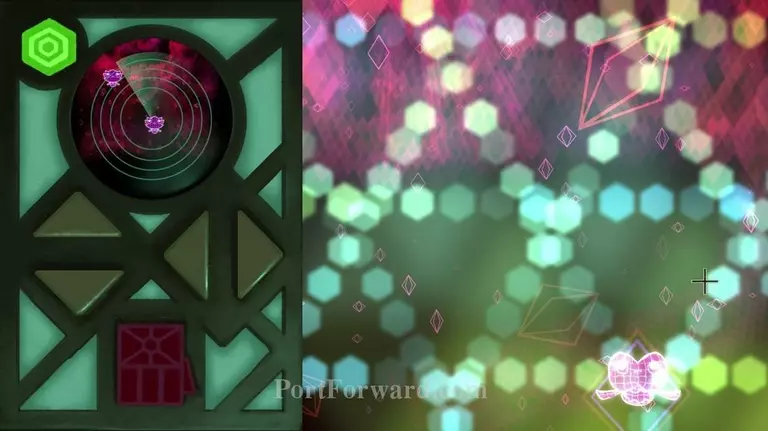
Merrick is then very insistent you lower the ship's shields to begin extraction. In order to do this click the big green light on the top left.
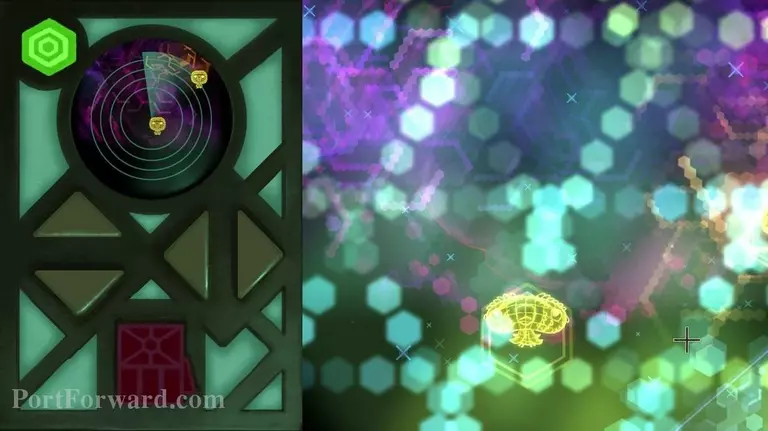
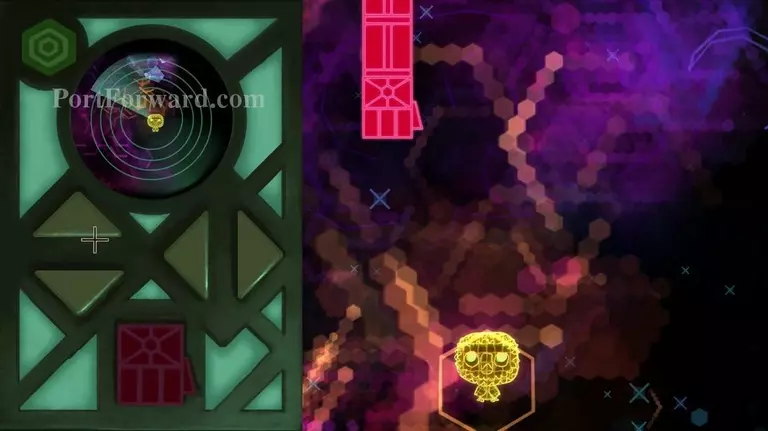
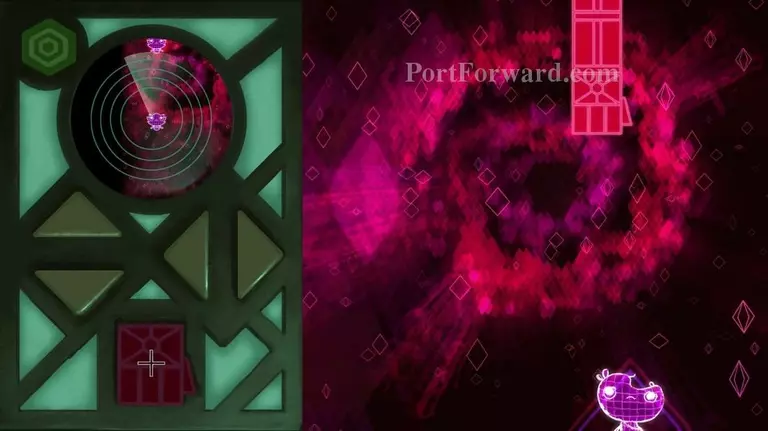
Once that is done a big red boom arm will swing left and right on the screen over a yellow creature at the bottom.
Basically this is just a simplified toy grabbing machine. Once the automated boom arm is in position over the creature click the big red button on the bottom left to have the boom arm move down and grab the creature.
Merrick will tell Shay that the boom arm will automatically put the creature in the auxillary cargo hold after you catch it. When Shay says he wants to go check on it, Merrick convinces him not to as they need to be left in protective quarantine so they don't get any foreign bacteria that could kill them.
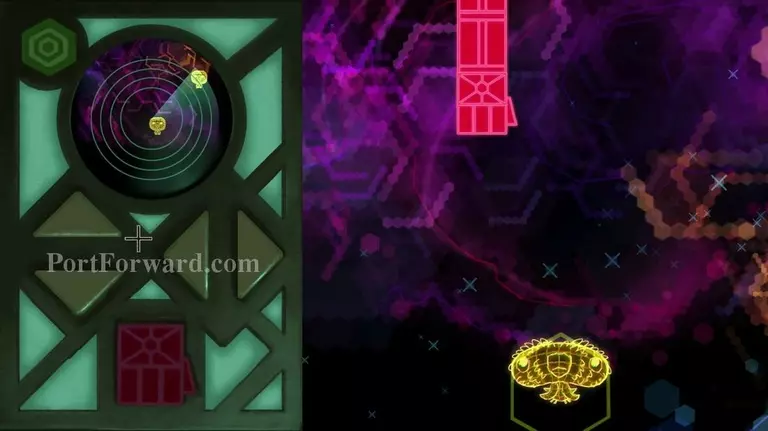
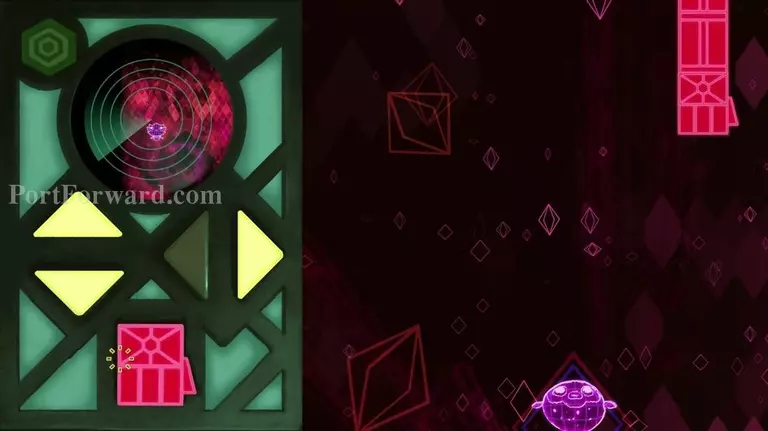
Once that conversation is done Shay will return to the boom arm controls. You will notice now that there are yellow arrows flashing on the left. Click on the RIGHT facing arrow then when its done moving click the UP facing arrow to get in position for the next creature.
Like before when the boom arm is directly over head of the creature hit the big red button to grab it and put it safely in the auxillary cargo hold.
After saving the second creature Merrick will spot a dangerous ship threatening to attack. He wants to retreat immediately.
Shay doesn't want to leave the last creature without saving it and can't stand that he had to choose who lives and who dies.
In a moment of realistic responsible adult thinking, Merrick warns that in life we have to make tough decisions when we grow up and you have to get used to it.
Theres no time for that, though, as another distress signal goes off from Danger System 5.

Merrick gets Shay to take control of his feelings for now and gives him another star chart.
From here head back to the left and go through the vent on the floor again.
Give the next star chart to the Space Weaver.
While the Space Weaver is techno babbling you will notice you have control of Shay. You can head down to the "NavScarf" and examine it for Shay to comment on it. This will be important later.
Head back to the right into the vent. Shay will inform Merrick that you have reached your destination and Merrick will head Shay back to the boom arm controls.
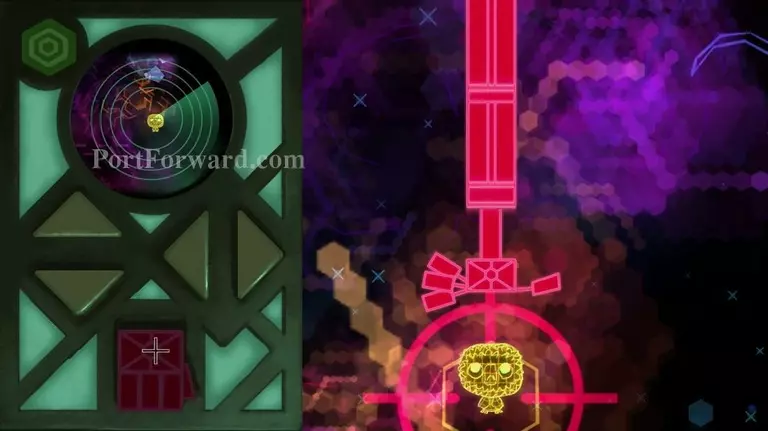
Remember to bring down the shields with the green button on the top left. Then when the boom arm is over the creature click the red button to collect it.
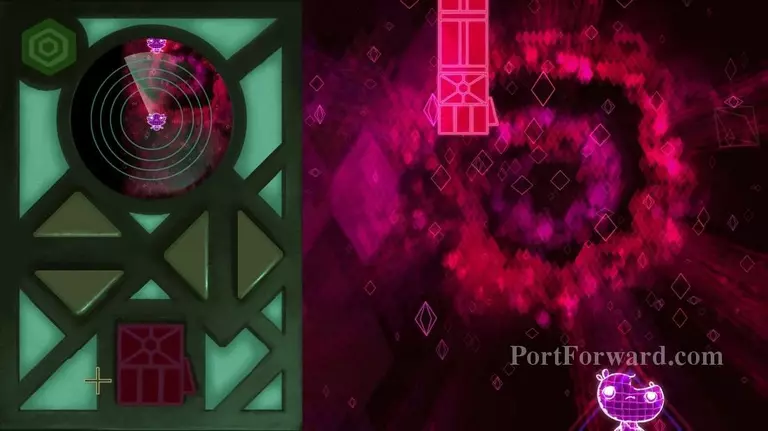
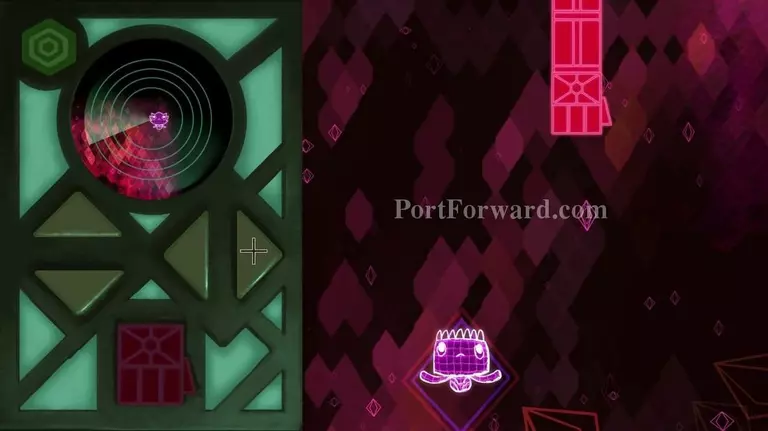
When that's done click the yellow arrow that is facing UP and then click the arrow that is facing LEFT to be in position for the next creature.
Same as before: line it up and click the red button to pick it up and put it where it goes.
Click the UP arrow twice to get in position for the next creature and do your stuff to save it.
Now go UP and RIGHT to get in position for another creature. You'll notice this creature is moving back and forth as well as the boom arm. When you are lined up pick it up and put it in it's safety box.
Merrick wants Shay to stop now but Shay refuses believing he can save the last creature before the ship is attacked.
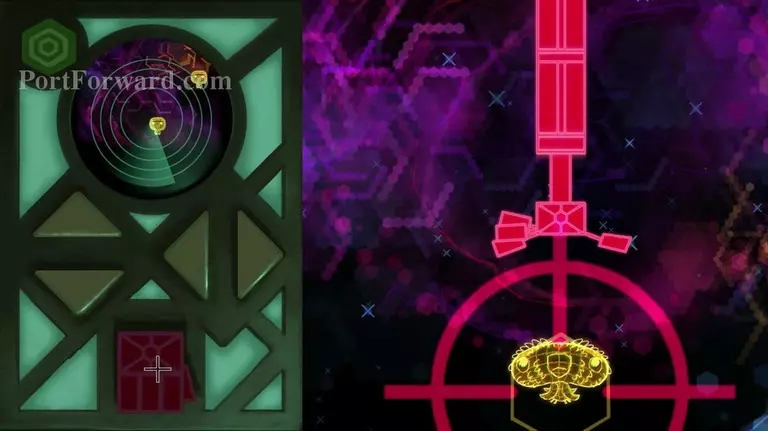
Click DOWN and then DOWN again to be in position for the last creature. Then when the boom arm and the creature are lined up hit the red button.
Shay notices something strange about the last creature but before he can finish saving it another ship approaches endangering the mission.
Merrick has lost control of the ship now and needs a way to hack into the boom arm again.
Merrick says you also need a way to bring the shields down again at the right time.
Lastly you need to navigate to the next distress beacon.
Merrick realizes, however, that the ship must be freaking out now and is going to check on Shay- who should be in bed right now!
Shay bolts to his room removing the creepy blow up doll and getting into the bed just in time.

Phew that was close. The computer didn't catch Shay out of bed and is going to handle the ship having been under attack. Although, I'm not really sure how but that's for her to deal with.
More Broken Age (Act1) Walkthroughs
This Broken Age (Act1) walkthrough is divided into 8 total pages.