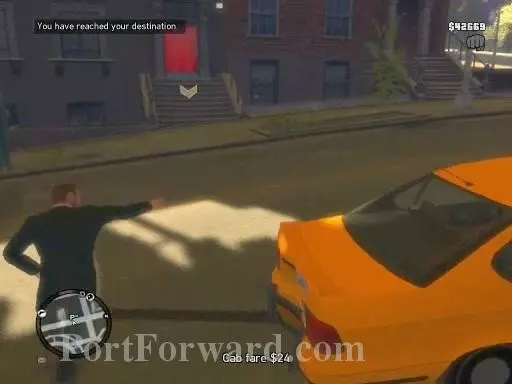
Grand Theft Auto IV Walkthrough Algonquin Missions

September 12, 2016 (Last Updated: ) | Reading Time: 14 minutes

This Grand Theft Auto IV walkthrough is divided into 3 total pages.

You can jump to nearby pages of the game using the links above.

Algonquin Missions
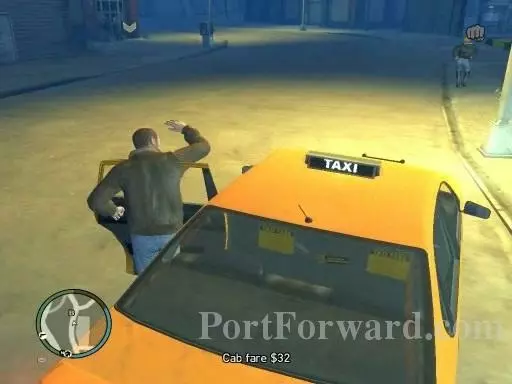
Grand Theft Auto IV Walkthrough - Grand Theft-Auto-IV 137

Go to the B icon on the radar to start the next mission.
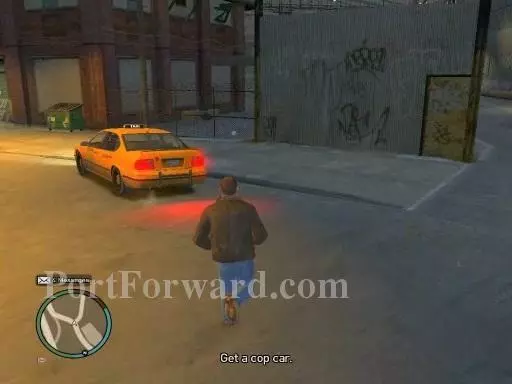
Grand Theft Auto IV Walkthrough - Grand Theft-Auto-IV 138

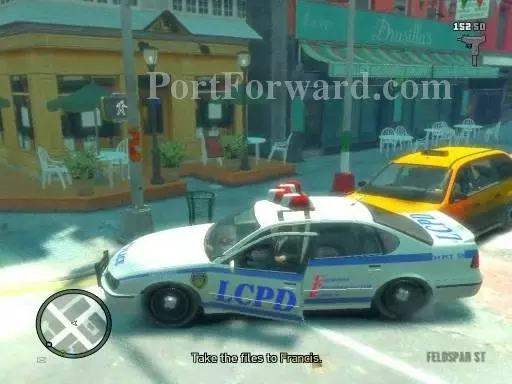
Brucie will want you to get a cop car. SO head to the police station to steal one.
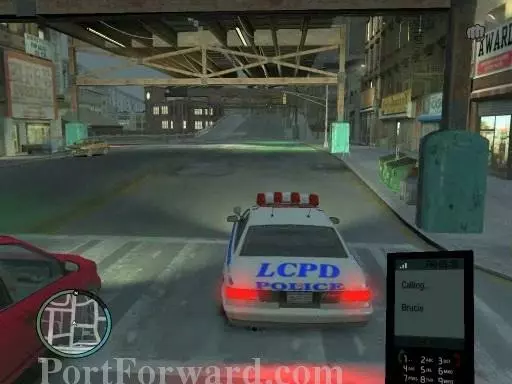
Grand Theft Auto IV Walkthrough - Grand Theft-Auto-IV 139

A call from Brucie will give you further directions.
Grand Theft Auto IV Walkthrough - Grand Theft-Auto-IV 140

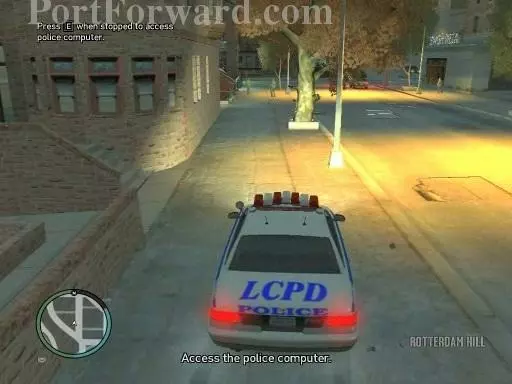
You're gonna have to access the police computer. To do so, Press the action button while the car is stopped to access it.
Grand Theft Auto IV Walkthrough - Grand Theft-Auto-IV 141

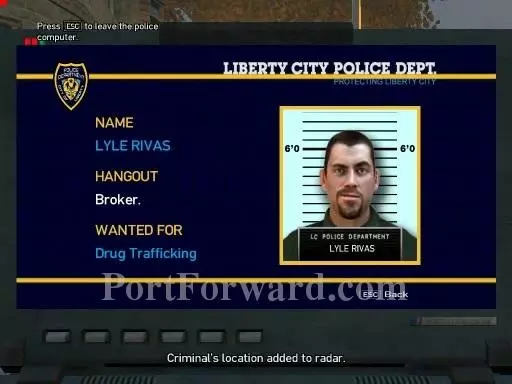
The computer will find your guy.

Grand Theft Auto IV Walkthrough - Grand Theft-Auto-IV 142

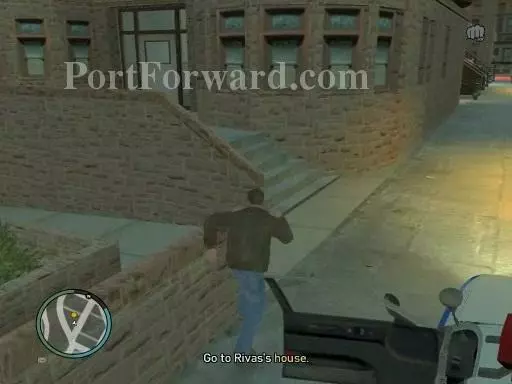
Go to his house (I was already there).
Grand Theft Auto IV Walkthrough - Grand Theft-Auto-IV 143

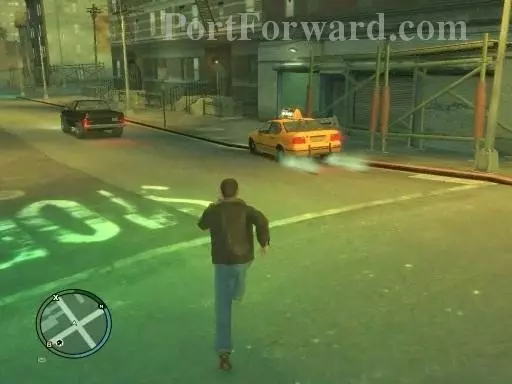
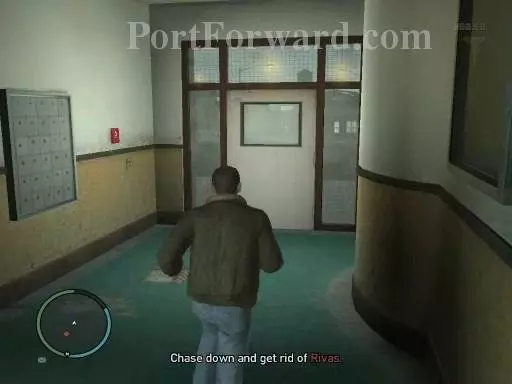
he'll try and escape so chase him.

Grand Theft Auto IV Walkthrough - Grand Theft-Auto-IV 144

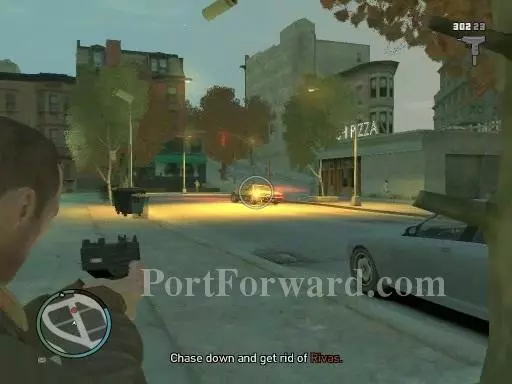
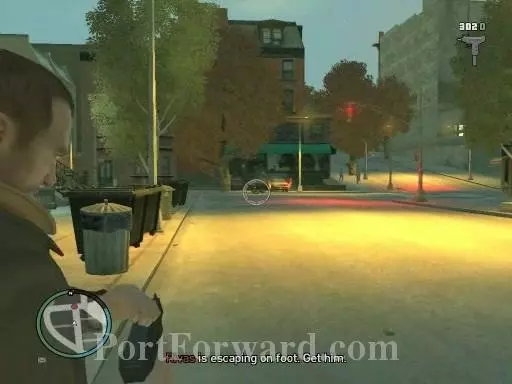
He'll run away via car so try and take out his tires and make him go on foot.
Grand Theft Auto IV Walkthrough - Grand Theft-Auto-IV 145

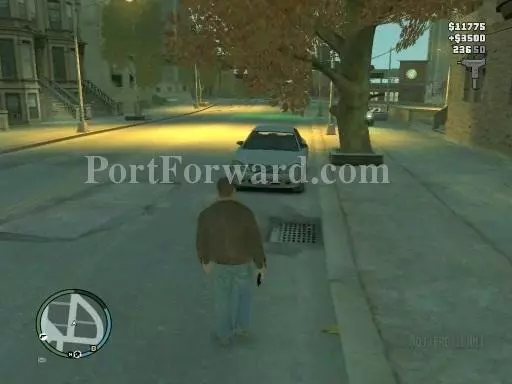
Once he's on foot, it'll be easier to kill him.
Grand Theft Auto IV Walkthrough - Grand Theft-Auto-IV 146

And that'll be it.

Grand Theft Auto IV Walkthrough - Grand Theft-Auto-IV 147

For the next mission, head to the B icon on the radar.
Grand Theft Auto IV Walkthrough - Grand Theft-Auto-IV 148

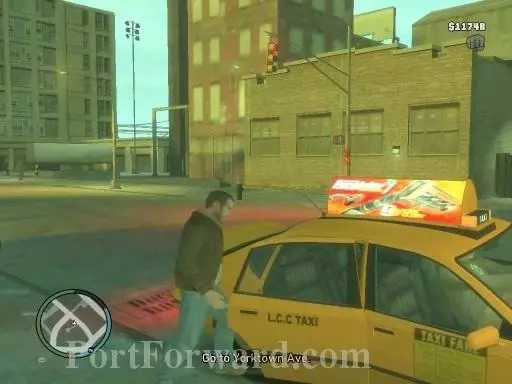
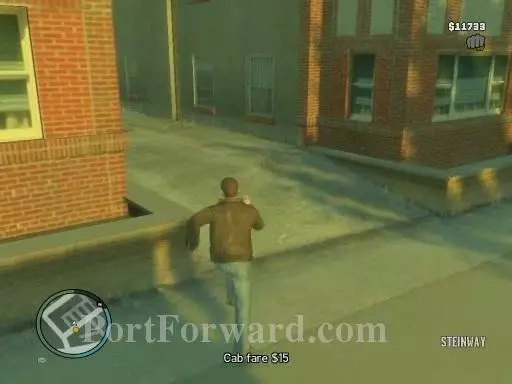
Brucie wants you to go out to Yorktown Ave.
Grand Theft Auto IV Walkthrough - Grand Theft-Auto-IV 149

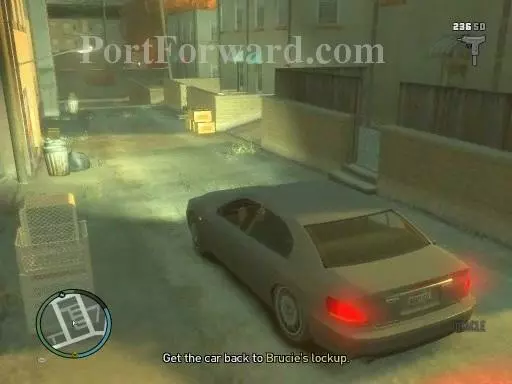
Get Lyle's car in the alleyway where he used to live.
Grand Theft Auto IV Walkthrough - Grand Theft-Auto-IV 150

Two thugs will notice you and shoot at you. Get outta there as soon as possible and get to the lockup.
Grand Theft Auto IV Walkthrough - Grand Theft-Auto-IV 151

And that'll be it for that mission.

Grand Theft Auto IV Walkthrough - Grand Theft-Auto-IV 152

For the new mission, go to the B icon on the radar.
Grand Theft Auto IV Walkthrough - Grand Theft-Auto-IV 153

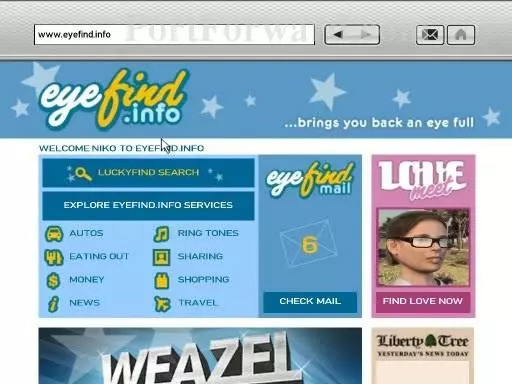
Get to the internet cafe.

Grand Theft Auto IV Walkthrough - Grand Theft-Auto-IV 154

Click on love meet.

Grand Theft Auto IV Walkthrough - Grand Theft-Auto-IV 155

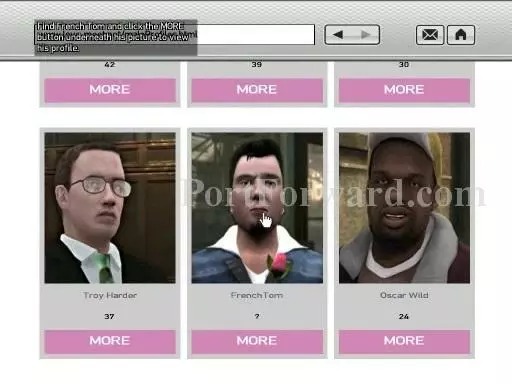
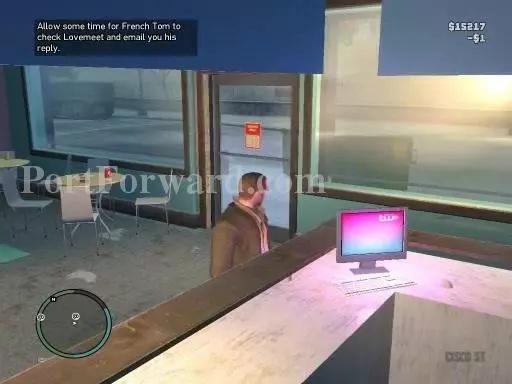
Then find French Tom and look at his info.
Grand Theft Auto IV Walkthrough - Grand Theft-Auto-IV 156

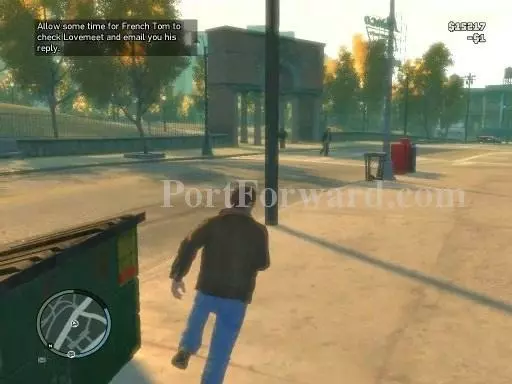
Wait for him to reply back to you.

Grand Theft Auto IV Walkthrough - Grand Theft-Auto-IV 157

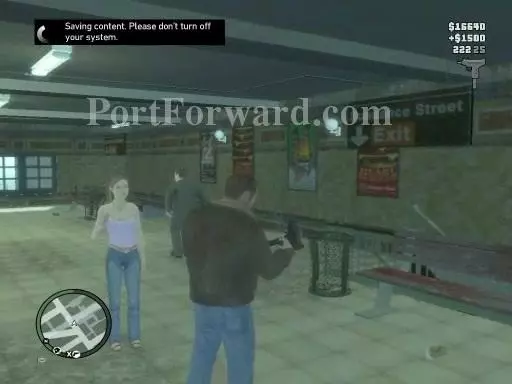
Aterwards, hurry and escape because the attackers will come. And that'll be it.
Grand Theft Auto IV Walkthrough - Grand Theft-Auto-IV 158

For the next mission get to the M icon.
Grand Theft Auto IV Walkthrough - Grand Theft-Auto-IV 159

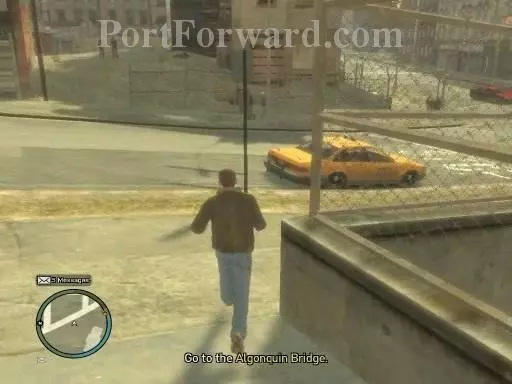
Get to the Algonquin Bridge.

Grand Theft Auto IV Walkthrough - Grand Theft-Auto-IV 160

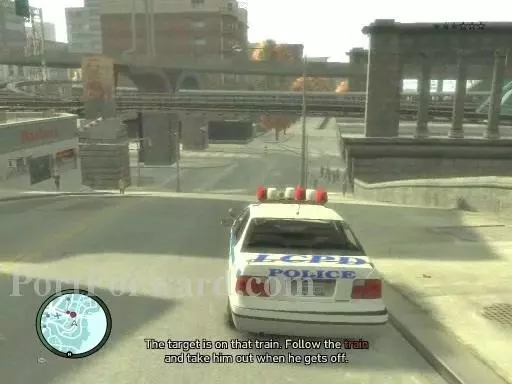
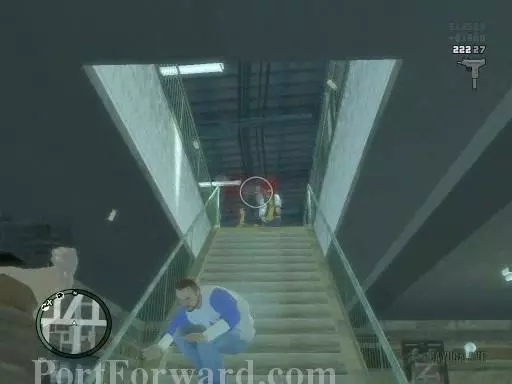
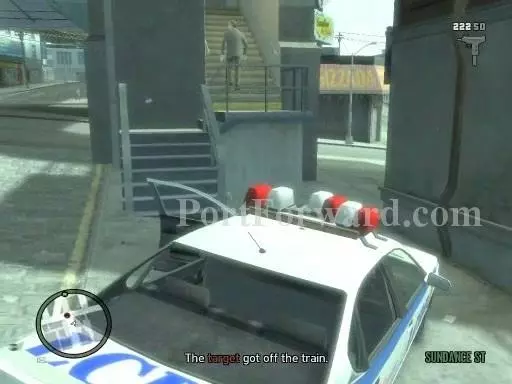
Then, follow the train where the enemy is.
Grand Theft Auto IV Walkthrough - Grand Theft-Auto-IV 161

When he gets off, go find him!

Grand Theft Auto IV Walkthrough - Grand Theft-Auto-IV 162

When you do, kill him.

Grand Theft Auto IV Walkthrough - Grand Theft-Auto-IV 163

And that's it!

Grand Theft Auto IV Walkthrough - Grand Theft-Auto-IV 164

Go to the "?" mark on the radar for the next mission.
Grand Theft Auto IV Walkthrough - Grand Theft-Auto-IV 165

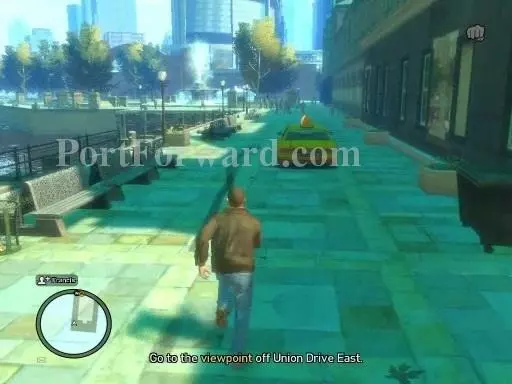
Francis will want you to go to the viewpoint off Union Drive East.
Grand Theft Auto IV Walkthrough - Grand Theft-Auto-IV 166

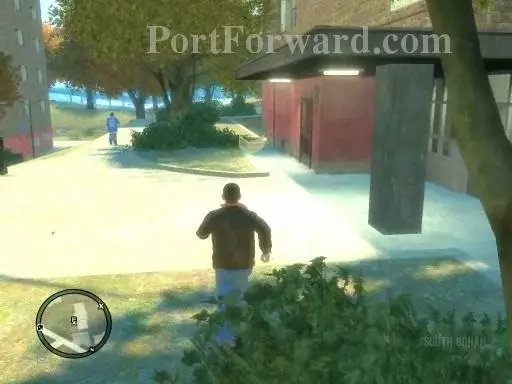
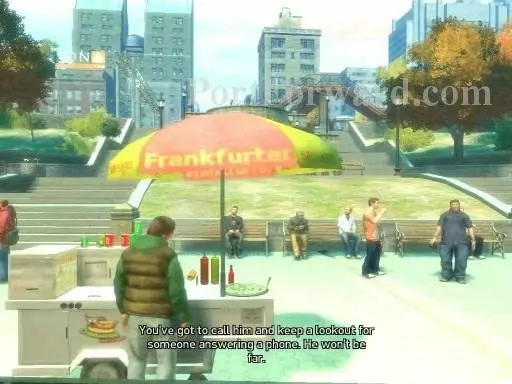
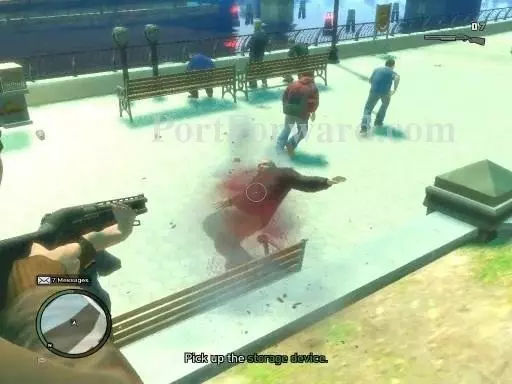
Your target is int he park. Francis will give you the number so you can call him. Find the guy that's answering a phone.
Grand Theft Auto IV Walkthrough - Grand Theft-Auto-IV 167

Then kill him.

Grand Theft Auto IV Walkthrough - Grand Theft-Auto-IV 168

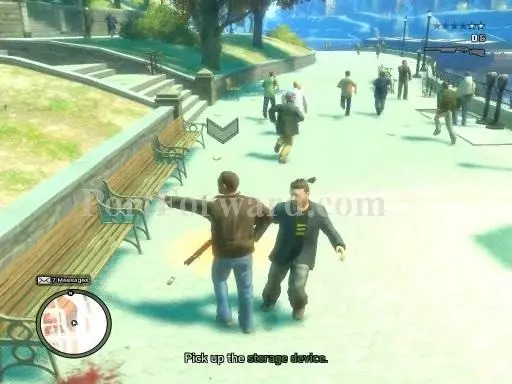
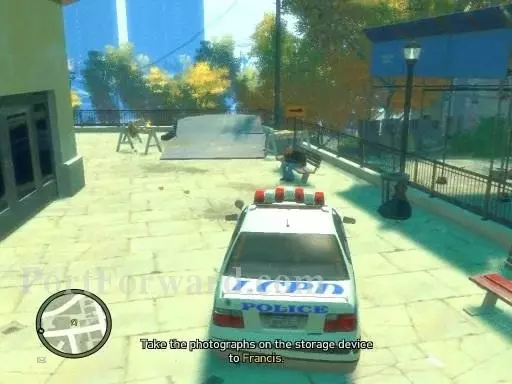
Afterwards, pick up the storage device.
Grand Theft Auto IV Walkthrough - Grand Theft-Auto-IV 169

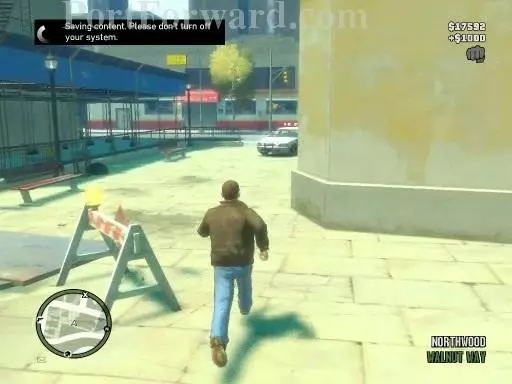
Then, take the storage device back to Francis.
Grand Theft Auto IV Walkthrough - Grand Theft-Auto-IV 170

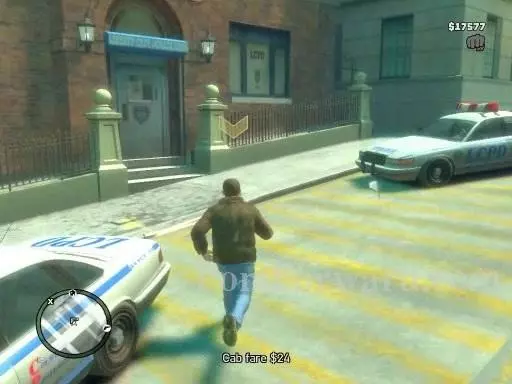
And that'll be the end of that mission.
Grand Theft Auto IV Walkthrough - Grand Theft-Auto-IV 171

For the next mission, go to the F icon on the radar.
Grand Theft Auto IV Walkthrough - Grand Theft-Auto-IV 172

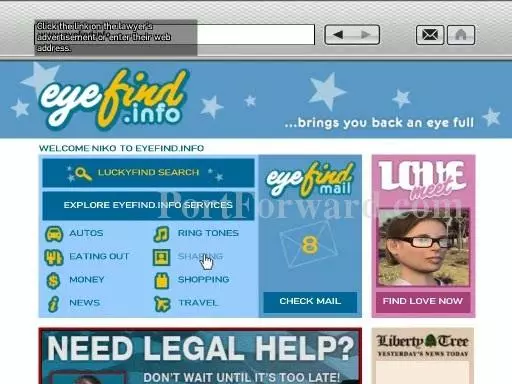
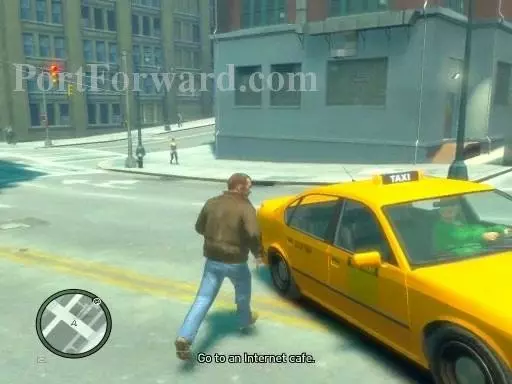
Head back to the internet cafe.

Grand Theft Auto IV Walkthrough - Grand Theft-Auto-IV 173

Click on the lawyer ad.

Grand Theft Auto IV Walkthrough - Grand Theft-Auto-IV 174

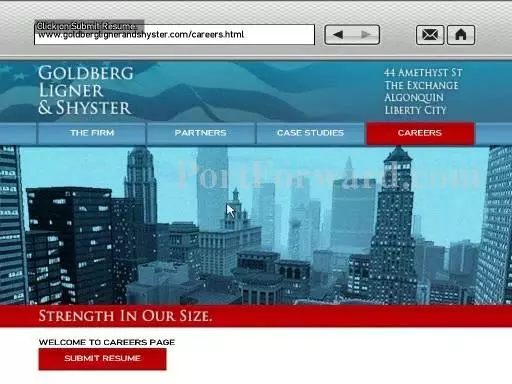
Then, go to the Careers tab.

Grand Theft Auto IV Walkthrough - Grand Theft-Auto-IV 175

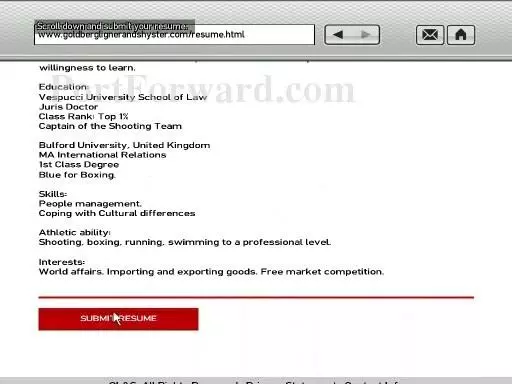
Then, submit your resume.

Grand Theft Auto IV Walkthrough - Grand Theft-Auto-IV 176

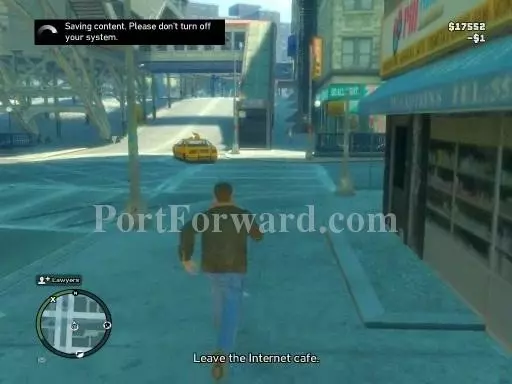
Leave the cafe afterwards.

Grand Theft Auto IV Walkthrough - Grand Theft-Auto-IV 177

Go to the E icon on the radar for the next mission.
Grand Theft Auto IV Walkthrough - Grand Theft-Auto-IV 178

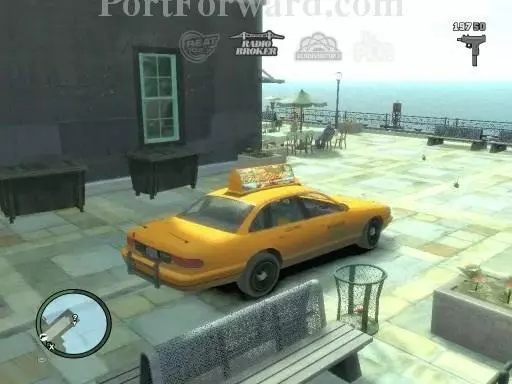
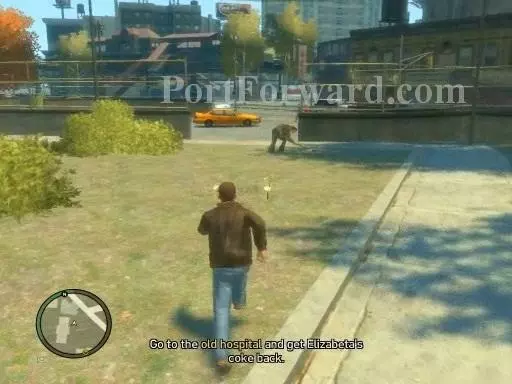
Elizabeta wants her coke back...so go to the old hospital to get it.
Grand Theft Auto IV Walkthrough - Grand Theft-Auto-IV 179

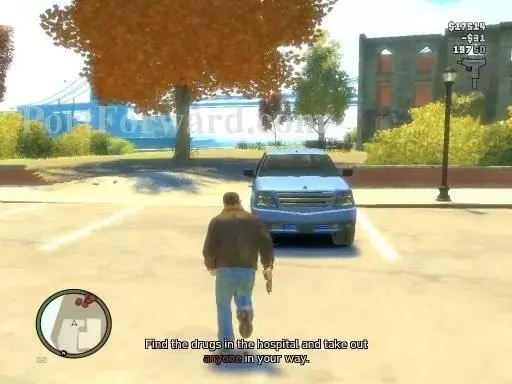
The old hospital will be filled with thugs so take them out to get to the coke.
Grand Theft Auto IV Walkthrough - Grand Theft-Auto-IV 180

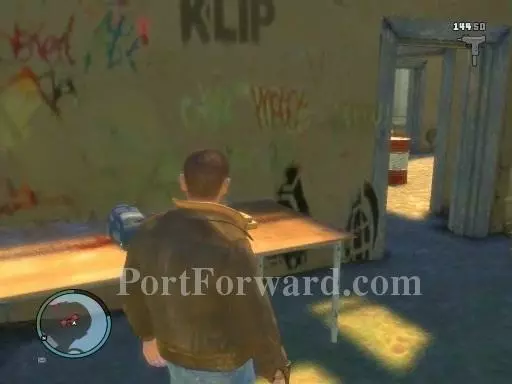
The coke should be on this table.

Grand Theft Auto IV Walkthrough - Grand Theft-Auto-IV 181

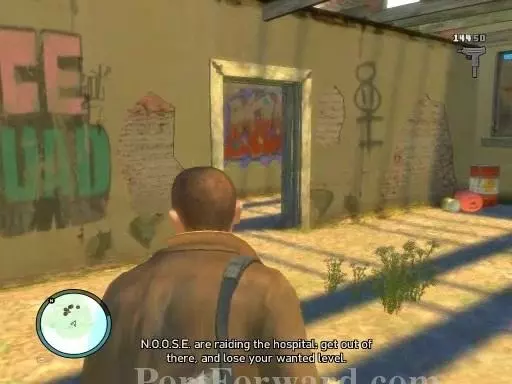
Looks like some authority are coming. Get outta there!
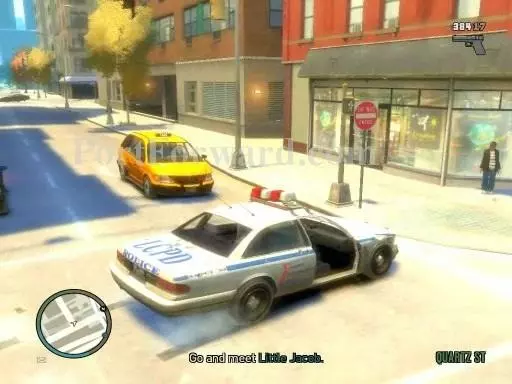
Grand Theft Auto IV Walkthrough - Grand Theft-Auto-IV 182

As soon as you lose your wanted level, call Little Jacob and he'll tell you where to meet him.
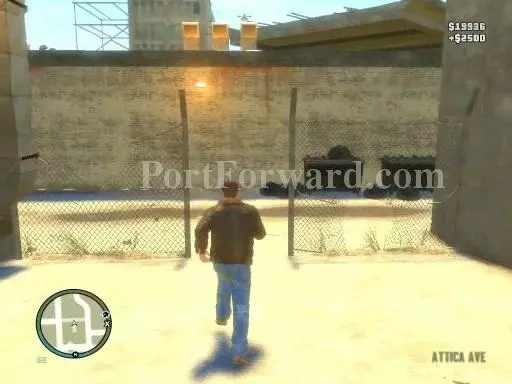
Grand Theft Auto IV Walkthrough - Grand Theft-Auto-IV 183

And after you give him the stuff, that'll be it.
Grand Theft Auto IV Walkthrough - Grand Theft-Auto-IV 184

Go to sleep for about 3 days to wait for the next mission.
Grand Theft Auto IV Walkthrough - Grand Theft-Auto-IV 185

When you wake up, go to "i" icon on the radar after you get a suit because this is the big interview.
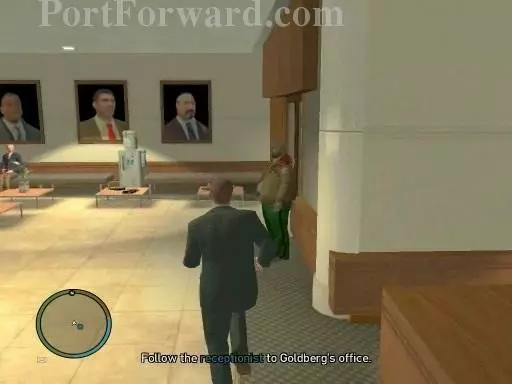
Grand Theft Auto IV Walkthrough - Grand Theft-Auto-IV 186

Talk to the receptionist and she'll take you to Goldberg's office.
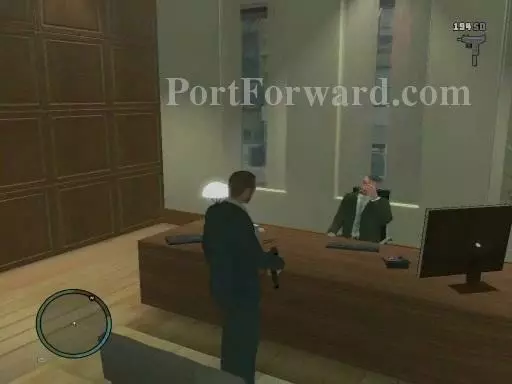
Grand Theft Auto IV Walkthrough - Grand Theft-Auto-IV 187

Kill Goldberg.

Grand Theft Auto IV Walkthrough - Grand Theft-Auto-IV 188

Retrieve the files after you kill him.
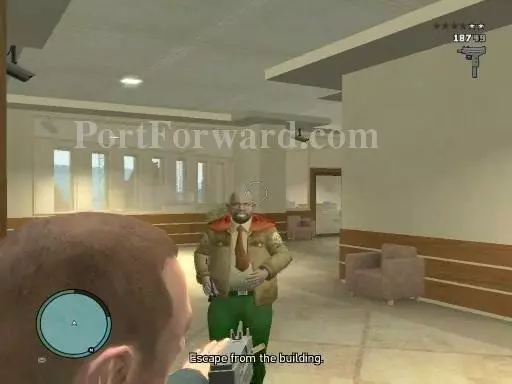
Grand Theft Auto IV Walkthrough - Grand Theft-Auto-IV 189

Then, escape from the building.

Grand Theft Auto IV Walkthrough - Grand Theft-Auto-IV 190

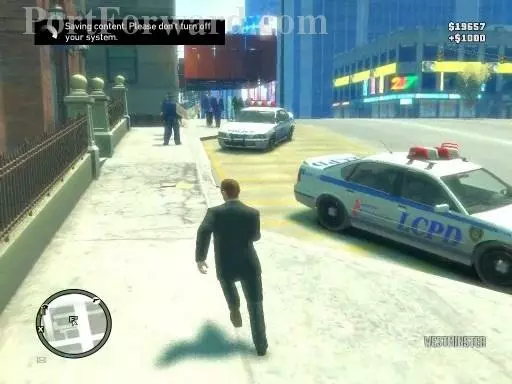
Now, take the files to Francis.

Grand Theft Auto IV Walkthrough - Grand Theft-Auto-IV 191

And, you're done.

Grand Theft Auto IV Walkthrough - Grand Theft-Auto-IV 192

Go to the F icon for the next mission.
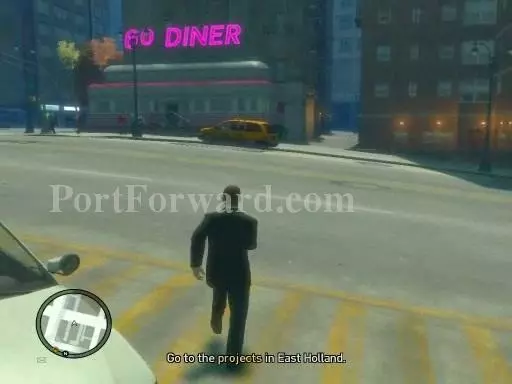
Grand Theft Auto IV Walkthrough - Grand Theft-Auto-IV 193

Head to the projects.

Grand Theft Auto IV Walkthrough - Grand Theft-Auto-IV 194

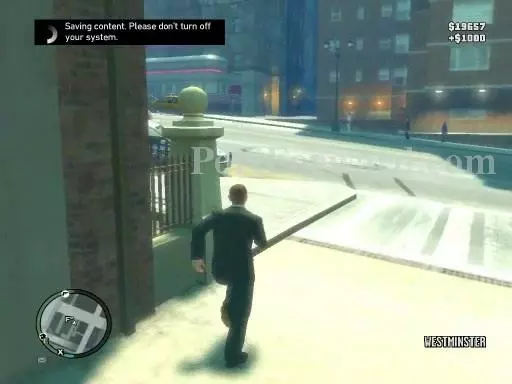
Walk on the yellow arrow to start the battle.
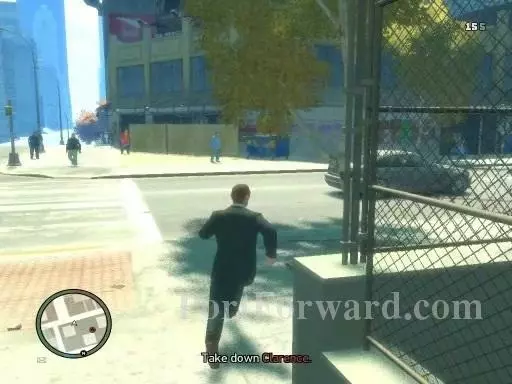
Grand Theft Auto IV Walkthrough - Grand Theft-Auto-IV 195

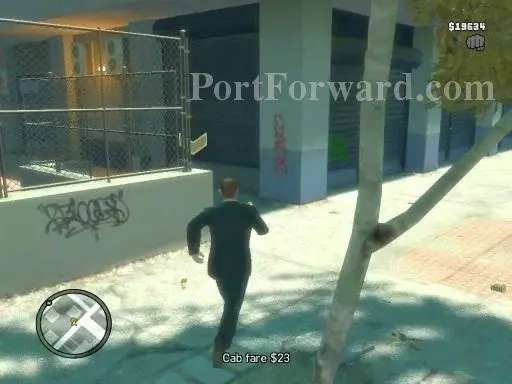
Go to the left and find a good spot to see Clarence.
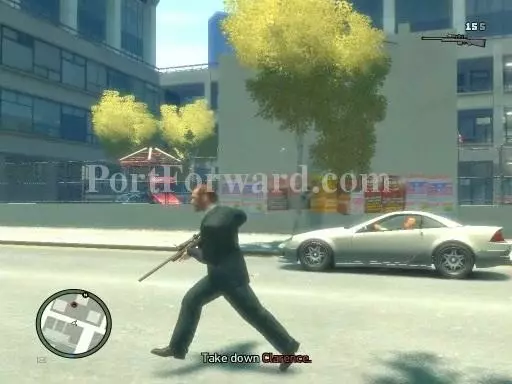
Grand Theft Auto IV Walkthrough - Grand Theft-Auto-IV 196

Right should be okay.

Grand Theft Auto IV Walkthrough - Grand Theft-Auto-IV 197

And get him.

Grand Theft Auto IV Walkthrough - Grand Theft-Auto-IV 198

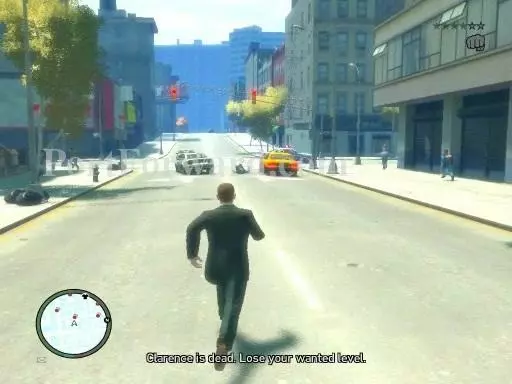
Now, lose your wnted level.

Grand Theft Auto IV Walkthrough - Grand Theft-Auto-IV 199

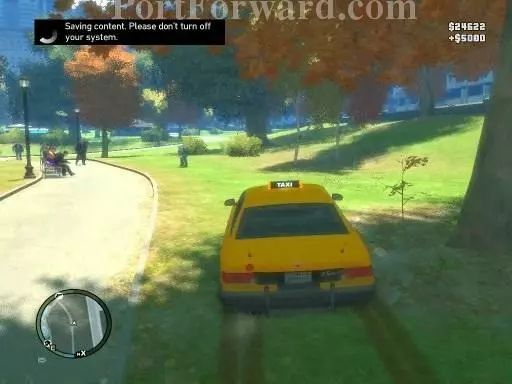
When you do, the mission is over.

Grand Theft Auto IV Walkthrough - Grand Theft-Auto-IV 200

For the next mission, go to the X icon on the radar.
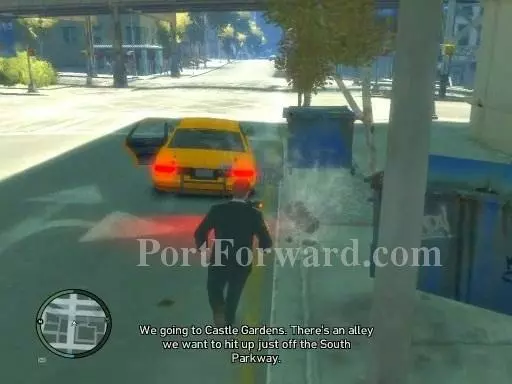
Grand Theft Auto IV Walkthrough - Grand Theft-Auto-IV 201

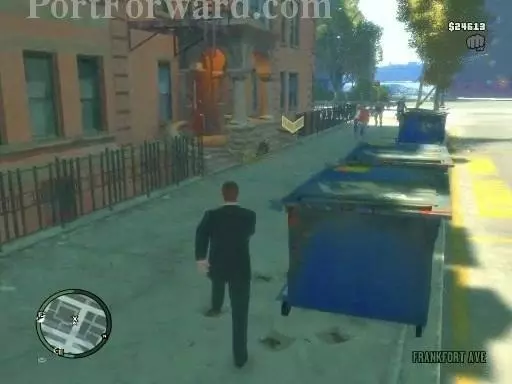
Go to the alley where the car is with Playboy.
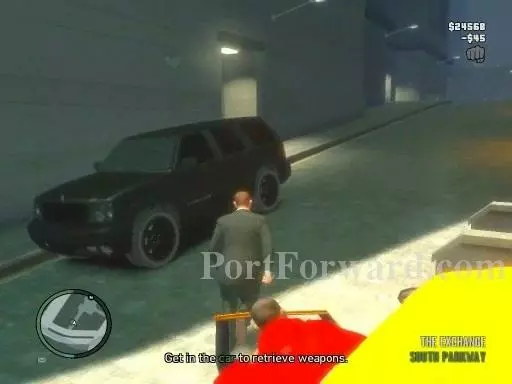
Grand Theft Auto IV Walkthrough - Grand Theft-Auto-IV 202

Then, enter the car.

Grand Theft Auto IV Walkthrough - Grand Theft-Auto-IV 203

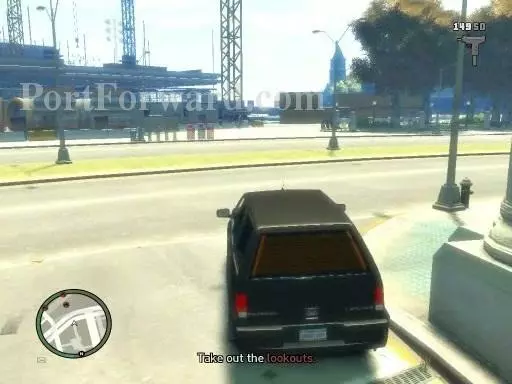
Drive to and kill the lookouts.

Grand Theft Auto IV Walkthrough - Grand Theft-Auto-IV 204

I went in, shooting because I'm pretty good. But I'd recommend just sniping them for beginners.
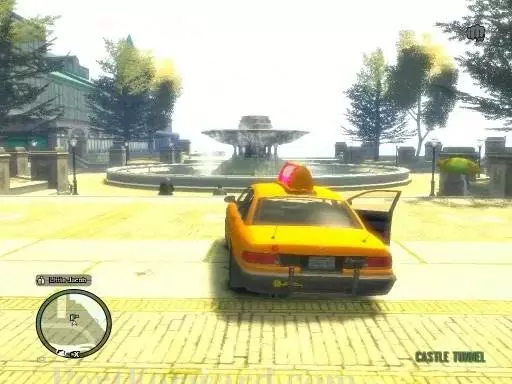
Grand Theft Auto IV Walkthrough - Grand Theft-Auto-IV 205

For the next mission, go to the F icon.
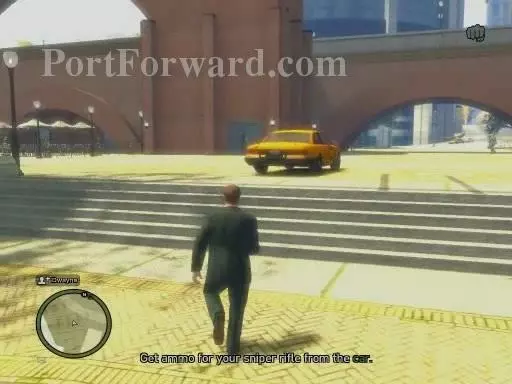
Grand Theft Auto IV Walkthrough - Grand Theft-Auto-IV 206

This is a sniping mission so go to the car that has ammo to reload your sniper.
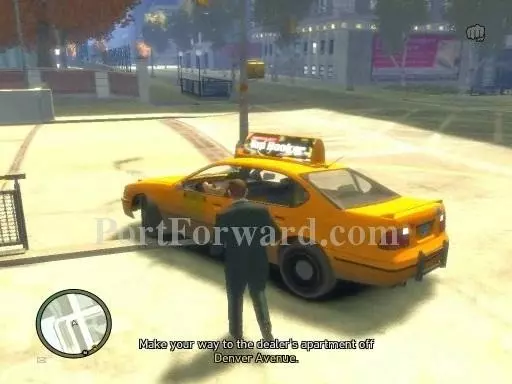
Grand Theft Auto IV Walkthrough - Grand Theft-Auto-IV 207

After you get the ammo, go to the dealers apartment on Denver Ave.
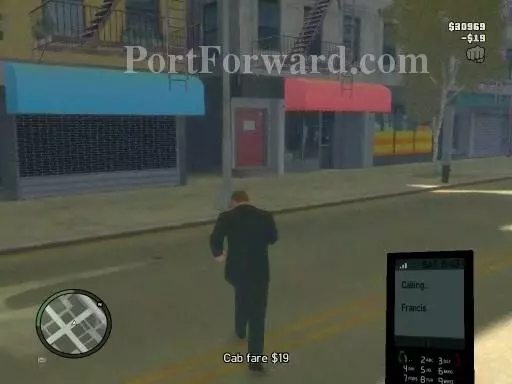
Grand Theft Auto IV Walkthrough - Grand Theft-Auto-IV 208

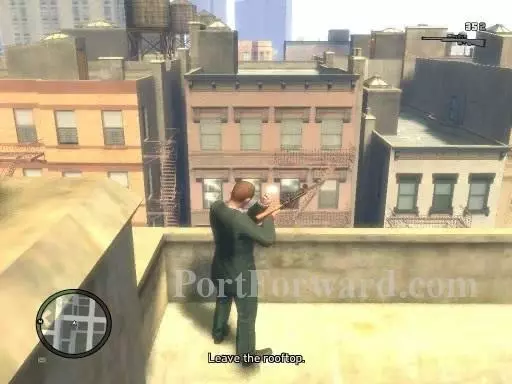
Head inside the building and get to the rooftop.
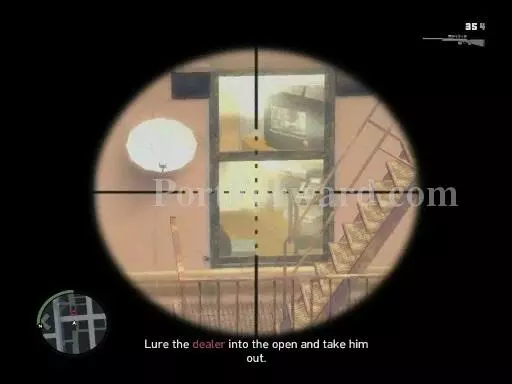
Grand Theft Auto IV Walkthrough - Grand Theft-Auto-IV 209

Shoot a window to make him come and check the window. Then, he'll be in sight and able to kill.
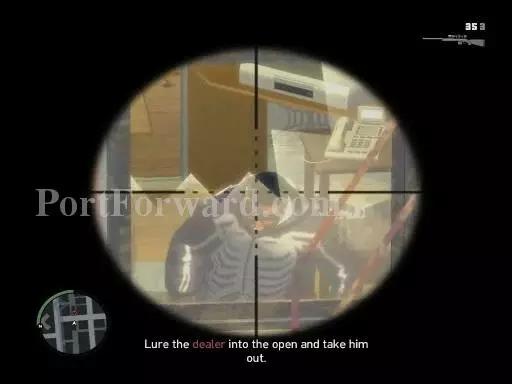
Grand Theft Auto IV Walkthrough - Grand Theft-Auto-IV 210

Then, kill him.

Grand Theft Auto IV Walkthrough - Grand Theft-Auto-IV 211

Exit the rooftop afterwards. And that'll be it.
Grand Theft Auto IV Walkthrough - Grand Theft-Auto-IV 212

For the next mission, head to the X icon on the radar.
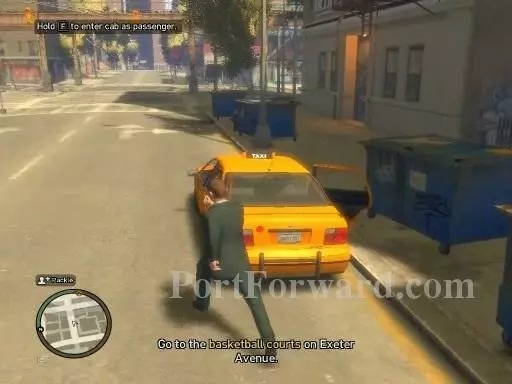
Grand Theft Auto IV Walkthrough - Grand Theft-Auto-IV 213

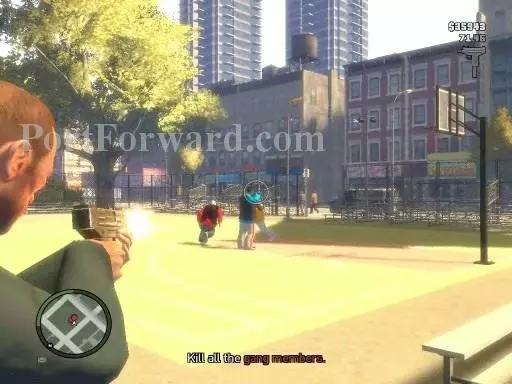
Head to the basketball courts on Exeter Ave.
Grand Theft Auto IV Walkthrough - Grand Theft-Auto-IV 214

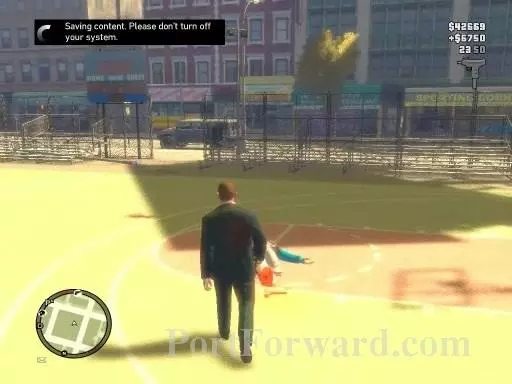
When you get there, kill the gang members that are playing.
Grand Theft Auto IV Walkthrough - Grand Theft-Auto-IV 215

After that, the mission is over.

Grand Theft Auto IV Walkthrough - Grand Theft-Auto-IV 216

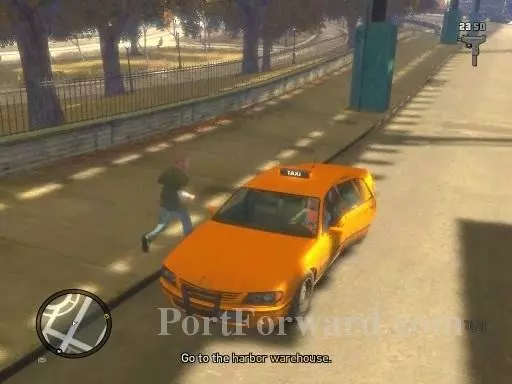
Head to the "Pm' icon on the radar for the next mission.
Grand Theft Auto IV Walkthrough - Grand Theft-Auto-IV 217

Get to the harbor warehouse.

Grand Theft Auto IV Walkthrough - Grand Theft-Auto-IV 218

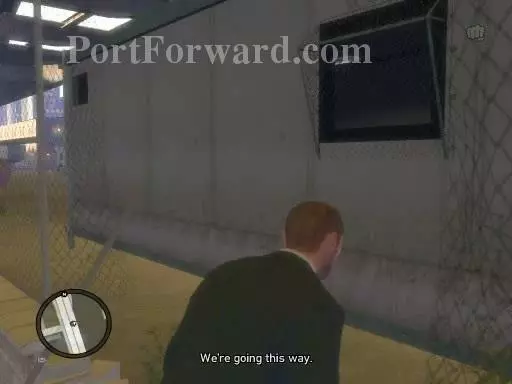
Follow Packie to the destination.

Grand Theft Auto IV Walkthrough - Grand Theft-Auto-IV 219

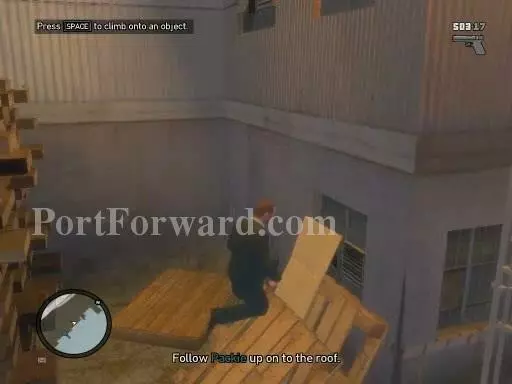
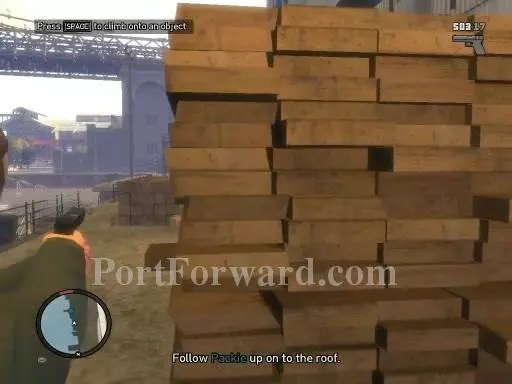
To get on the roof, get on this little ramp thing.
Grand Theft Auto IV Walkthrough - Grand Theft-Auto-IV 220

Then jump to the pile of planks.

Grand Theft Auto IV Walkthrough - Grand Theft-Auto-IV 221

Then jump on the vents to your right.

Grand Theft Auto IV Walkthrough - Grand Theft-Auto-IV 222

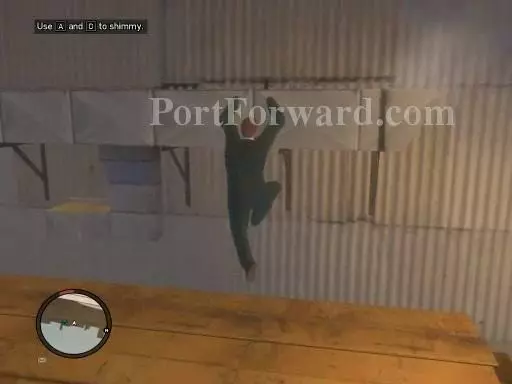
And finally, shimmy up the roof.

Grand Theft Auto IV Walkthrough - Grand Theft-Auto-IV 223

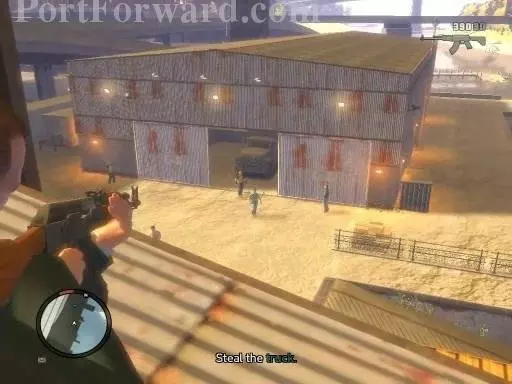
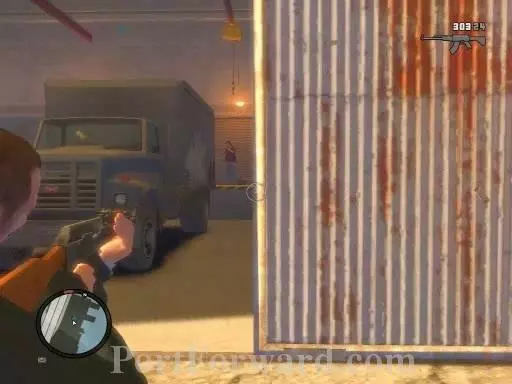
Kill the thugs who are guarding the truck.
Grand Theft Auto IV Walkthrough - Grand Theft-Auto-IV 224

Then, get down and steal the truck.

Grand Theft Auto IV Walkthrough - Grand Theft-Auto-IV 225

Take it to the lockup now.

Grand Theft Auto IV Walkthrough - Grand Theft-Auto-IV 226

And that'll be it.

Grand Theft Auto IV Walkthrough - Grand Theft-Auto-IV 227

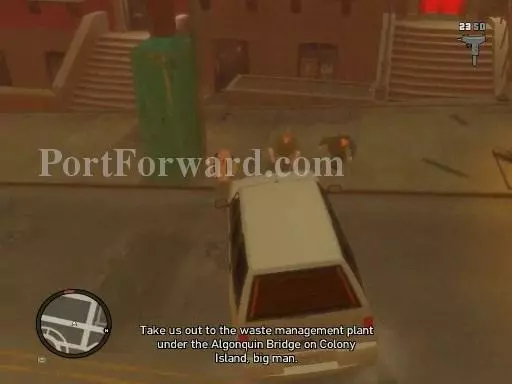
For the next mission, head agin to the "Pm" icon.
Grand Theft Auto IV Walkthrough - Grand Theft-Auto-IV 228

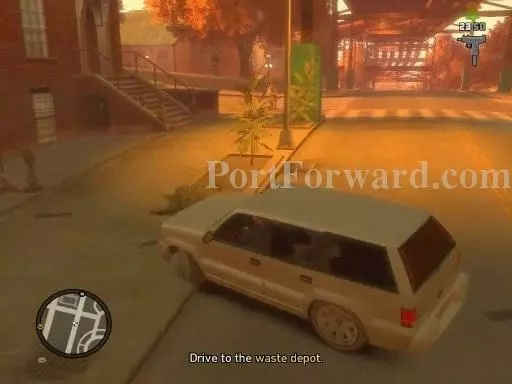
Make sure you have a car big enough for Packie and the others. (The crew is only in the PC verison I believe).
Grand Theft Auto IV Walkthrough - Grand Theft-Auto-IV 229

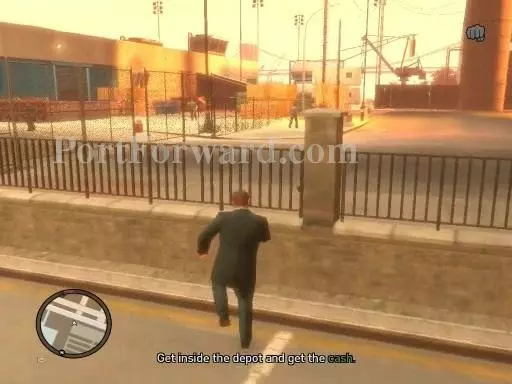
Then, drive to the waste depot.

Grand Theft Auto IV Walkthrough - Grand Theft-Auto-IV 230

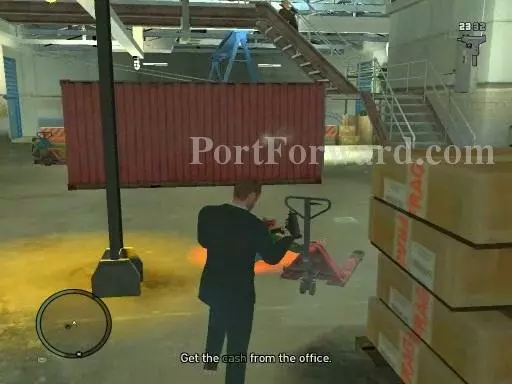
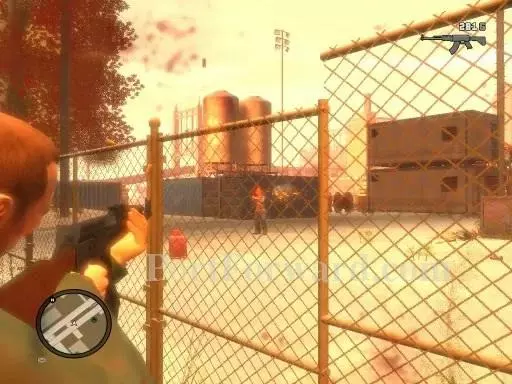
Enter the depot and pick up the money.
Grand Theft Auto IV Walkthrough - Grand Theft-Auto-IV 231

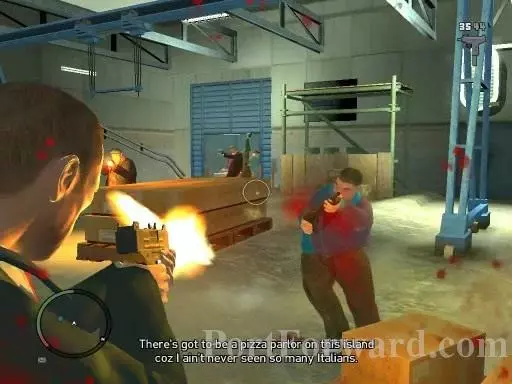
Kill the guards too.

Grand Theft Auto IV Walkthrough - Grand Theft-Auto-IV 232

The cash will be in the office.

Grand Theft Auto IV Walkthrough - Grand Theft-Auto-IV 233

There'll be other thugs trying to get that money also. Take them out and leave.
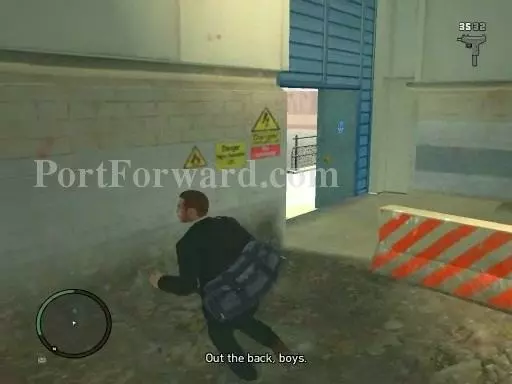
Grand Theft Auto IV Walkthrough - Grand Theft-Auto-IV 234

Go out the back with Packie.

Grand Theft Auto IV Walkthrough - Grand Theft-Auto-IV 235

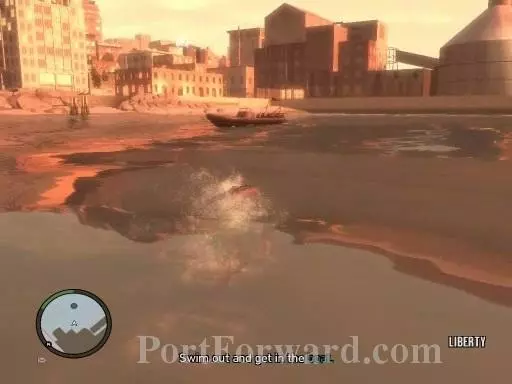
There'll be about available so get in quickly.
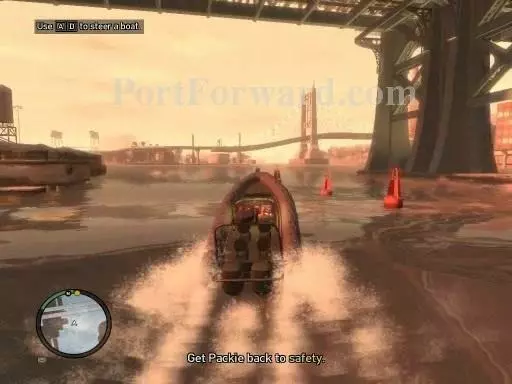
Grand Theft Auto IV Walkthrough - Grand Theft-Auto-IV 236

Then, get Packie and yourself outta there with the money still with you. img(165866); And that'll be it! img(165867); For the next mission, go to the "?" icon on the radar. img(165868); First thing you'll have to do is get to Oleg's apartment in Hove Beach. img(165869); Check his computer for some more information. img(165870); There'll be a email from Vasily to meet them somewhere. img(165871); Call the paper to see what they want you to do. img(165872); Get a car and head to the jewelry store. img(165873); Oleg will speed down the road. Chase him and eliminate him. img(165874); Once you do that your own way (grenades, guns,etc.), the mission will be over. img(165875); To start the next mission, head to the U icon on the radar. img(165876); Go to Dukes Blv. Thugs will be there guarding your target so take them out. img(165877); After you kill everyone, the mission is done. img(165878); For the next mission, head to the U icon on the radar. img(165879); Get to Civilization Plaza. img(165880); The helicopter will take off. So follow where it's going! img(165881); Wait for the helicopter to land. img(165882); Once it has, move in and steal the helicopter. img(165883); Fly it to the dropoff point. img(165884); The game will give you on screen directions to fly it. img(165885); After that, you're done. img(165886); Head to Packies place, or the "Pm" icon for the next mission. img(165887); Pick up your partners then head to the bank. img(165888); Get down to the vault to steal the money. img(165889); When you're done and ready to go, the cops will already be out there. So take them out. img(165890); There'll be too nay so follow Packie and Derrick. img(165891); Clear the path of cops to get through. img(165892); You'll go down the tunnel. Make sure you dont get hit by any of the trains. img(165893); Then get to street level. img(165894); Then find a car big enough for all of you and head back to Packie's place. img(165895); And that'll be the end of the mission. img(165896); Ray will give you a call and tell you where to go to meet him for the next mission. img(165897); Ray will tell you to go to the projects. img(165898); Talk to Alonza. He wont talk so scare him with a weapon. Or kill someone. img(165899); When he tells you, enter the building and head to his apartment, 151 K. img(165900); Look around the apartment and find him. img(165901); Now, take him out. img(165902); Head to the roof, where hes going. img(165903); After you kill him, thats it. img(165904); Go to the R icon on the radar for the next mission. img(165905); Get in the trashmaster that's down the street in an alley. img(165906); Drive to the first diamond pickup. img(165907); Open the door so the bags of diamonds can be thrown in. img(165908); Then go to the other ones and do the same thing. img(165909); And that'll be it after two more stops. img(165910); Go to the R icon on the radar to begin the next mission. img(165911); Go to Castle Garden City. img(165912); Then chase after Luca's gang. But dont kill them. Luca still has the diamonds. img(165913); The gang will stop in a park. Now you can kill them. img(165914); After you kill the gang, get Luca in the bathroom. img(165915); Then kill him and take the diamonds. img(165916); Ray will call you afterwards, or call him. Meet him on the bridge. img(165917); And that'll be it. img(165918); A call from United Liberty Paper will commence the next mission. img(165919); Go meet Jacob at the salvage yard. img(165920); Get into the helicopter that's there. img(165921); Fly to the south and find the enemy aircraft. img(165922); When you do, follow it and make sure you dont get spotted. img(165923); A while into the chase, get closer so Jacob can attack. img(165924); Then go back to a helipad to drop off Jacob. img(165925); And that'll be it. img(165926); A call will commence the next mission. Go to Gerald's house to begin the mission. img(165927); Gerald will tell you where the bomb is, go get it. img(165928); Then go to the enemy's car and rig the bomb to the car. img(165929); Afterwards, get out of the area. img(165930); Follow the Ancelottis when he gets to his car. img(165931); When the Ancelottis finally gets to his destination, call Gerry so he can detonate the bomb. img(165932); Then, go in the site and kill the remaining Acelottis. img(165933); After that, get rid of your wanted level. img(165934); And that'll be the end of the mission. img(165935); For the next mission, get to the R icon on the radar. img(165936); Get a vehicle and meet Johnny at the side entrance of the Libertonian. img(165937); You gotta escape the Libertonian and kill all the guards that are in your way. img(165938); When you finally escape, get a vehicle and lose the crew. img(165939); After that, that'll be the end of the mission. img(165940); For the next mission, get to the 'Gm" icon. img(165941); Get on the motorbike that's in the area. img(165942); Head to the meeting point. img(165943); Then, take out Frankie Garone. img(165944); And that'll be it for that mission. img(165945); For the next mission, get to the R icon on the radar. img(165946); Hurry to where the members of The Lost are hanging out. img(165947); Then, take the bike and chase the bikers and kill them. img(165948); You'll probably end up in the subway. Its not much different just avoid the trains. img(165949); After that, the mission will be completed. img(165950); For the next mission, go to the R icon on the radar. img(165951); Get to the Majestic Hotel. img(165952); Get through the hotel and kill Issac and the rest of the diamond dealers. img(165953); To get them, go on an elevator. img(165954); And they'll be on the floor you get on. img(165955); After you kill them, escape the hotel anyway possible. img(165956); The mission will be completed after you escape the hotel.

More Grand Theft Auto IV Walkthroughs

This Grand Theft Auto IV walkthrough is divided into 3 total pages.

More From Portforward