This Broken Age (Act1) walkthrough is divided into 8 total pages.
You can jump to nearby pages of the game using the links above.
Broken Age (Act1) Walkthrough A new - day
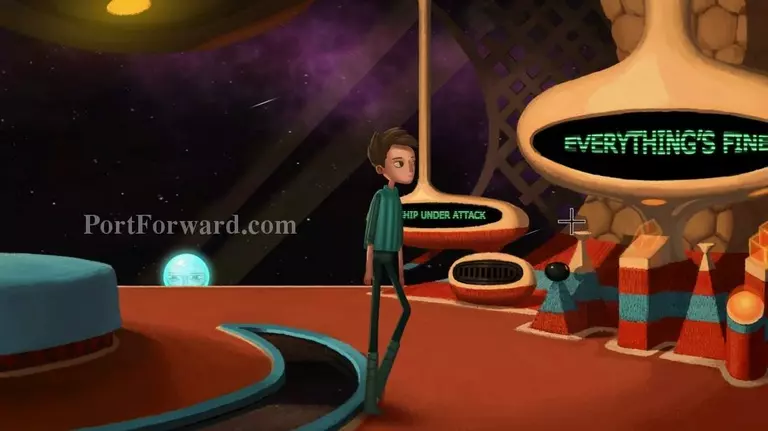
After Shay gets out of bed head to the right. You'll notice the signs saying that the ship is under attack, but EVERYTHING'S FINE!
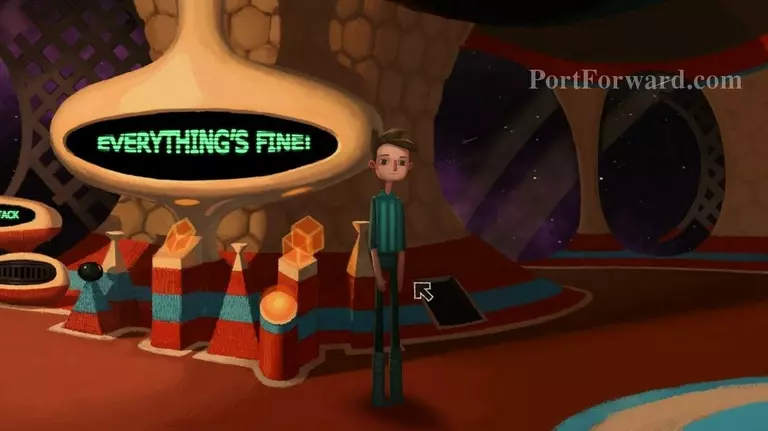
After examining that head back down the vent on the right to go talk to Merrick.
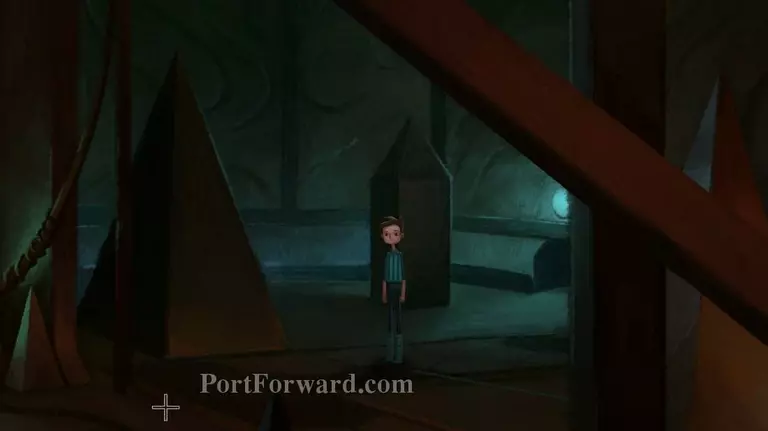
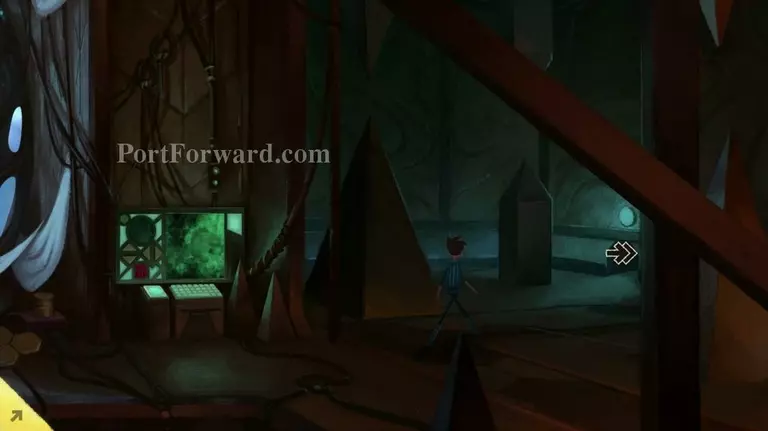
When you arrive in the secret room again head to the left where Merrick is standing by his computer, and click on him to talk.
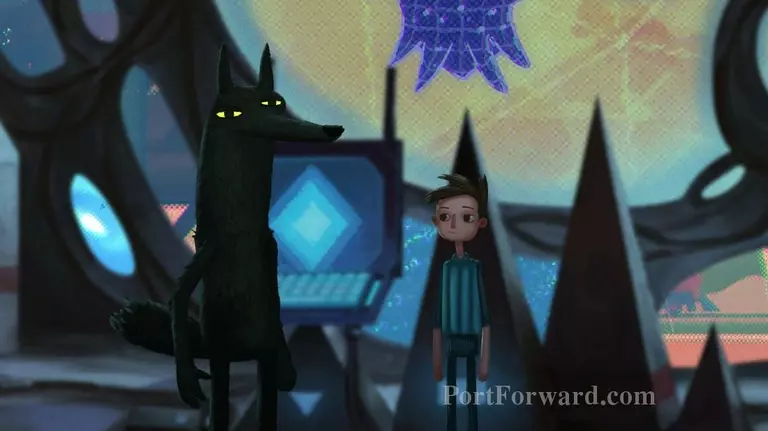
He tells you that he's intercepted another distress beacon from Prima Doom.
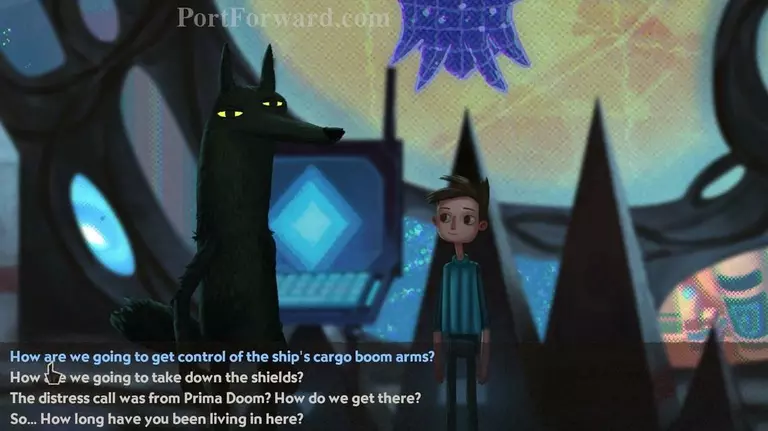
You can discuss all the things you need to do with him to get more of an appraisal of the situation.
You need to get to the manual control override in order to get control of the boom arm. Merrick advises he hacked it so you can go through the airlock door and you won't alert the computer now.

To take down the shields you need to get to the fusion orb and use the omnicron inhibitor (he hands you what looks like head phones). When needed you will turn it on, which should disrupt the fusion orb thereby turning it off, and in turn take down the shields.
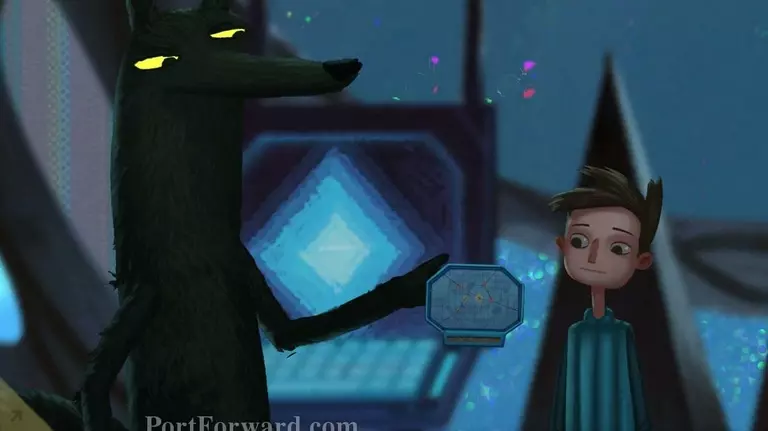
Ask how to plot a course for Prima Doom and he will hand Shay another star chart. He says all you have to do is take it to the Space Weaver like before.
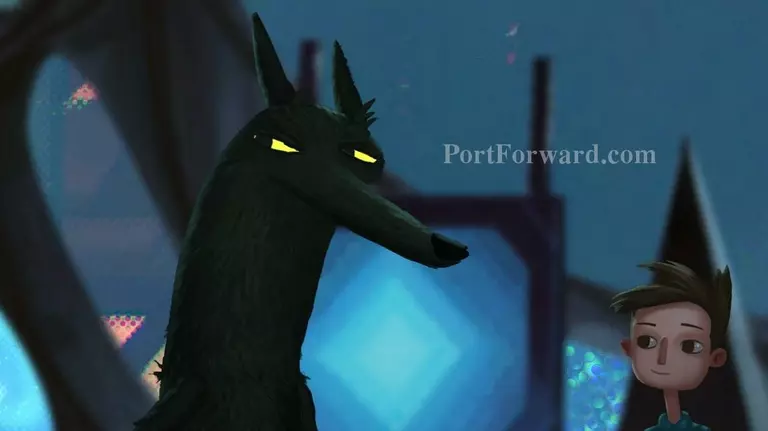
You can take the time, now, to learn a little bit about Merrick. Shay finds he's a recent stow away who sensed "you are ready", he's not really a wolf, and he rescues creatures in need.
When the conversation is over, head to the right and go back through the vent to get back to Shay's room.
Then go through the door on the right.
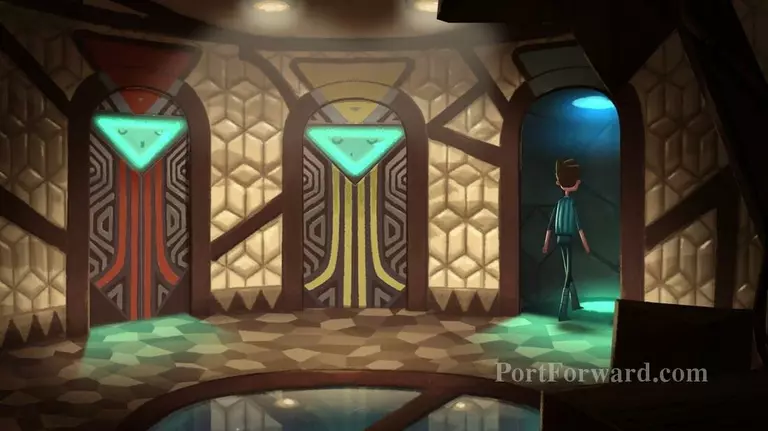
For the first time, probably ever, Shay gets to explore the ship. In this hallway there are two doors. The first door on the right you cannot enter. The computer says she is working on a surprise.

The second door on the right heads to the kitchen. Go in there now.
From here, the first thing you may notice is the knife in the foreground. Click on it to pick it up. That will be useful, and it'd also a little surprising considering the computers views on safety.
The knife is all you need in the kitchen. When you're done in there head back out of the kitchen and through the door on the right side of the hallway.
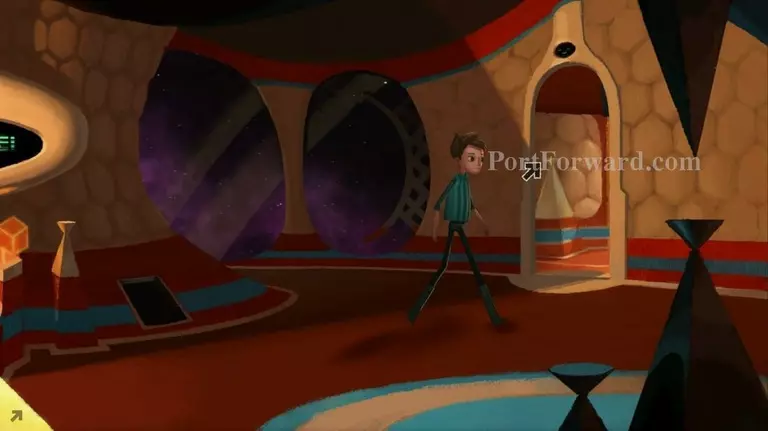
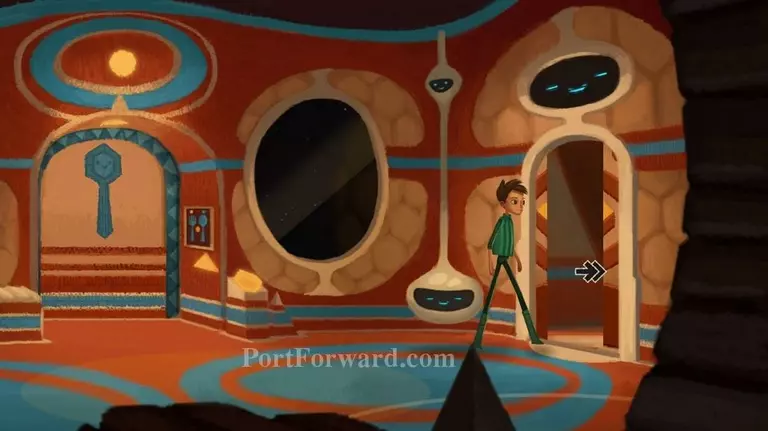
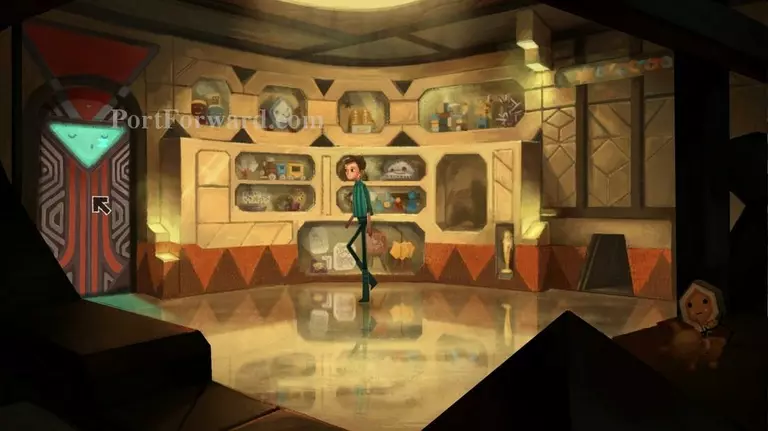
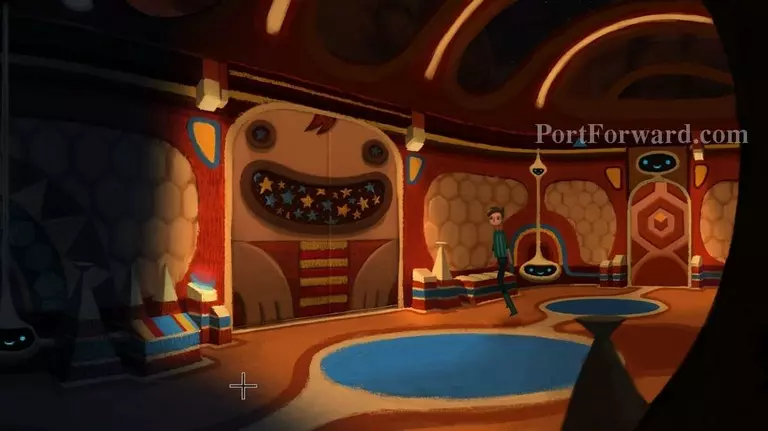
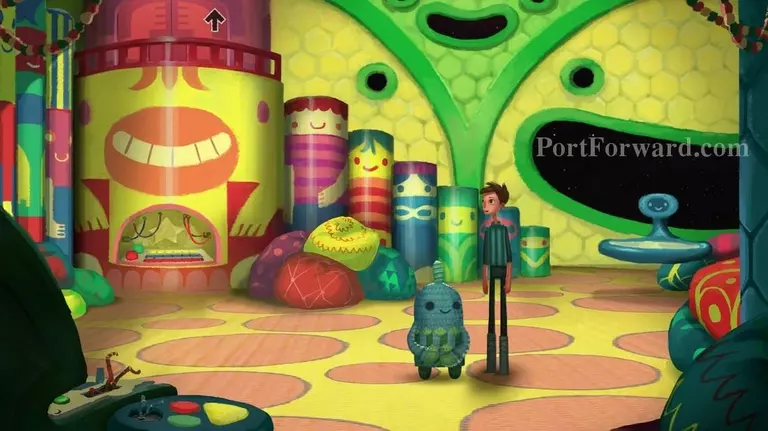
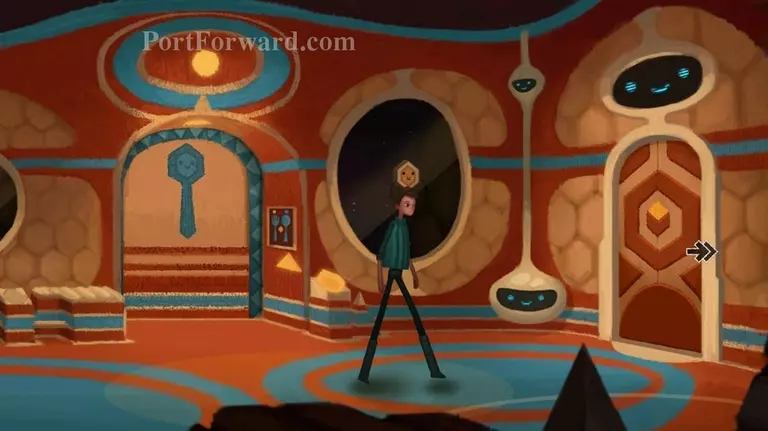
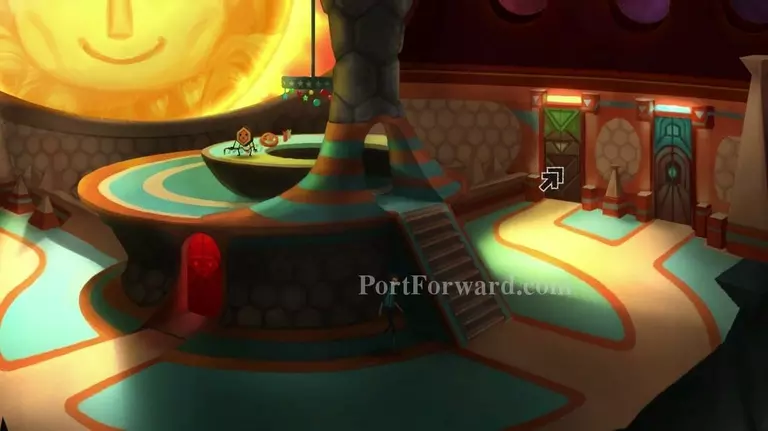
You'll arrive in what appears to be the central area of the ship that leads to more rooms on the right, a red door and the ships controls in the center, and the door you came from on the left.

As soon as you enter the computer goes on a spiel about duty and self sacrifice. While sounding strangely like Mass Effect (hee hee) it also seems like it could allude to someone else in this game. Shay has no interest in the computers fake memories, though, and is pretty tired of her overbearing nature.
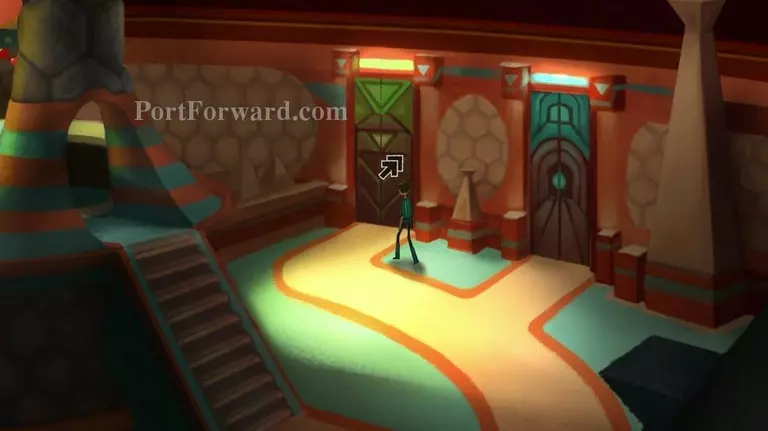
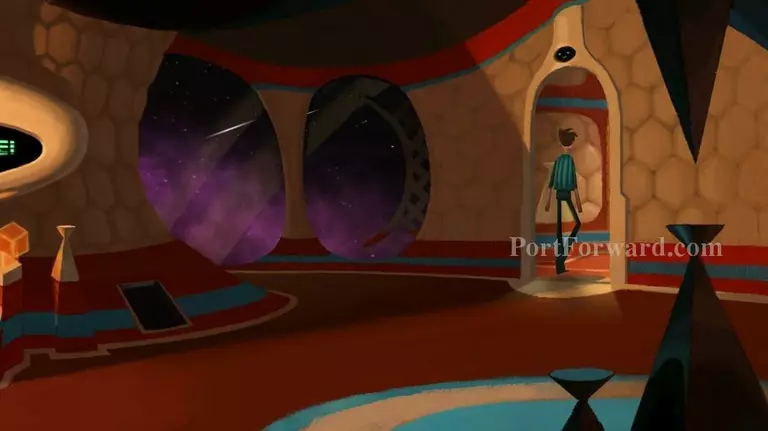
The red door in the center leads to the Space Weaver, but we don't want to go there yet, so first head all the way to the right and go through the green door.
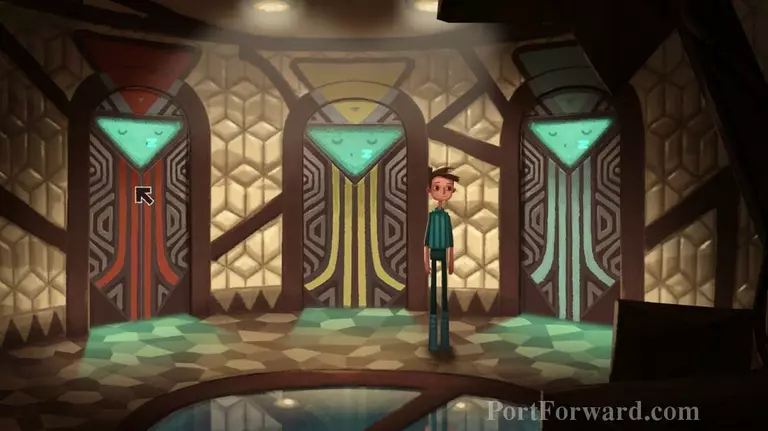
From here take the red door on the left side to the hall of heroes ("the junk room").
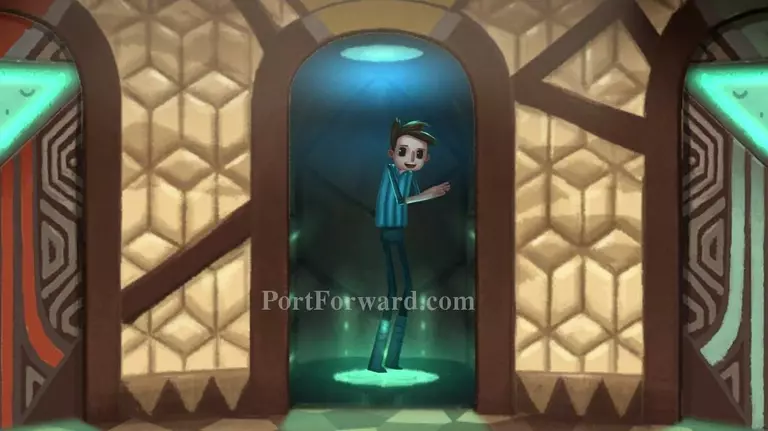
Upon arrival Shay will remark that his head has shrunk. The teleporter AI sarcastically implies its normal (Quantum Physics, DUH!) and it will go back to normal if you go through the same teleporter again to go back where you came from.
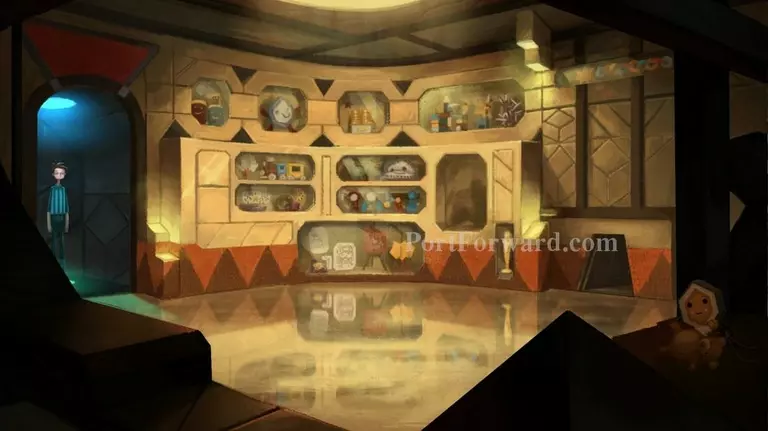
There are a lot of things you can examine in here (and if you enjoy the dialogue go ahead and do so, it's funny) but the only thing you need from here is the baby hazard suit.
You can head through the vent on the right when you're done.
This will just take you to Merrick's room. Interestingly, it's right next to the auxillary cargo hold where you placed the creatures you saved into quarantine.
There's nothing to do there right now so head back to the left and go back through the teleporter.
This will bring you back to the main teleporter room. Shay will remark that his head is back to normal now. This is because you came back the way you're supposed to.
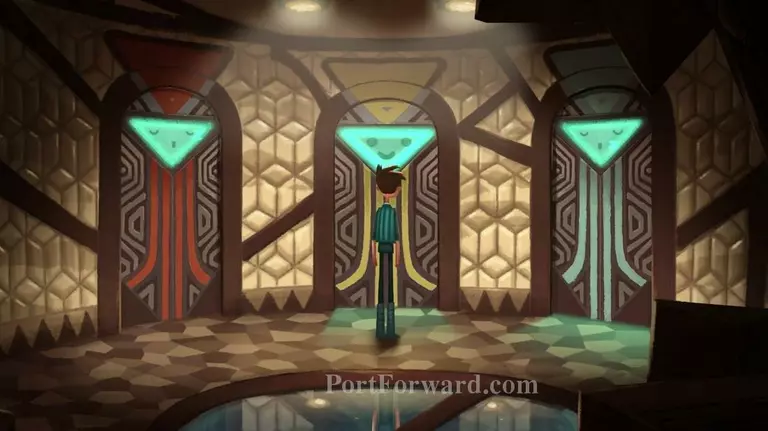
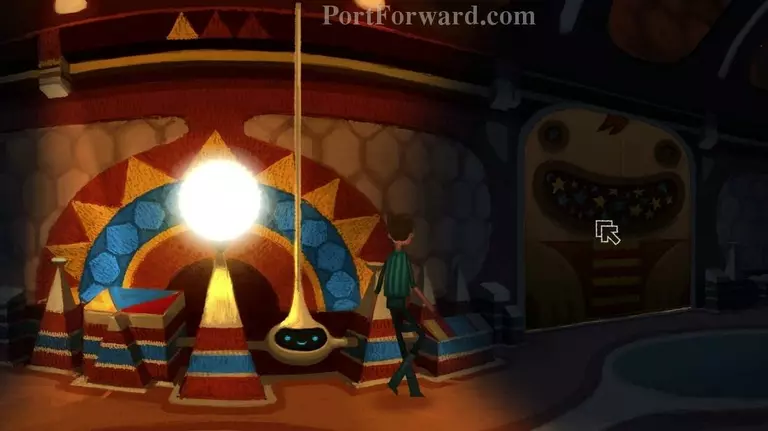
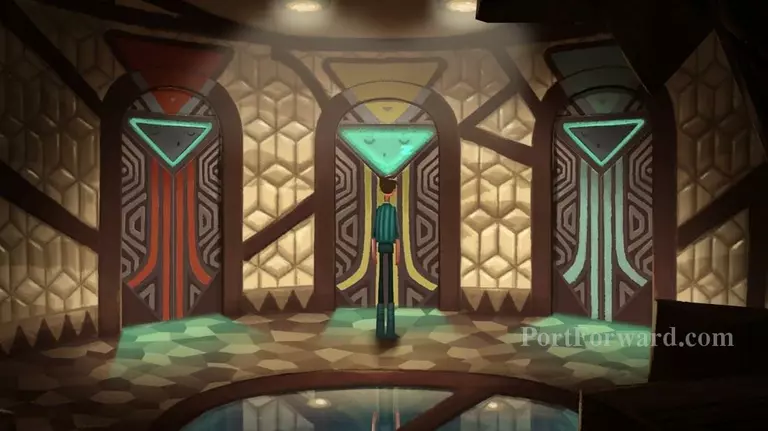
Next, head through the yellow teleporter in the center of the room.
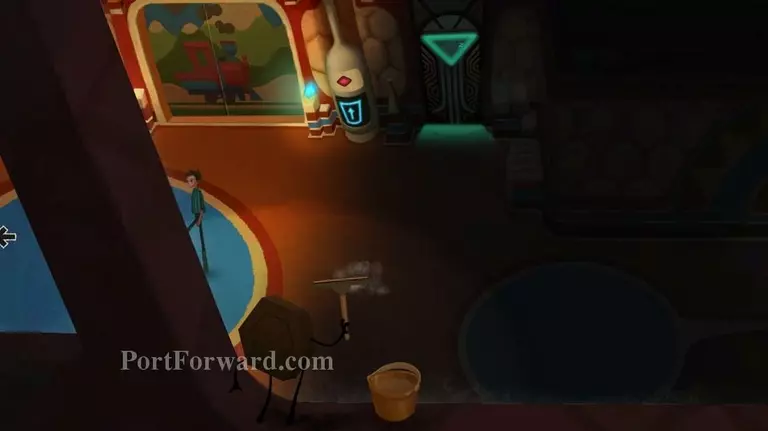
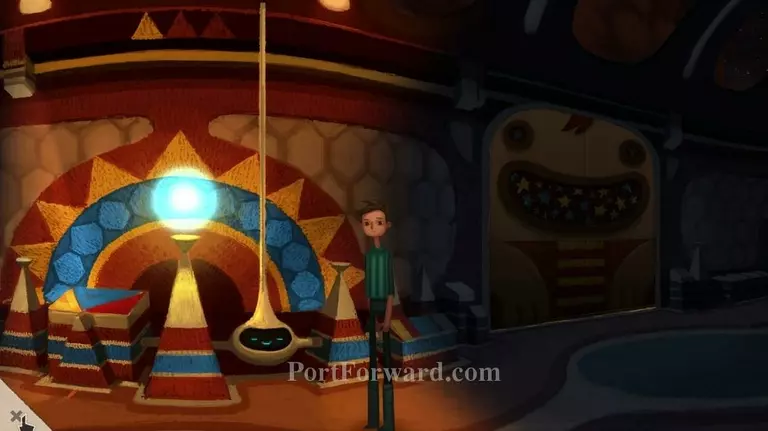
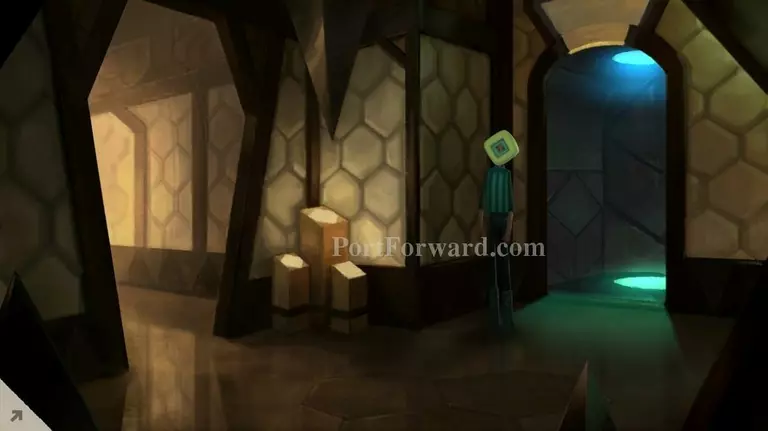
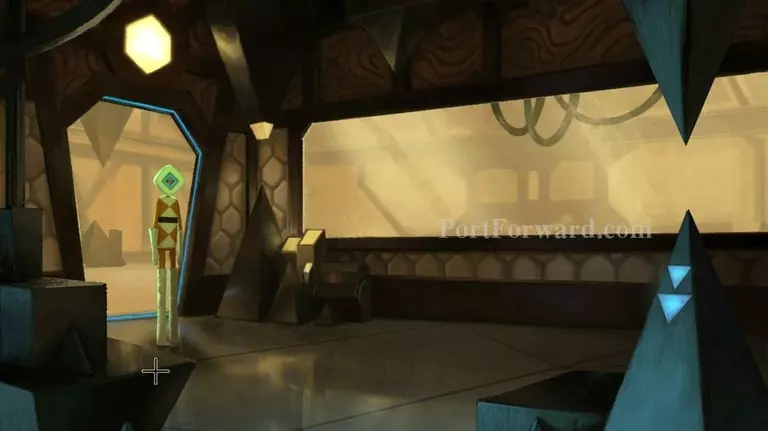
This takes you to the fusion orb containment facility. Head to the left.
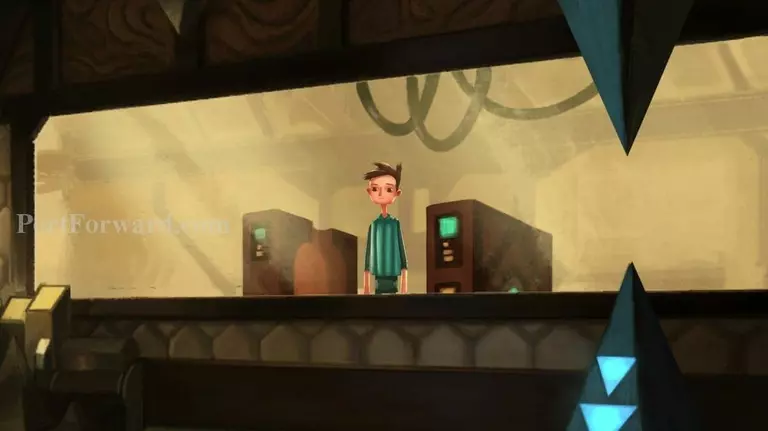
When Shay goes in here a machine will pop up and attempt to put on a safety suit to protect him from the omnicron particles.
The head peice will malfunction, though, which will make it so you cannot go through the doorway on the left. Instead, head back to the right (I just brought you here so you can familiarize yourself with where things are on the ship).
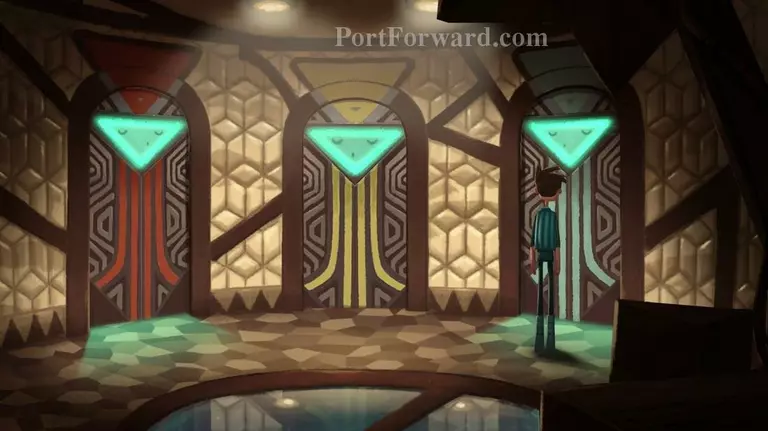
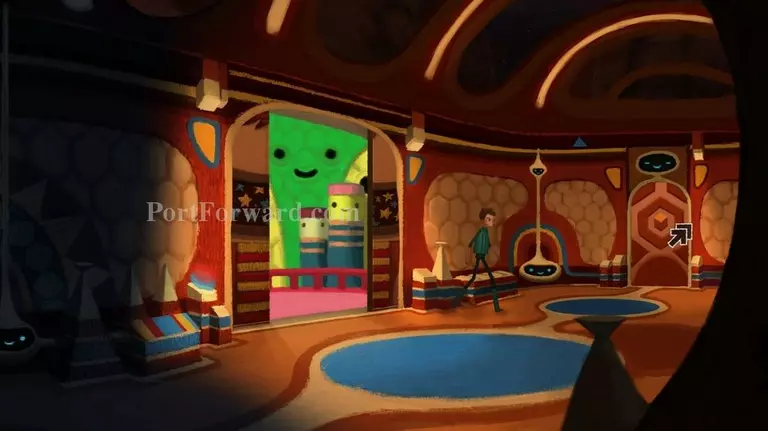
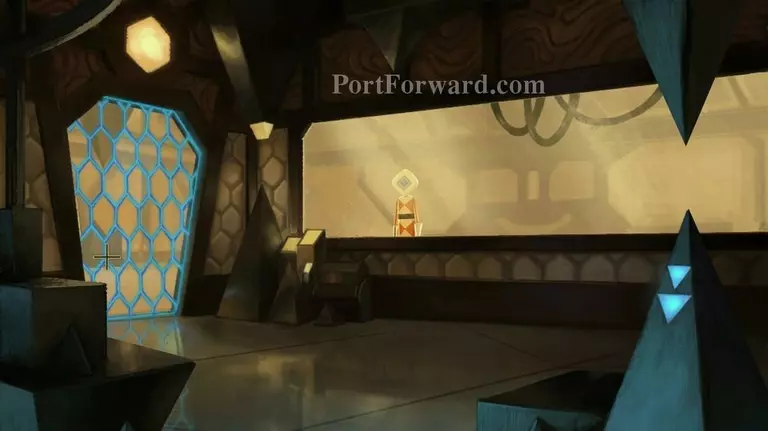
After arriving back in the teleporter room go to the green door on the right and take that teleporter.
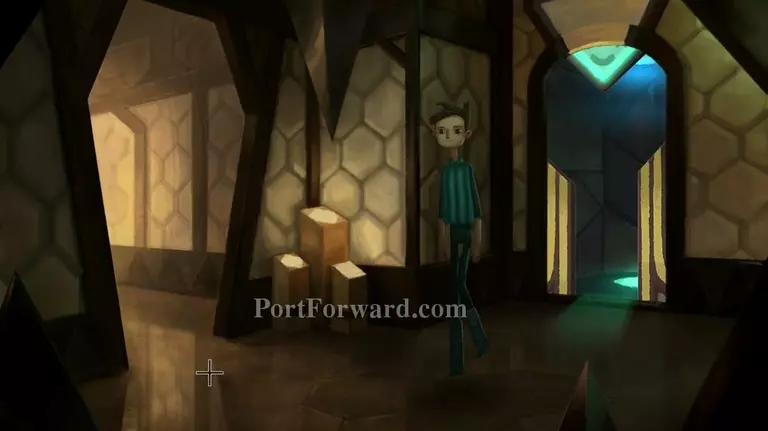
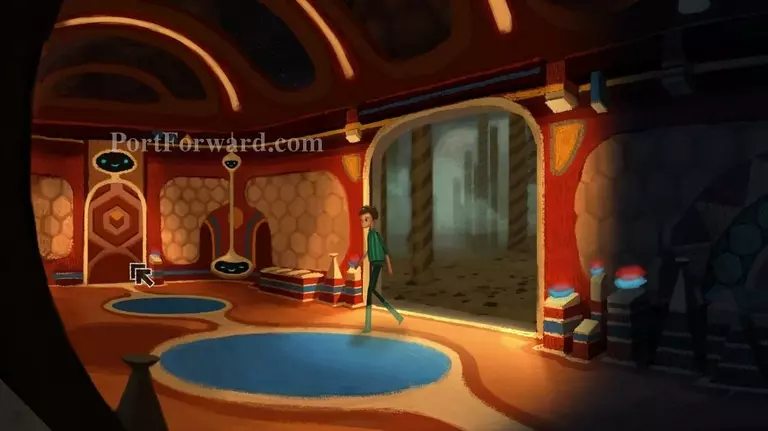
This one takes you to the starboard hallway. You'll probably start to notice something fishy but head to the left.
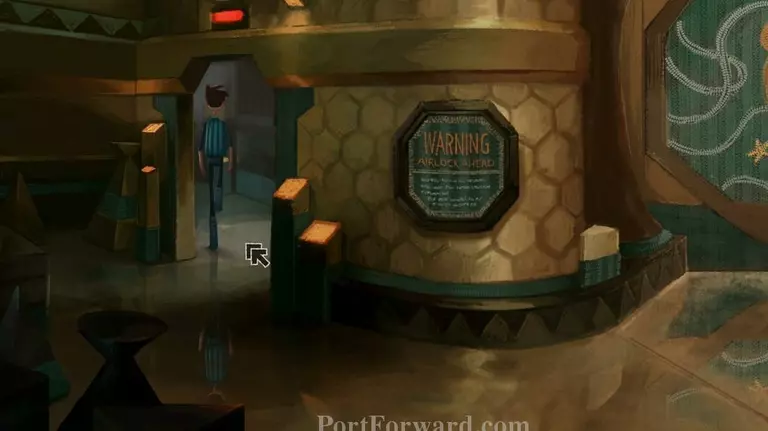
Keep heading left down this hallway and go into the last door on the left.

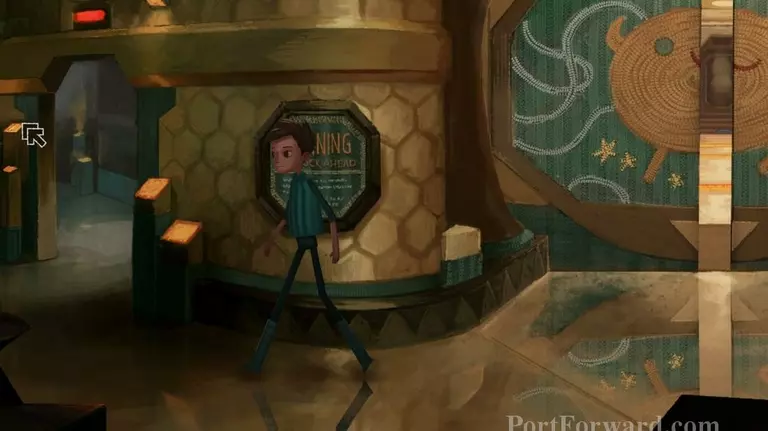
I only mention this so you can see that you are now back where we started in the central hub area that basically leads everywhere. Go back to the right and head in the first door on the right (now your left) with a suspiciously familiar picture on the door.

You'll step inside to the ice cream avalanche mission. Only something is different. There's no avalanche and it appears the knit creatures are on break.

If you talk to them they ask you if you wanted to run the mission, but you don't have to (it's not necessary to progress) so say no and let them continue their break.

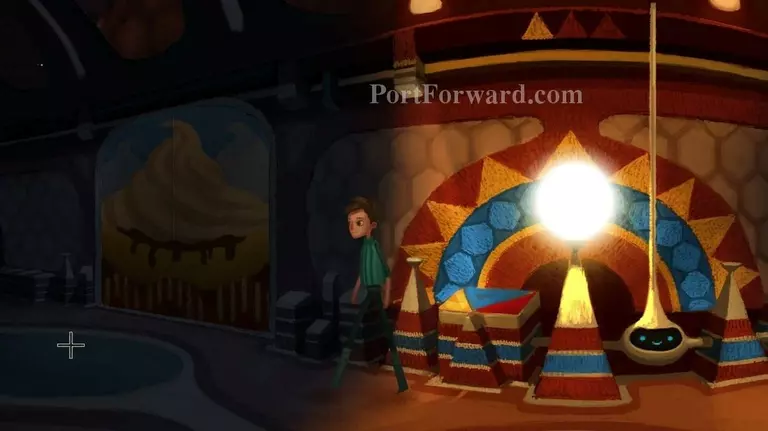
The important thing to note here is the whipped cream. If you look on the right wall you'll see little spouts that shoot whipped cream (like snow) out of them.

Head to the right and click on the closest whipped cream canister to pick it up. Then head back to the door on the left to leave.
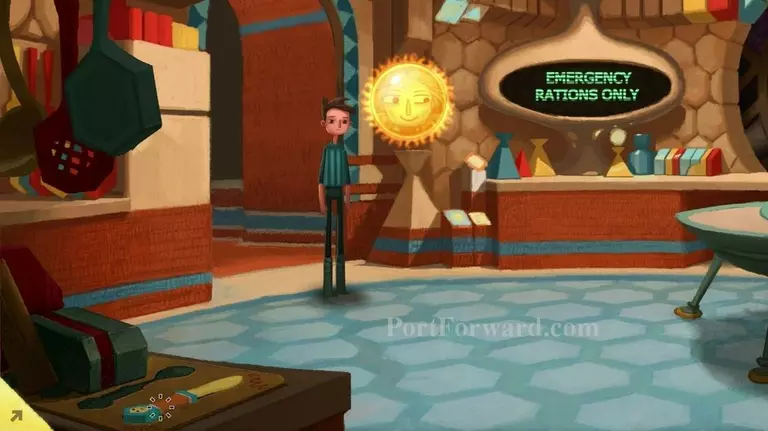
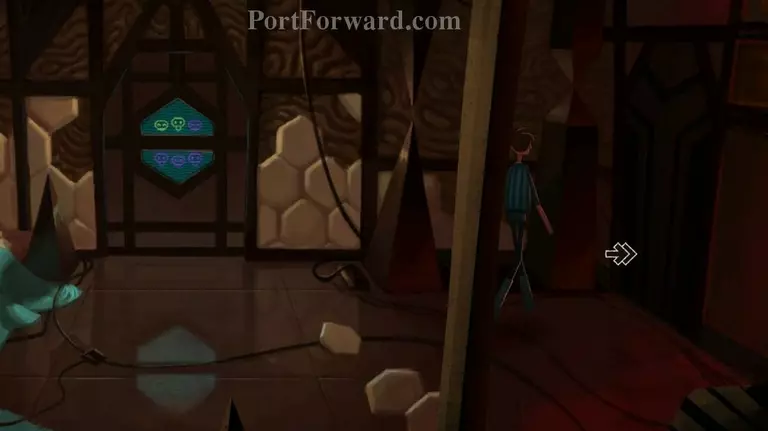
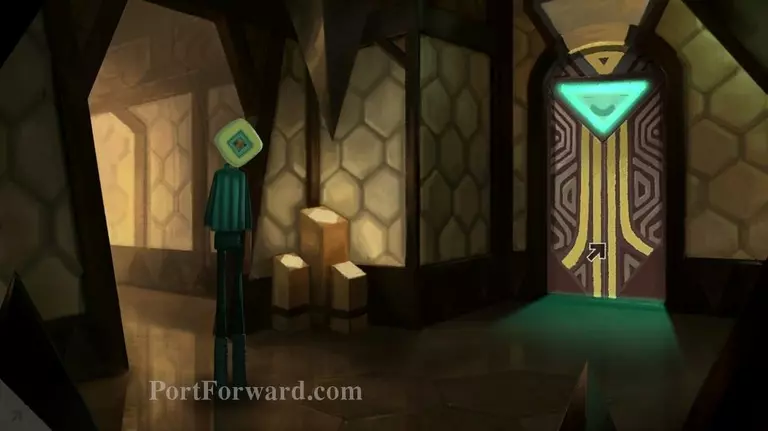
From the hallway head to the right and go through the door with the smiley face.
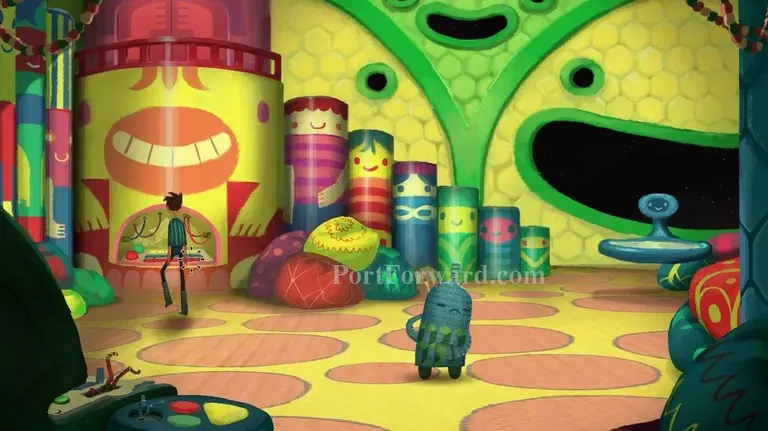
If you didn't last time you were here you can click on the stuff in this room to see that all the controls in the room are fake. When you're done examining things click on the knit creature who appears to be in pain.
Shay tells it to quit pretending since there's no reason to act in peril now that missions are cancelled, but the creature tells Shay it legitimately has a pain in it's back after the last hug attack.
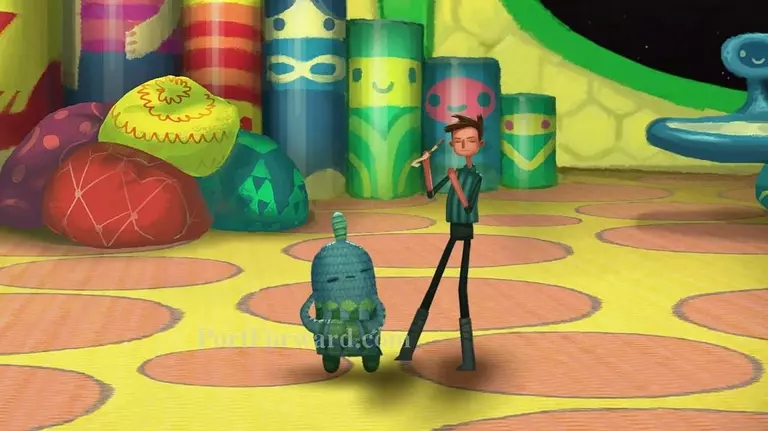
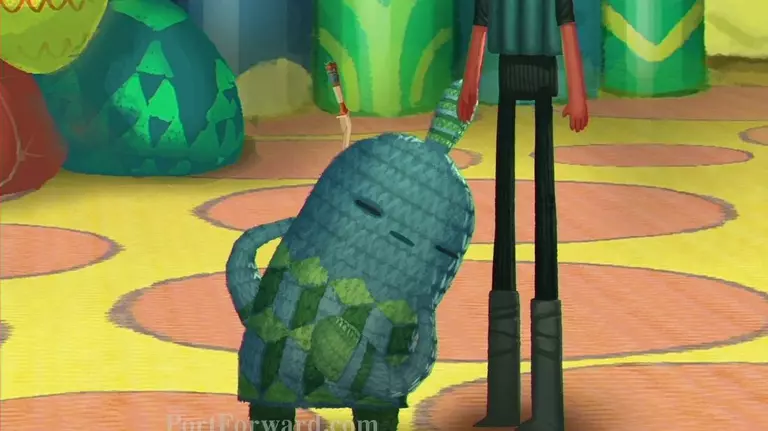
Tell the creature that you can fix it's back and Shay will pull a knitting needle from it's back. If you examine it there's a funny exchange with Merrick about how it's a crochet hook and why he would know that.
When you're done here head back up to the door and out into the hallway.
From the hallway head to the right back to starboard.
You can head to the train mission if you want but because you were naughty last time all you get is the conductor who won't let you ride the train again.
You can go there if you wish, but when you're done head to the door on the far right.
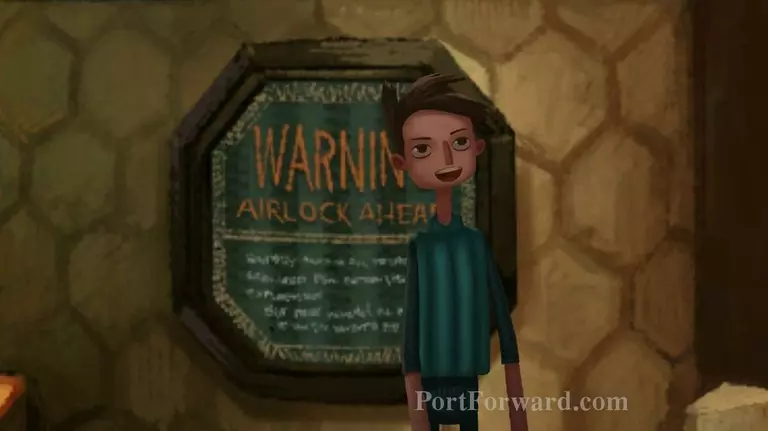
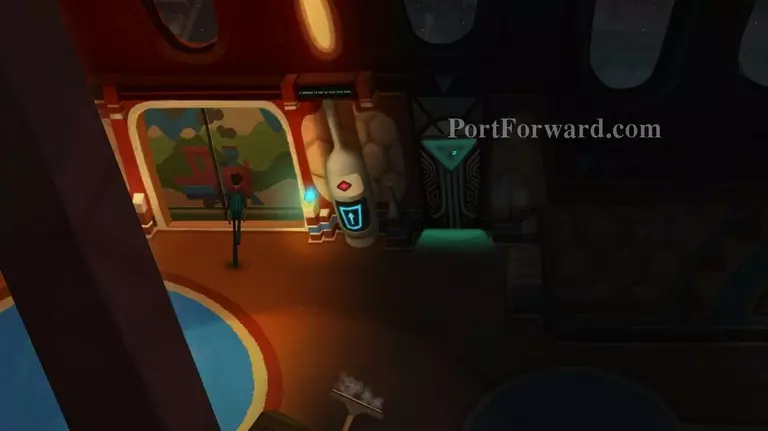
This leads to the airlock corridor. If you want to, read the sign, and then head all the way to the right to go out on the ship's hull.

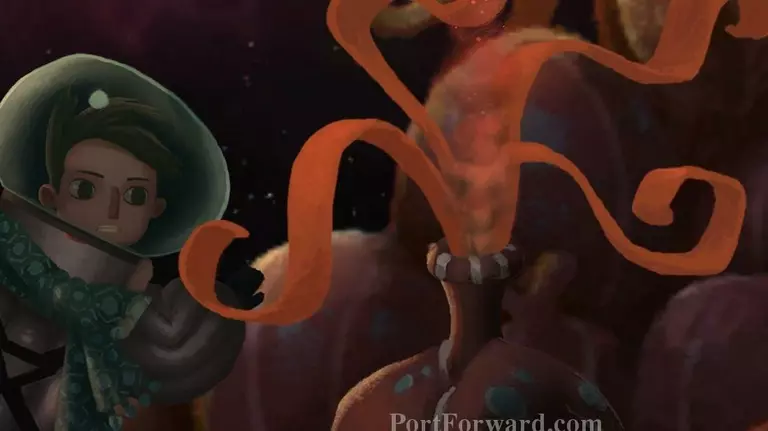
It's been awhile since we've been in space. You can check out the alien life form on the right, but it doesn't do anything now.

You can cut the air hose with your knife. The problem is if you do you run out of air and the computer brings you back inside.
For now head back to the left.
Keep going left to the hallway.
All the way down the hallway to the left.
Go through the door on the left at the end of the hallway.
We're heading back to the main teleporter room.
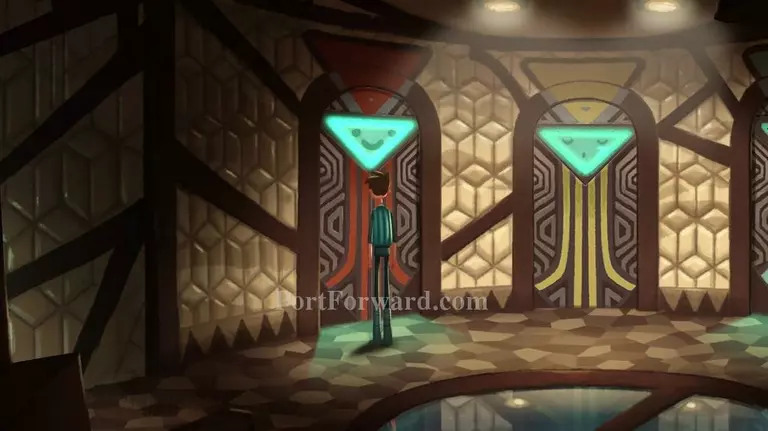
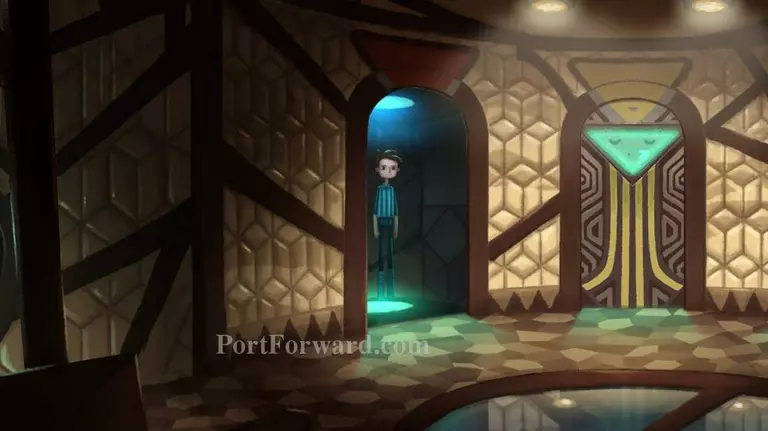
If you recall we already went through the green teleporter on the right last time (and havent come back through it correctly) so now go through the red teleporter on the left.
Shay will remark that his head is even smaller now. Head through the vent on the right into Merrick's room.
Go out of Merrick's room to the secret room where Merrick does his work on the right.

Keep going right and head back to your room through the vent.
Head to the hallway on the right.
Go all the way right through the last door at the end of the hallway.
If you haven't guessed by now, we're trying to get back to the main teleporter room. Go through the green door on the right side of the central hub room.
Now take the center yellow teleporter to the fusion orb.

Shay will remark that his head is as small as it can take- the teleporter indicates it's very important he returns back through it.
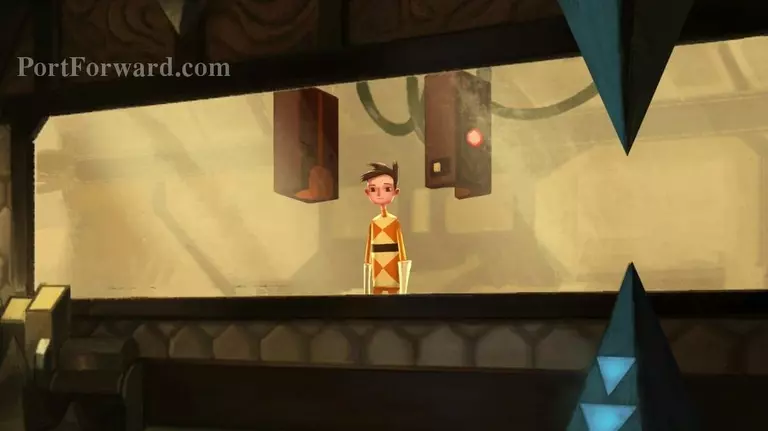
Before you do, though, put the babies helmet on and then head to the left.
The room puts on shay's protective clothing, and still cant get the helmet right but now that you have the babies helmet you can walk through the door on the left.
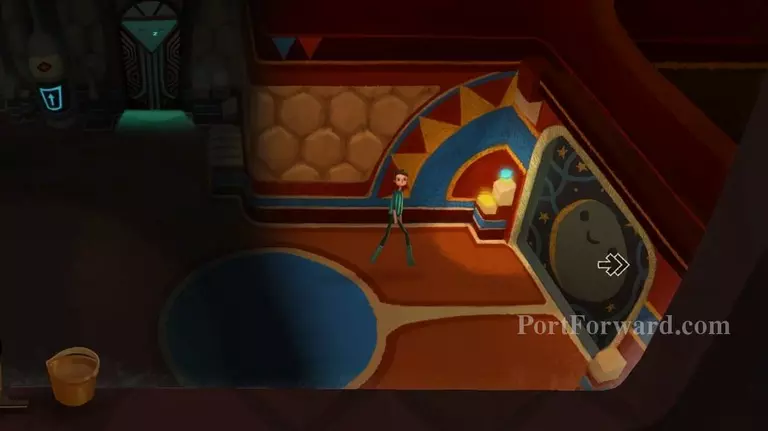
Once inside head all the way to the bottom right.

Click and drag the inhibitor over the fusion orb. Merrick will remind Shay you need to get control of the boom arm and give the new coordinates to the Space Weaver and then we'll be ready.
Go down to go back out and head out the door on the left and then right. The machine still has trouble with the helmet, but don't worry about that right now.
Head back through the teleporter.
Once here Shay's head will return to normal size and pop the babies helmet off. OUCH!
Head through the green teleporter on the far right to go back to starboard.
Then go out the door on the right towards the airlock.

Keep going all the way right and outside the airlock again.

Now that we're outside we'll have to think of a way to keep Shay from passing out from decompression and also a way to get away from the computers snatchy grab hands.
You can head over to the strange plant on the ship but it still doesn't do anything.

You can also try jumping, but you're tethered to the ship so that's also not helpful.
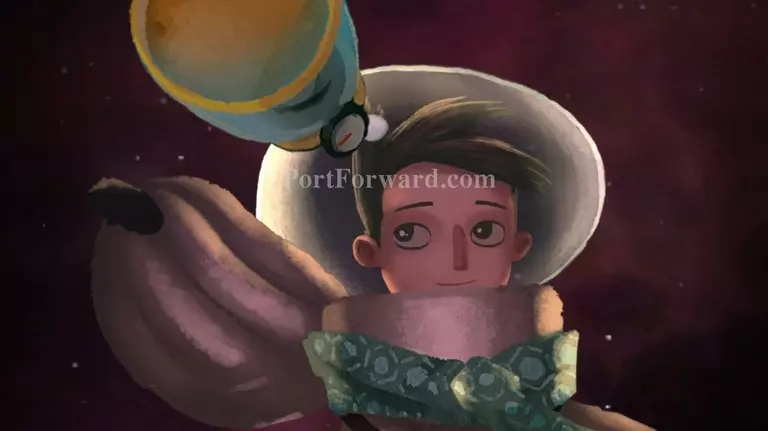
What you need to do first is attach the air pump to Shay's helmet. This will allow Shay to keep breathing.

After using the air pump on Shay you can then cut the air hose with the knife.

The problem now is when Shay tries to jump away from the ship the computers grabby hands catch him before he can get far enough away from the ship. He will mention, though, that he needs some kind of propulsion in order to get away faster.

Head back outside the airlock. The air hose will no longer be a problem so don't worry about that now. Click and drag the whipped cream canister over Shay and he will attach it to his space suit.
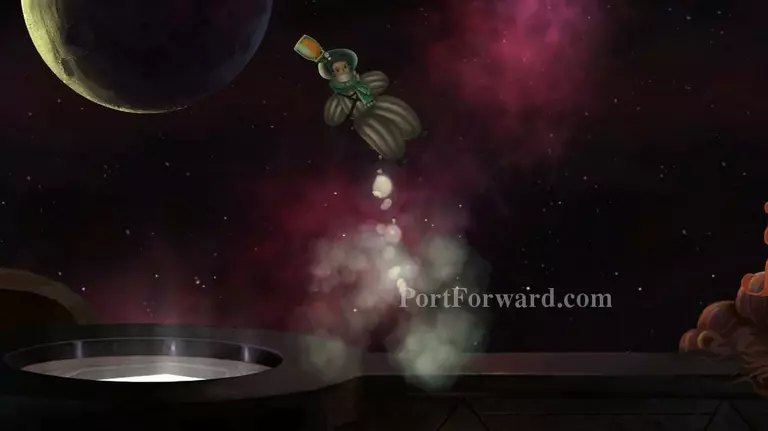
Then go ahead and head up. The whip cream canister allows Shay to get away from the grabby hands faster so he is now free to move around the outside hull to get to the manual override.
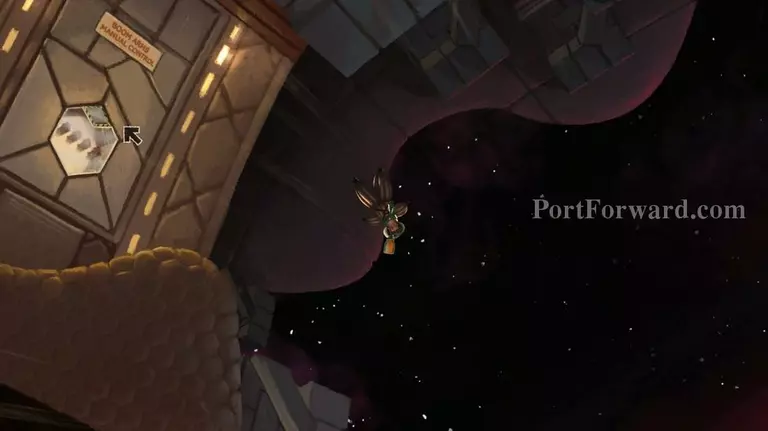
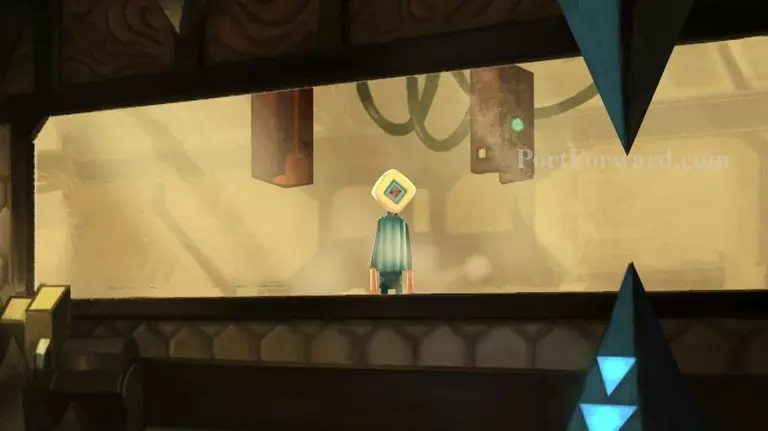
What you need to do from here is head up over the antenna looking thing and head left to the small port hole that has a sign indicating it's for the manual override for the boom arms.

Next you need to click on the diamond shaped part of the porthole and Shay will try to take it off with his hands. It doesn't work though.
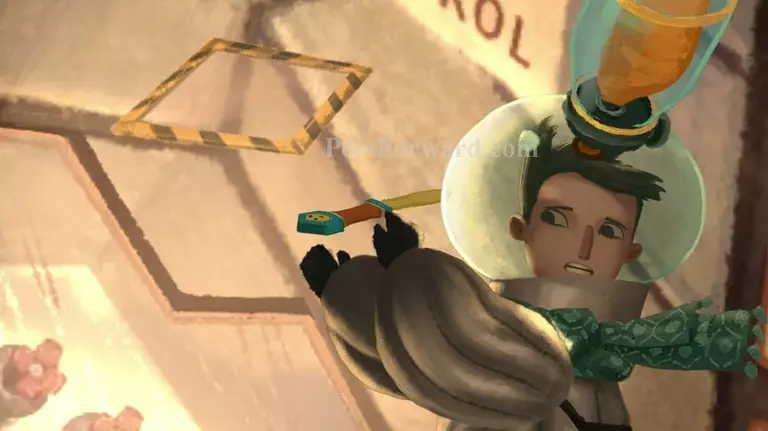
Use the knife on the porthole thing and the hatch will fly open causing Shay to lose his knife.

So... now the knife is gone. He will probably turn out to be the big bad when this is all said and done, right? HA! I kidd. Anyway, Shay isn't able to reach through the hole. Even if he could he wouldn't be able to control the boom arm from here and run the computer this way.
Use Grabbin' Gary on the hole.

Gary will latch on to all the controls and Shay has a remote he can control him with from a distance. So, that settles the boom arms.
Time to say goodbye to Gary. Leave back to the right and down towards the ship again and go back inside.
We're going all the way to the left.
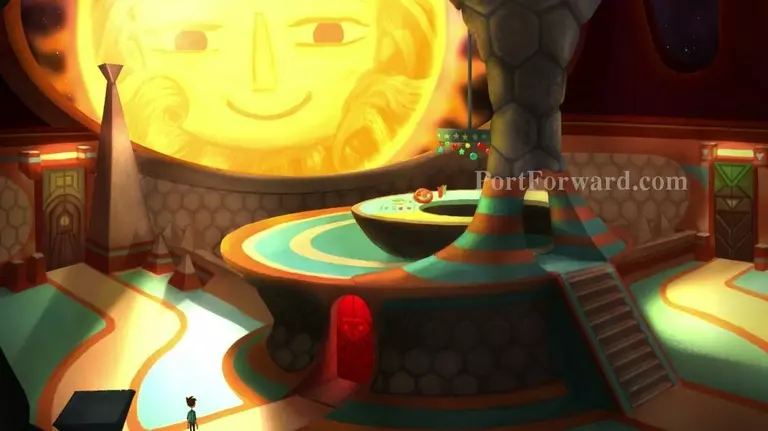
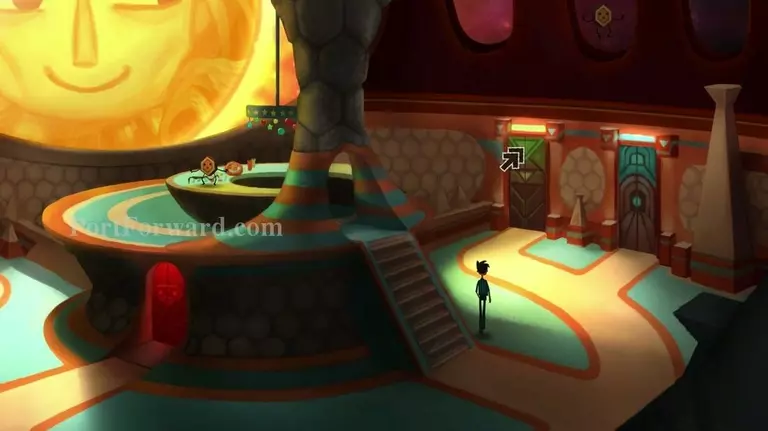
Back where the central hub is. With the giant computers face and the red door.
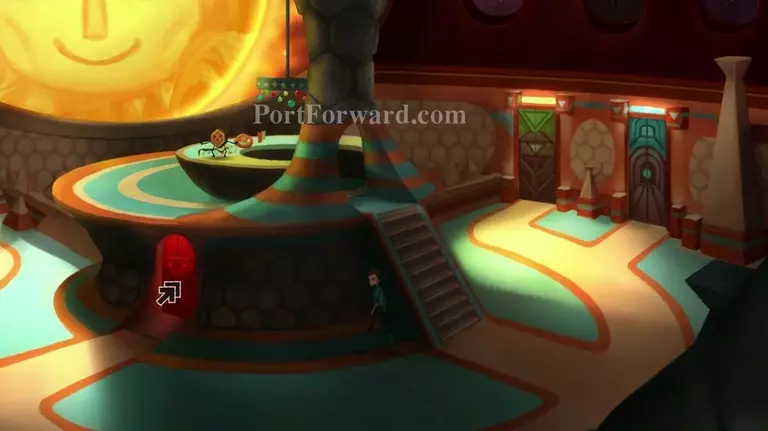
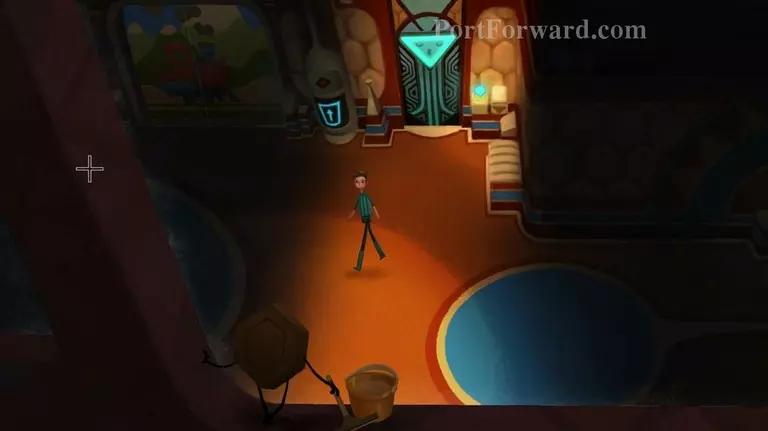
You want to take Shay through the red door now as we need to speak with the Space Weaver again.

If you try to give the Space Weaver your star chart the Space Weaver refuses. The area the star chart leads to is too dangerous.
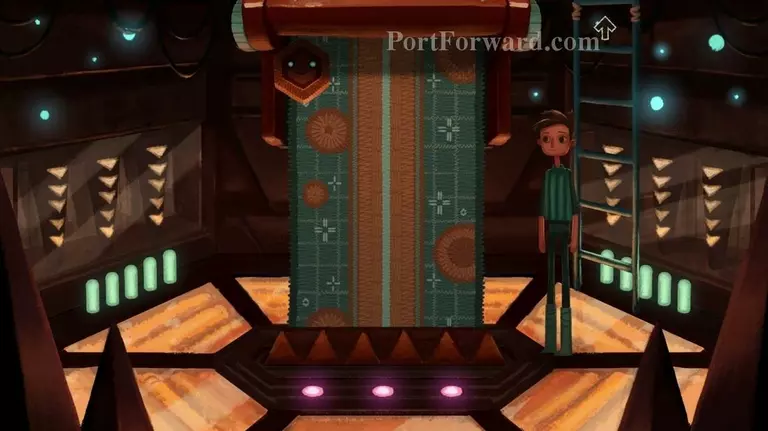
You should go through each system the Space Weaver will take you to because you will see the patterns they leave on the "NavScarf."
Make sure you click on the starchart in your inventory to look at it also as it will reveal the pattern you need in order to get to the right system.
The objective is to get the Space Weaver to weave a chart that has places missing on the "NavScarf" in which you can add to it using the crochet hook so it leads to Prima Doom instead.

If you mess up the star chart, or pick the wrong place and dont want to wait as long, you can fill in all the spot so it fails to warp.
I am only stalling in case you want to figure this out on your own as it is the most complicated puzzle in all of Act 1.
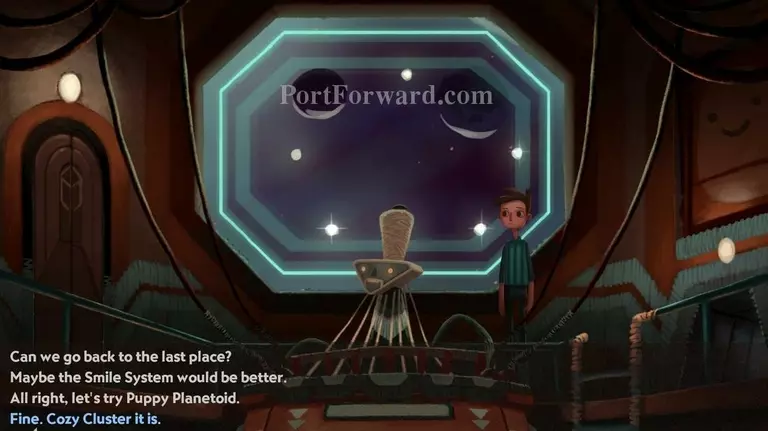
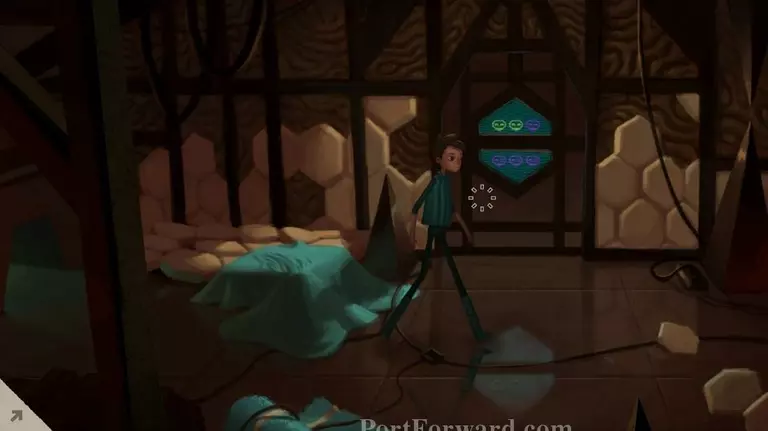
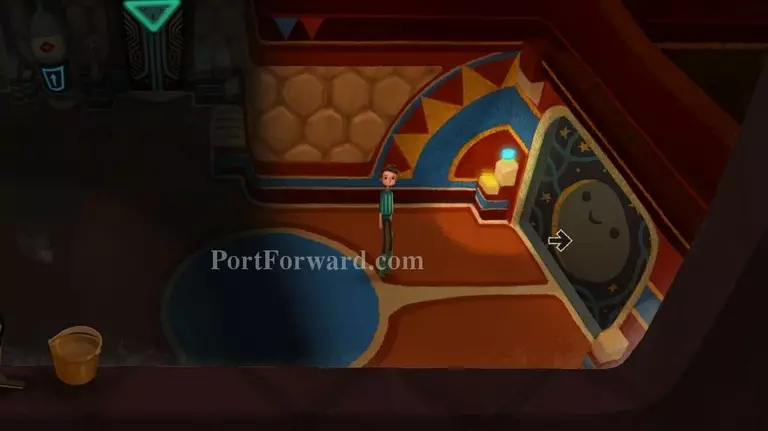
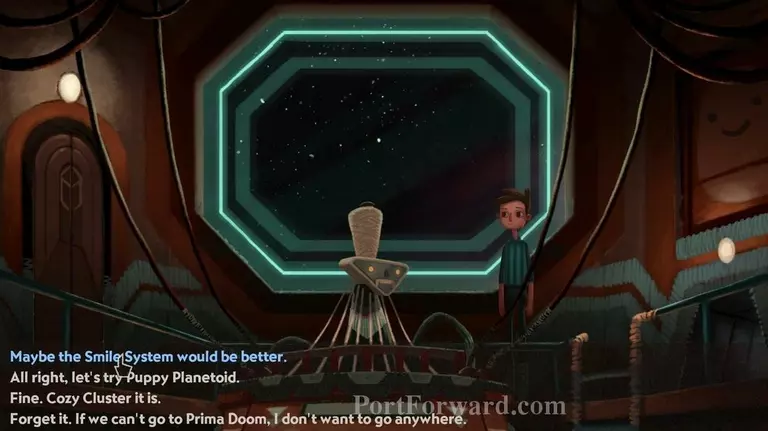
We want to ask the Space Weaver to go to Cozy Cluster. Then quickly head down the ladder.
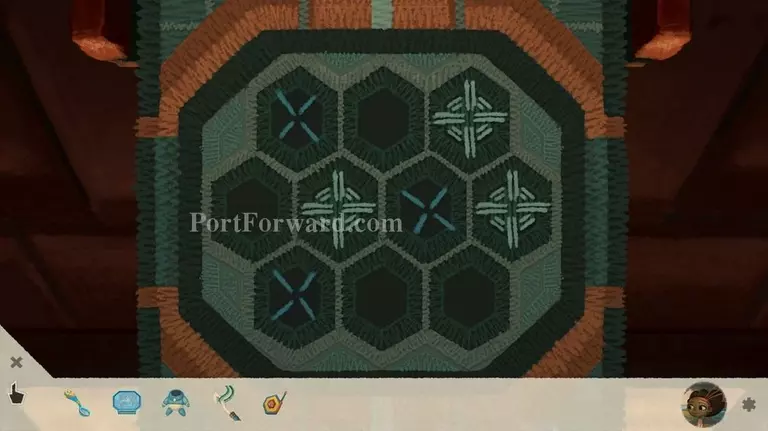
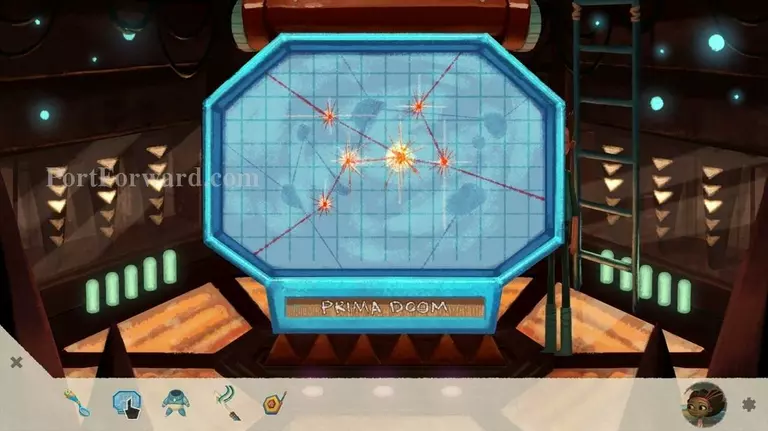
Use the crochet hook on the "NavScarf" to make the pattern shown above.
This will lead straight to Prima Doom. This seriously bothers the Space Weaver who has a total meltdown.
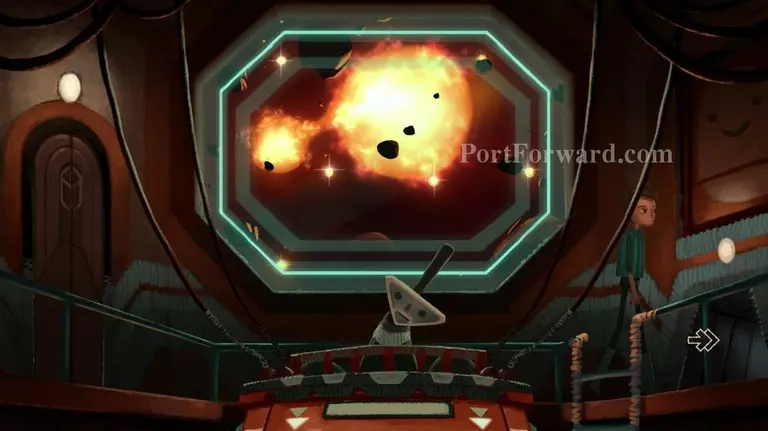
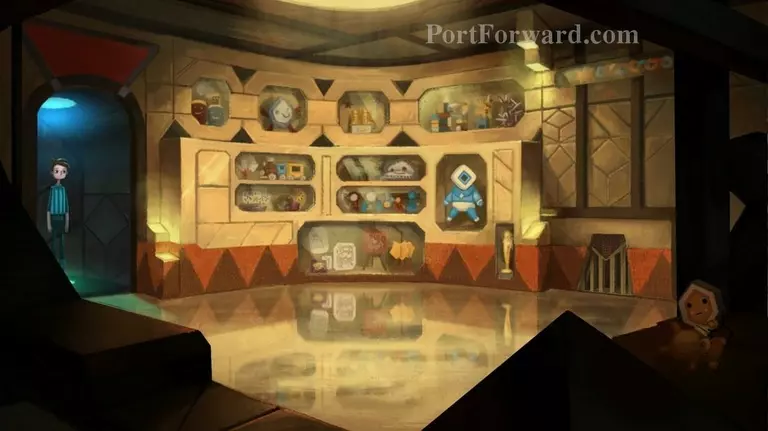
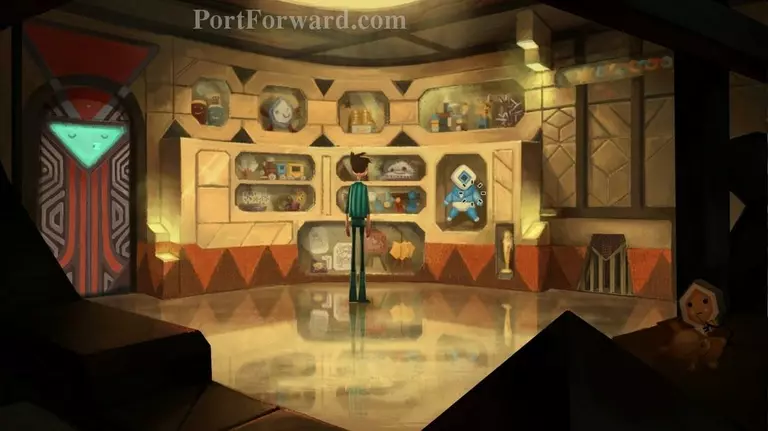
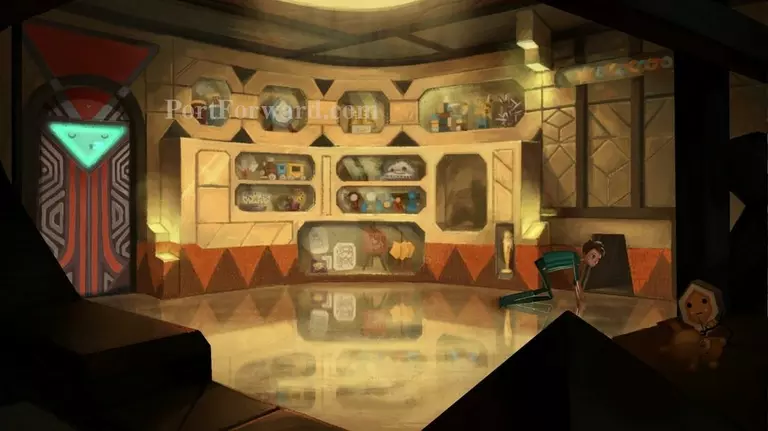
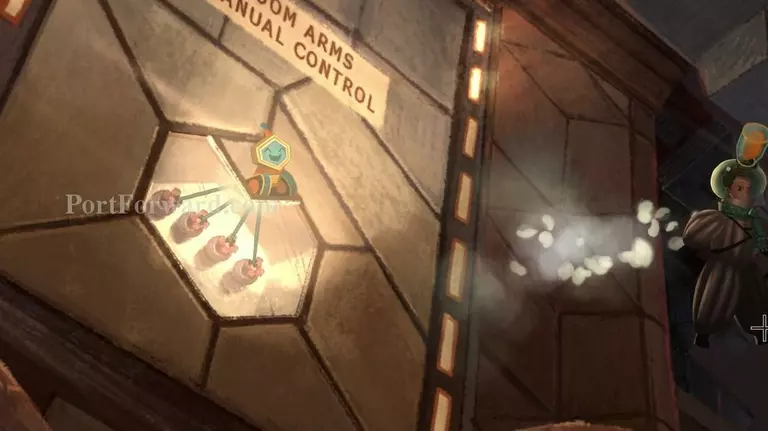
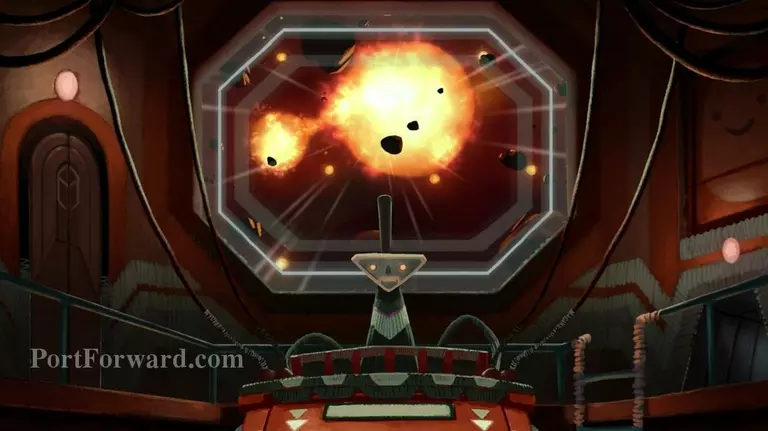
Head to the right and through the vent to go back to Merrick. img(204039); Merrick is over on the right by the boom arm computer already. Speak with him. img(204040); Merrick will tell Shay that there isn't much time as they are already in danger so Shay must act quick. img(204041); You'll notice the panel looks a little different now, but not entirely. Once again click the green button on the top left to bring down the shields. img(204042); The boom arm moves way faster now and so do the creatures at the bottom. As usual, though, when it's lined up hit the red button on the bottom left to pick up the creature and put it into quarantine. img(204044); To get to the next one hit the UP arrow twice. img(204045); After saving the second creature Merrick again says Shay doesn't have time to save all of the creatures and advises Shay stop while he's ahead as they are in imminent danger. img(204046); Shay decides to press on. img(204047); To get to the final creature go to the RIGHT twice. This one moves the fastest but you should get it after a few tries. img(204048); That's really all there is for gameplay in Act 1. I won't spoil the ending movie. It's a great one. img(204049); See ya in Act 2!
More Broken Age (Act1) Walkthroughs
This Broken Age (Act1) walkthrough is divided into 8 total pages.