This The Legend of Zelda: The Wind Waker walkthrough is divided into 47 total pages.
You can jump to nearby pages of the game using the links above.
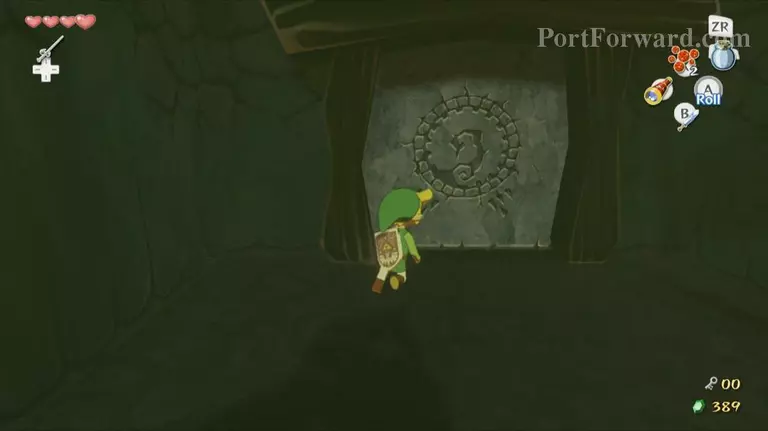
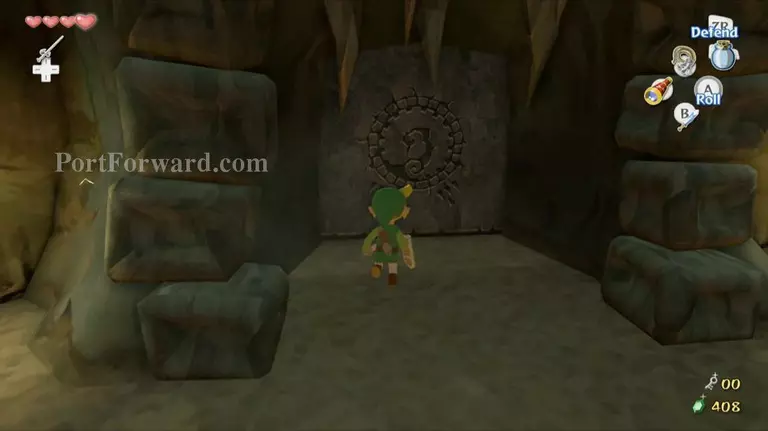
5.1 Dragon Roost Cavern
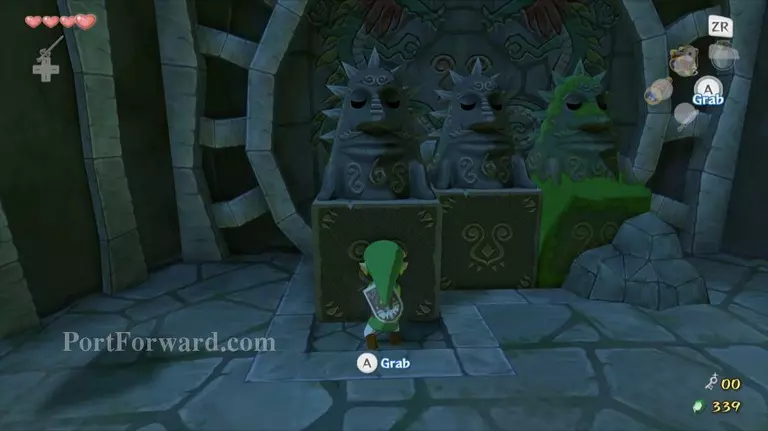
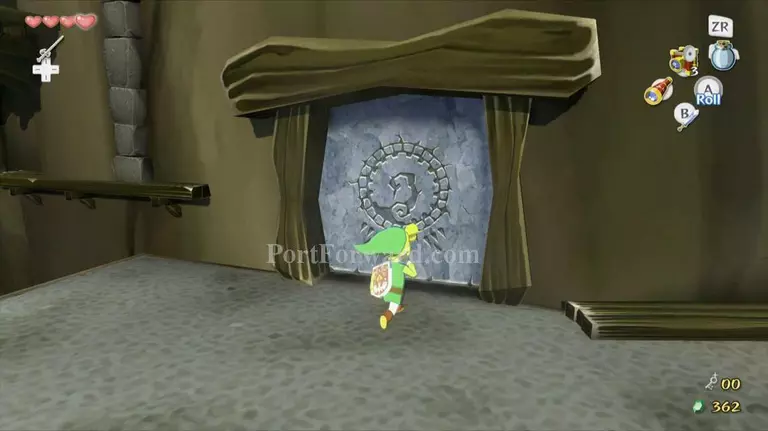
Now that you're inside Dragon Roost Cavern, grab the statue on the left and pull it towards you.
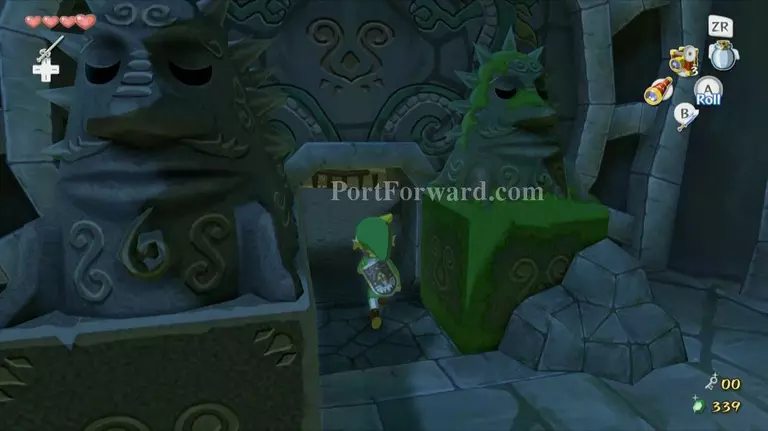
Walk around the left side of this statue and grab the middle statue, then pull it as far as you can to reveal a hole in the wall.
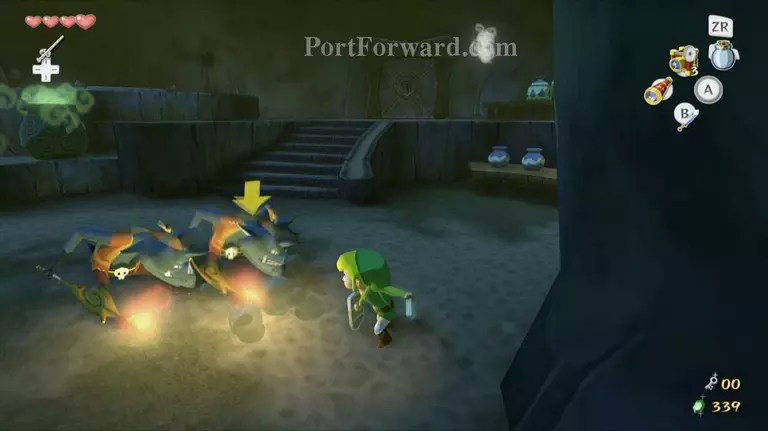
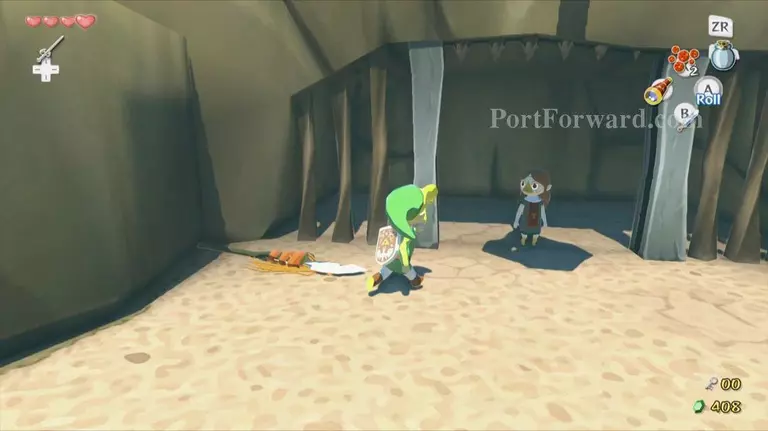
Go through the hole and defeat the two Bokoblins you find inside.
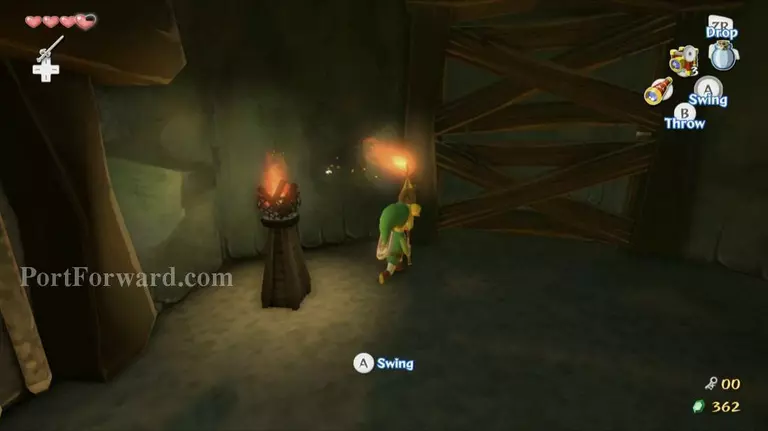
Collect anything they may have dropped and pick up their wooden stick.
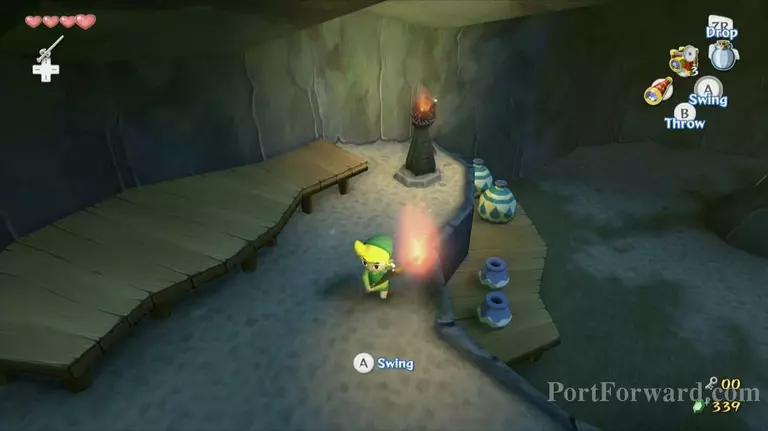
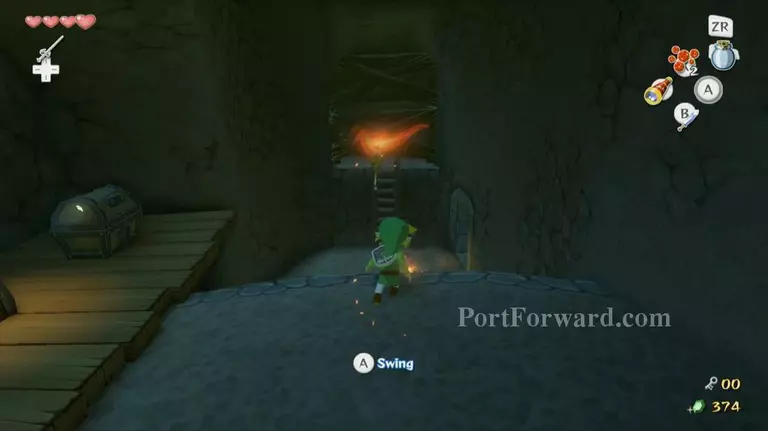
Use the lit torch in the room to light the stick on fire.
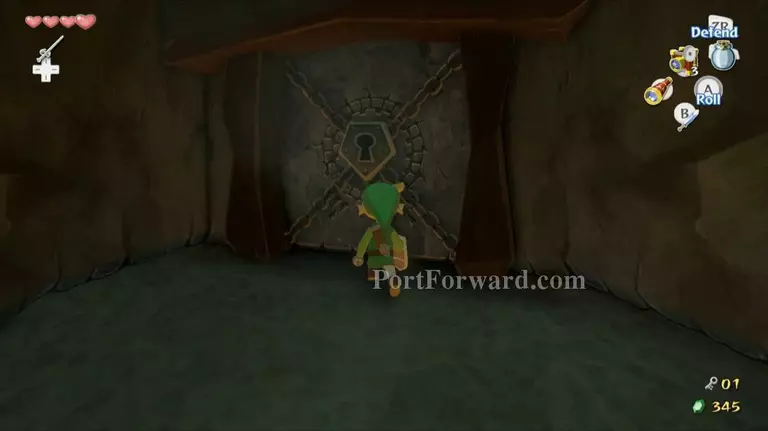
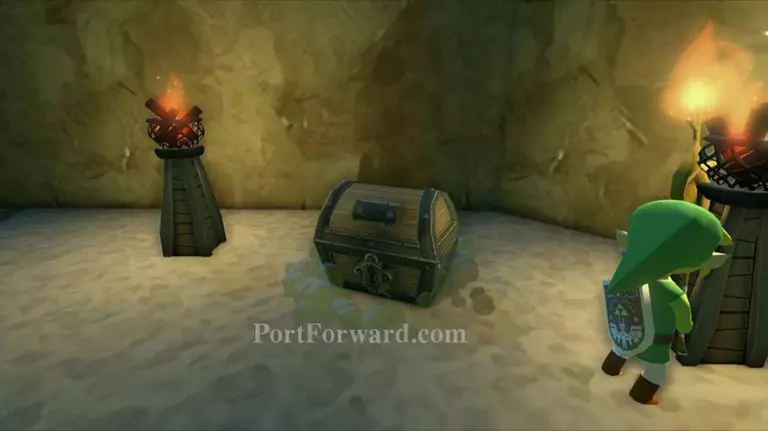
Light the two torches to the left of the door to reveal a chest containing a small key. Open the locked door to continue through the dungeon.
Head straight down this hallway and hit the wooden planks with your sword to break them. Turn left and follow the wooden pathway, ignoring the locked door for now. Continue along the wooden path and you will soon find a gap in the bridge.
Jump down onto the rock below, pull out the block in the wall and climb on top of it. Jump across to the next section of bridge and continue along the pathway.
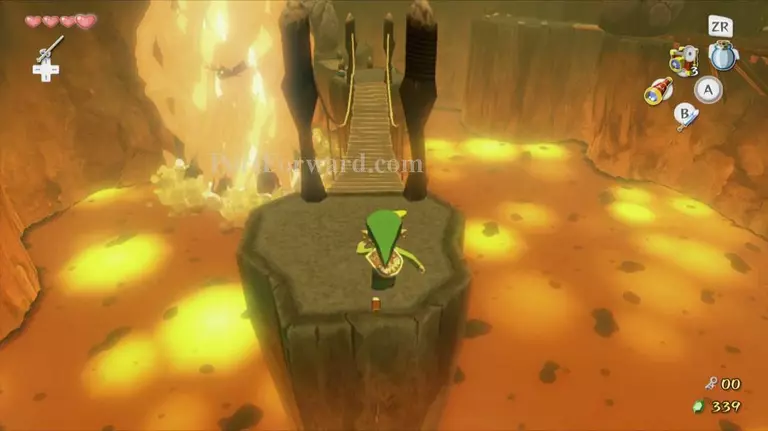
The next gap will contain a column of fire that will flare up periodically.
Jump across once it is gone and make your way across the bridge while avoiding the Keese nearby.
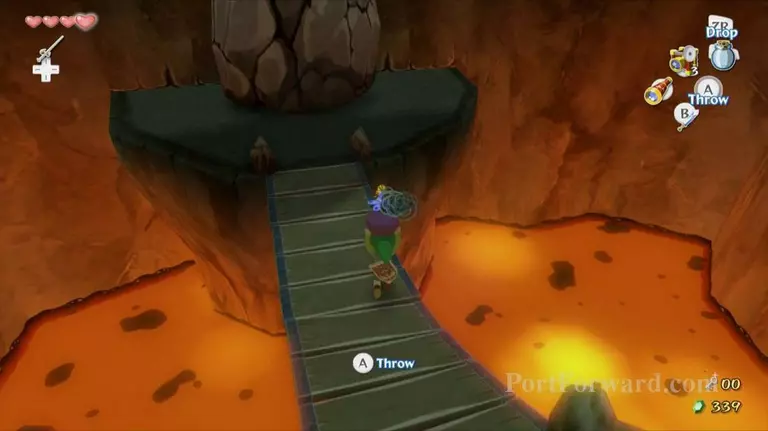
Once you are on the opposite side of the bridge grab one of the nearby bombs. Throw it at the rock across the next bridge to reveal another doorway.
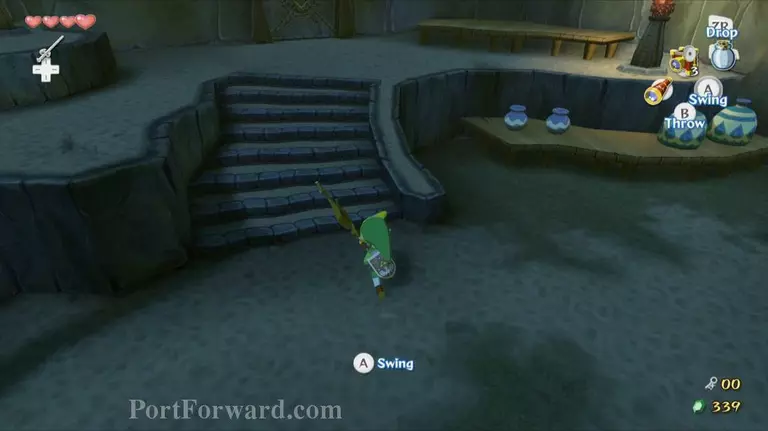
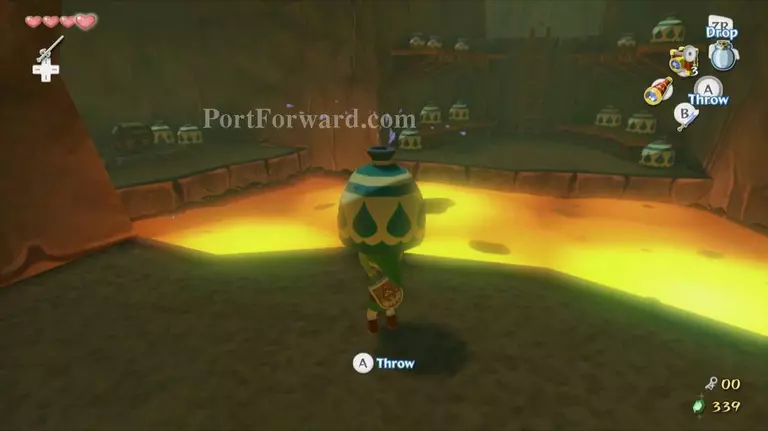
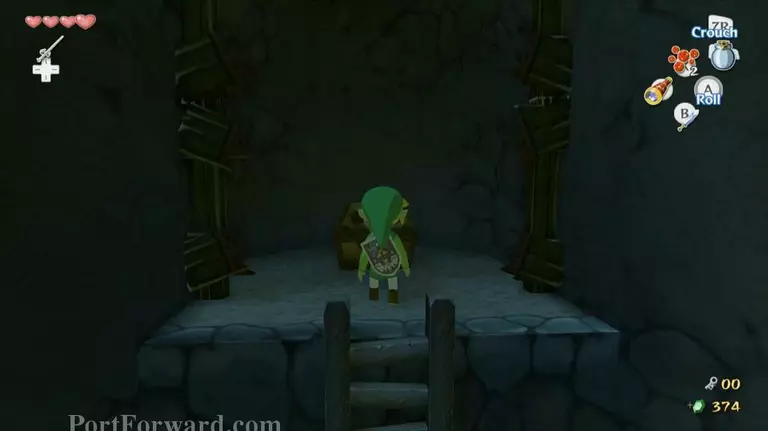
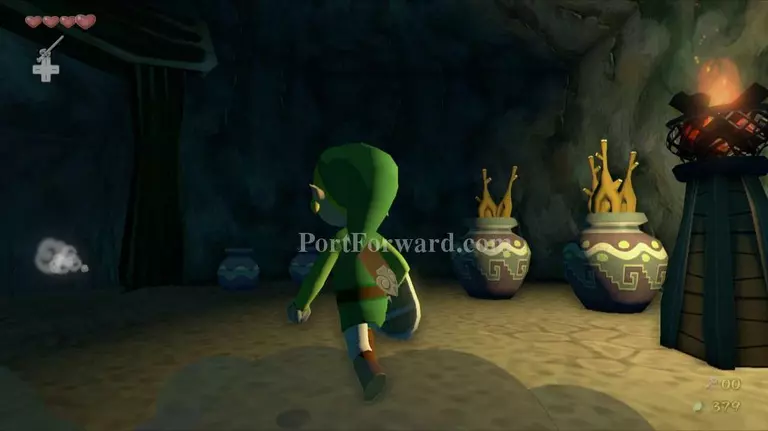
In the next room you will find various large pots. These pots all contain water that will solidify when it comes into contact with the lava, forming a platform that will allow you to cross the gap. Grab one of the pots and throw it onto the left portion of the lava. Use this platform to jump to the treasure chest on the other side, and then open it to get the Dungeon Map.
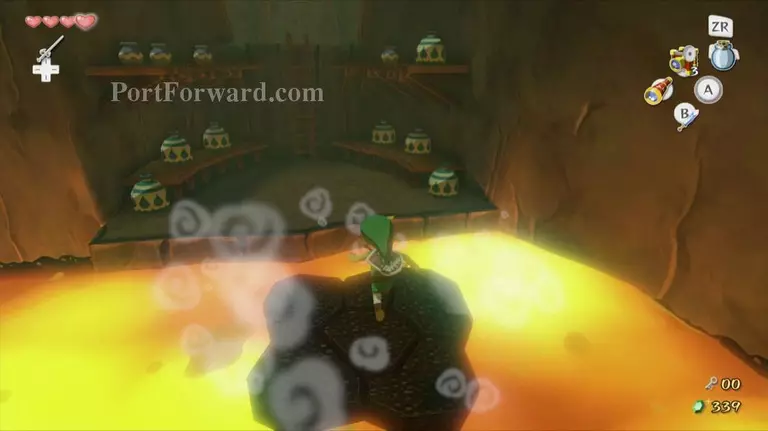
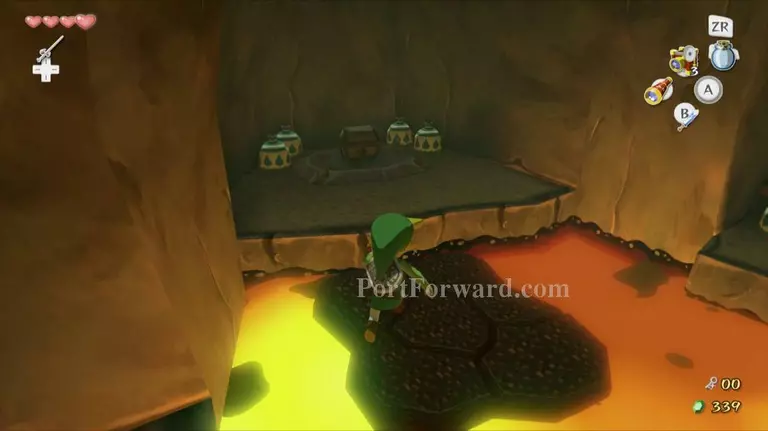
Grab another pot and throw it along the left side of the lava once again. Use the platform to jump across the gap to the left side of this room.
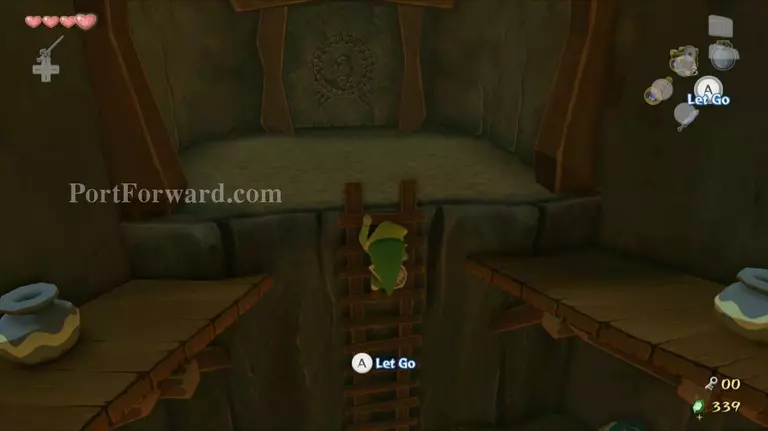
Start climbing up the ladder, avoid the Red ChuChu that jumps down and enter through the door.
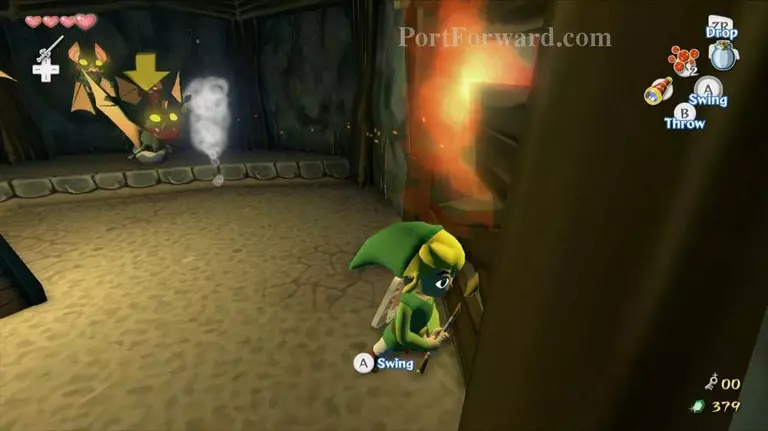
Walk towards the paneled section in front of you and a Bokoblin will jump out and attack you.

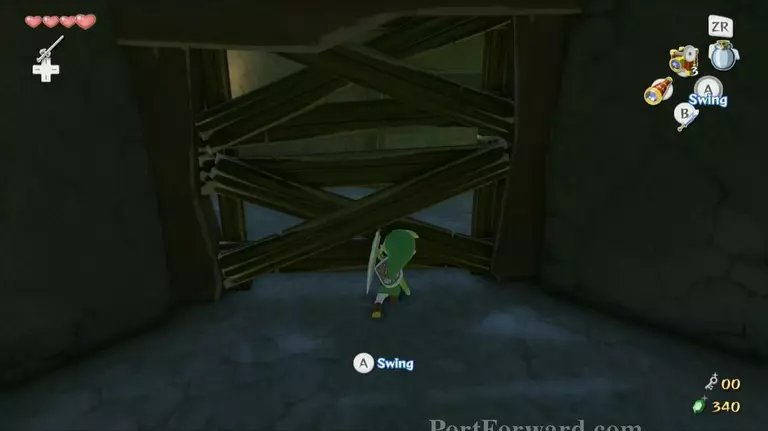
Kill the Bokoblin and pick up the sword it dropped. Use the sword to break the wooden panels nearby and continue to the next area.
Immediately turn left and throw the sword at the wooden panels on the higher ledge to break them. Defeat the Red ChuChus that appear, and open the chest for another small key. Hop down from the ledge and go through the door to the left.
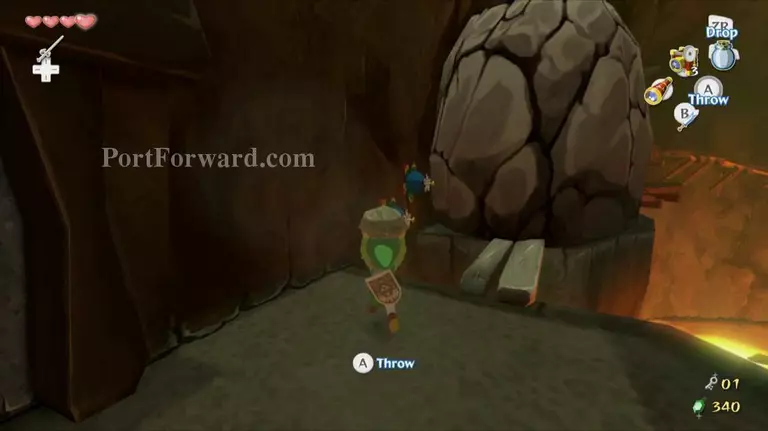
You will now appear back in the large lava room from before. To the left is a large rock, but the bombs we need are stuck to the wall. Grab one of the pots or rocks nearby and throw it to hit one of the bombs on the wall. This will activate the bomb, blowing up the rock. If you run out of things to throw, simply go back through the door and reenter the room. Once you blow up the rock, cross the plank and walk straight ahead towards the locked door. Open the door with your key and you'll emerge into a long hallway.
"We can't go right at the moment, so continue straight and defeat the many ChuChus that appear. Break the wooden panels along the left side and defeat the Bokoblin that attacks.
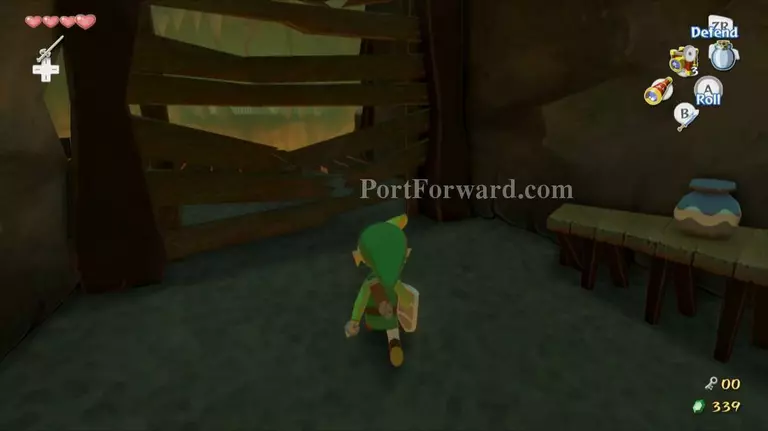
Burn down the other set of wooden panels and step on the switch inside it to raise the bars over the doorway. Exit through the doorway to make it outside.
Once you are outside, turn right and you will find a wooden bridge with a Bokoblin waiting at the end. You can run across the bridge and attack him with the sword, or you can grab one of the pots next to the door and throw it at him instead to deal some damage. If the Bokoblin doesn't fall off the edge of the platform, kill it and then climb the ladder. Halfway up the ladder a column of fire will shoot out of the wall; make sure you avoid it along the way.
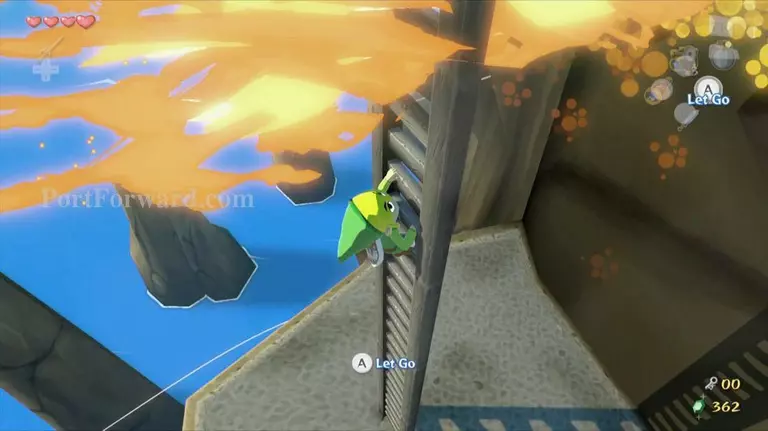
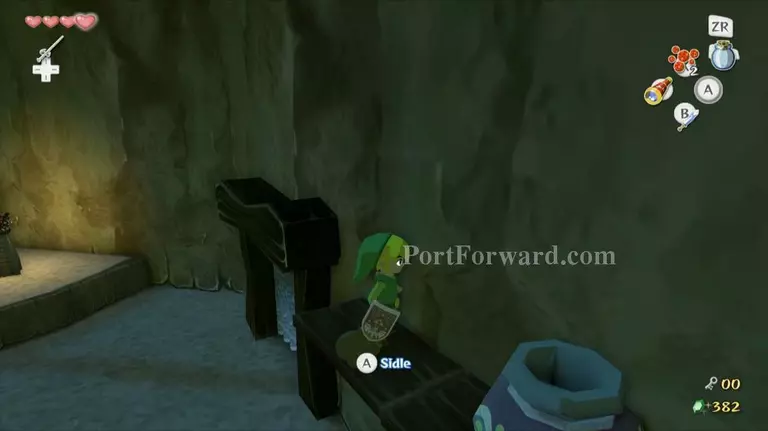
At the top of the ladder you will meet a new bird enemy called a Kargoroc. Wait for the bird to get close to you, and then use the sword to defeat it. Walk to the wall and you will find another large gap. Another column of fire will shoot out of this wall, so sidle across only when it disappears.
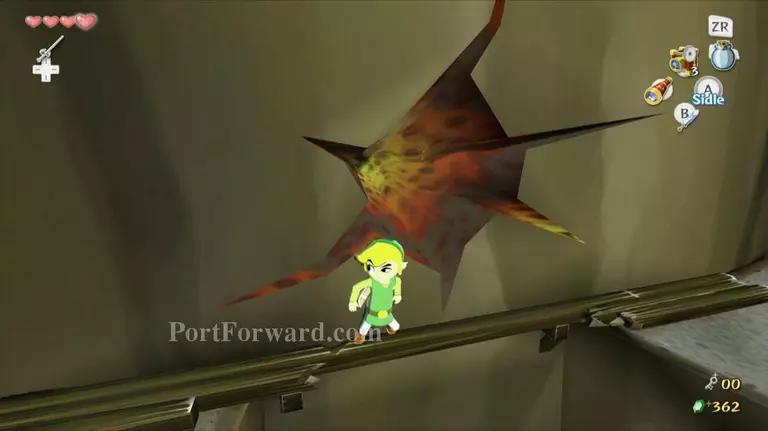
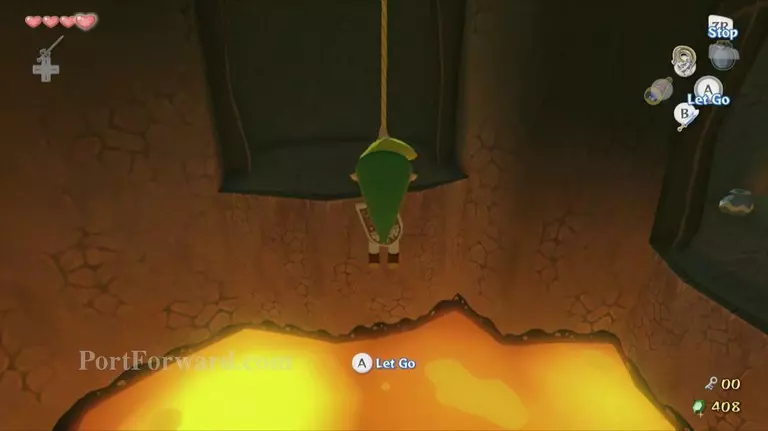
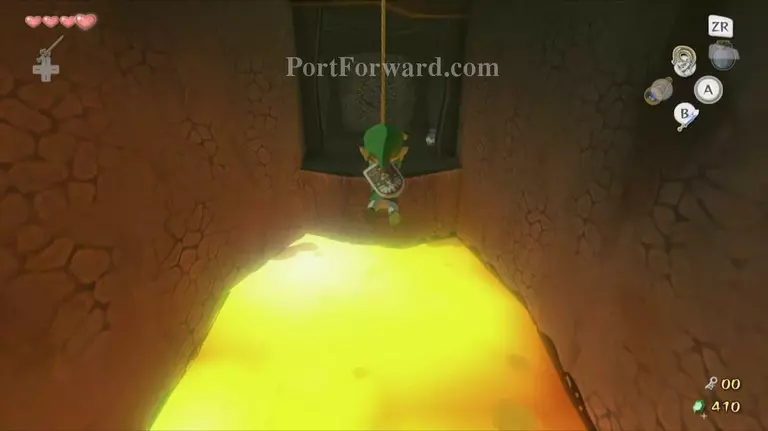
Walk around the rock for now and you'll find another small ledge on the wall. Unfortunately we can't sidle across this one, so you will have to push forward on the control stick to make Link hang off the ledge.
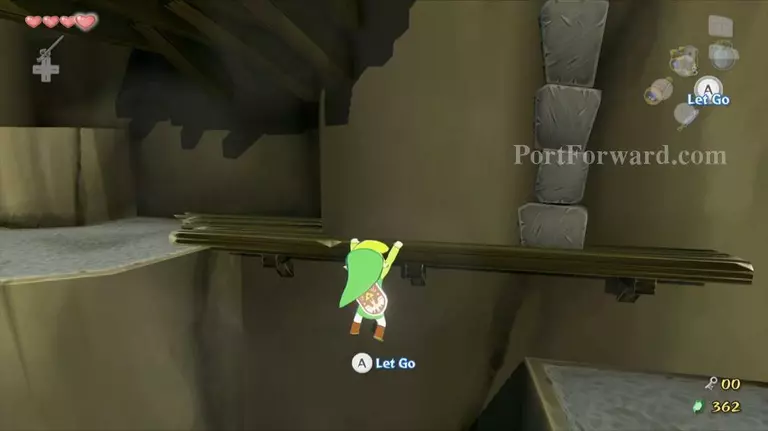
Push the control stick left have him slowly move across the gap. Once you reach the larger portion of wood, pull yourself up onto the platform.
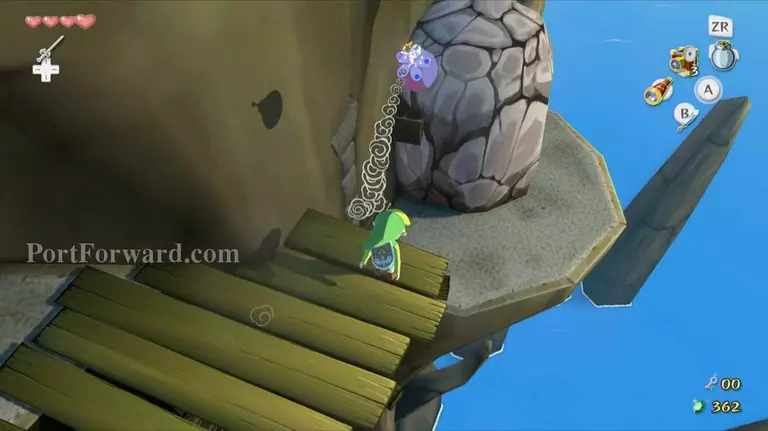
Climb up onto the small ledge nearby and then onto a second ledge higher up. Grab the bomb flower here and walk onto the wooden platform to the right.
Throw the bomb so that it lands on top of or near the rock and blows up, revealing another doorway. Jump down off the platform and head inside the doorway.
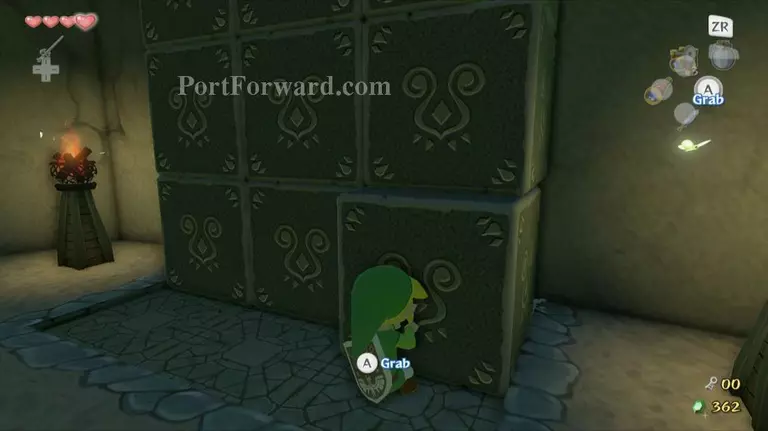
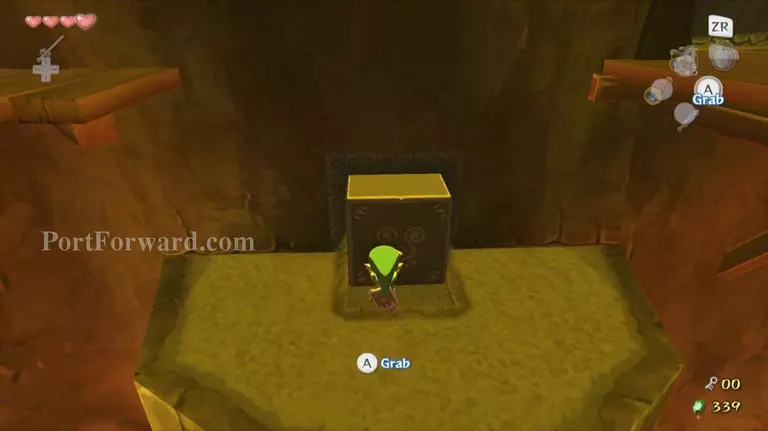
In this room you will find three stacks of blocks and no way to reach the next area. To progress, grab the bottom middle block and pull it out.

Climb onto this block and pull the next middle block out only halfway. Climb onto this block and then onto the top block and enter the hole at the top.

Walk to the left and you'll find another block you can pull out. Before you do, the King of Red Lions will tell you that if you spread some All-Purpose Bait near the rat's nest they will share their treasure with you.
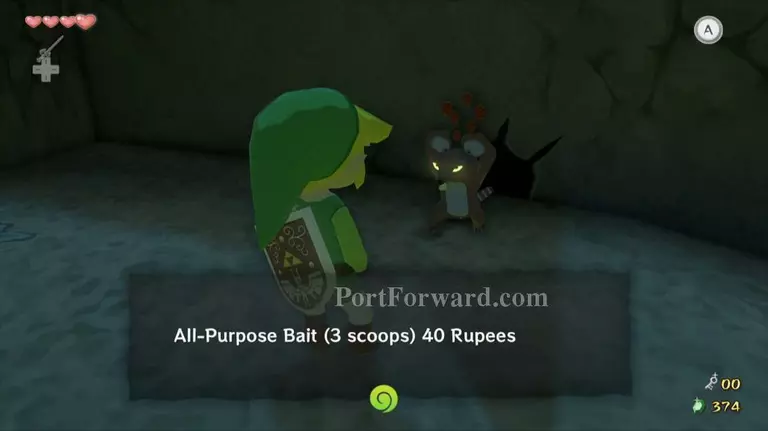
This treasure can vary from Red and Blue Potions to Hyoi Pears and even more All-Purpose Bait.

Pull out the block in the wall, and then use it to climb up to the next ledge. Break one of the pots to the left and grab a wooden stick that falls out.
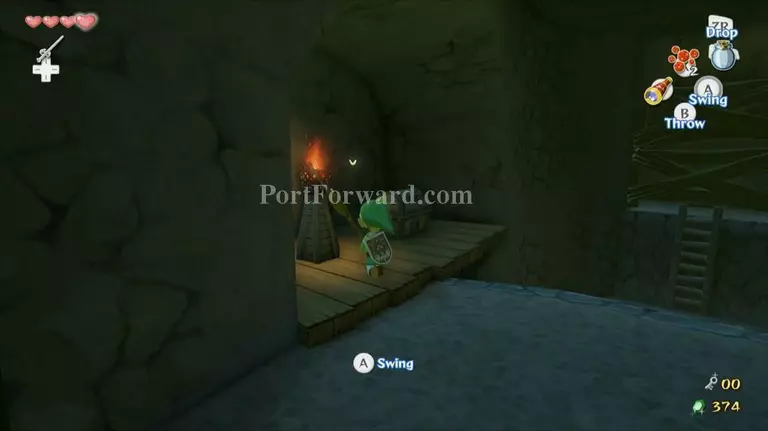
Walk over to the torch nearby and light the stick on fire.
If you look to the opposite side of the room you will see another set of wooden planks.Aim carefully and throw the stick at the planks to set them on fire, effectively destroying them.
Before you run over there, open the chest to the left for the Compass. Now you can jump down and climb up the ladder to find a chest containing a small key. Hop back down off this ledge, and then climb back up the block on the other side. Open the door with the small key to get back outside.
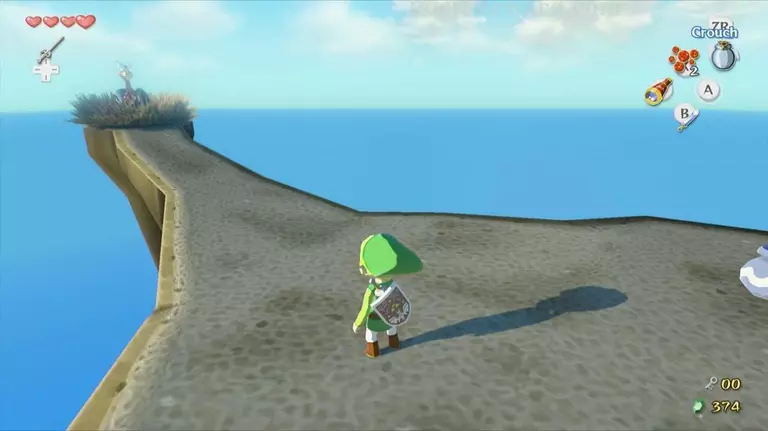
Walk up the stairs to the right while jumping across the gaps along the way. Defeat the Kargoroc at the top and grab the small key hiding in its nest.
Use the key to open the locked door nearby and head back inside the dungeon.
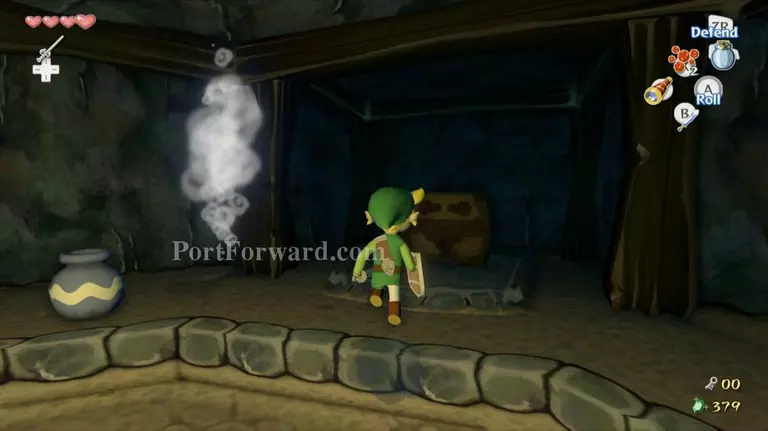
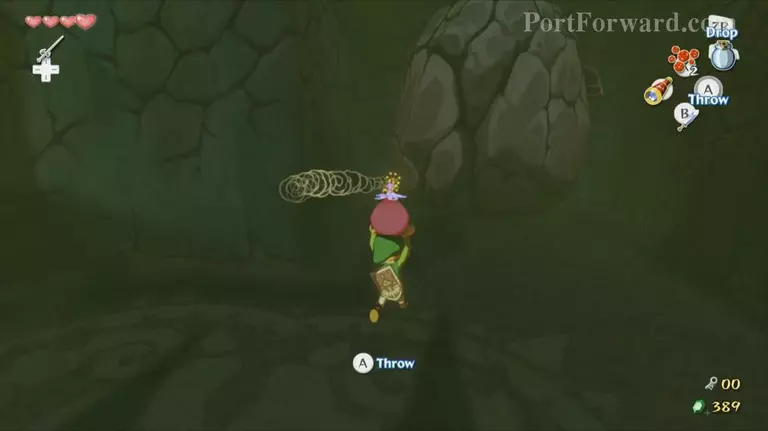
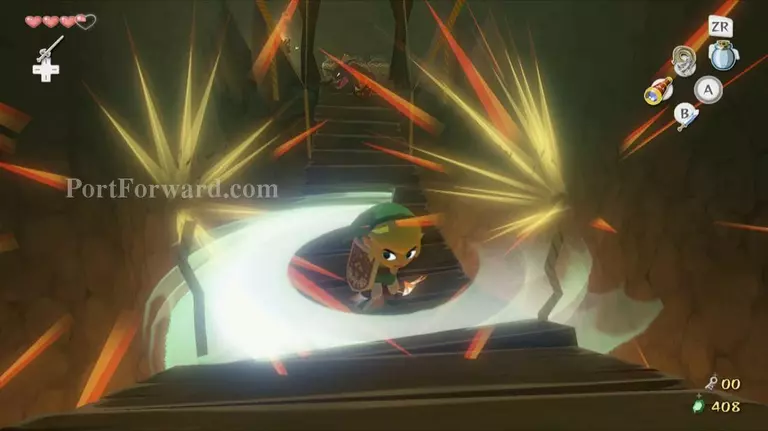
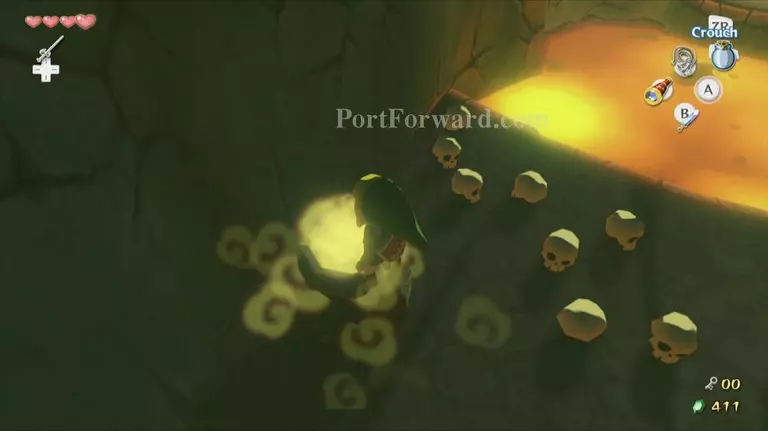
This room is very dark, so break one of the pots and grab a wooden stick.
ight it on fire and walk down the hallway to the left. Light the torch in the middle of the next room and burn down the wooden planks nearby.
Kill the Keese in this room and then open the chest for another Joy Pendant.
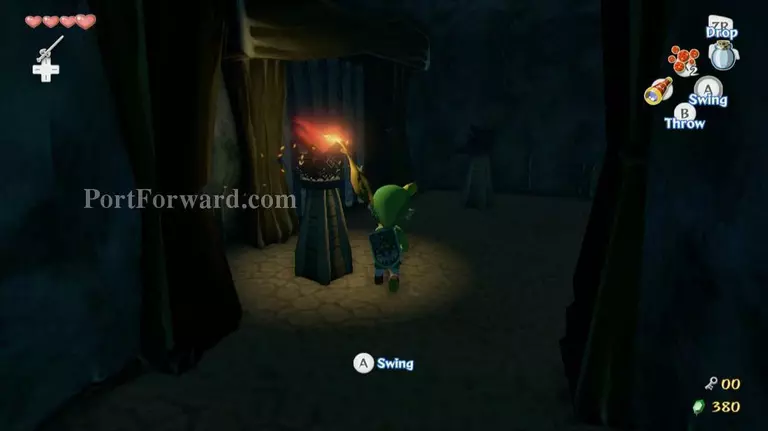
Grab the wooden stick again and continue down the hallway. Light the last two torches to open the doorway to the next room.

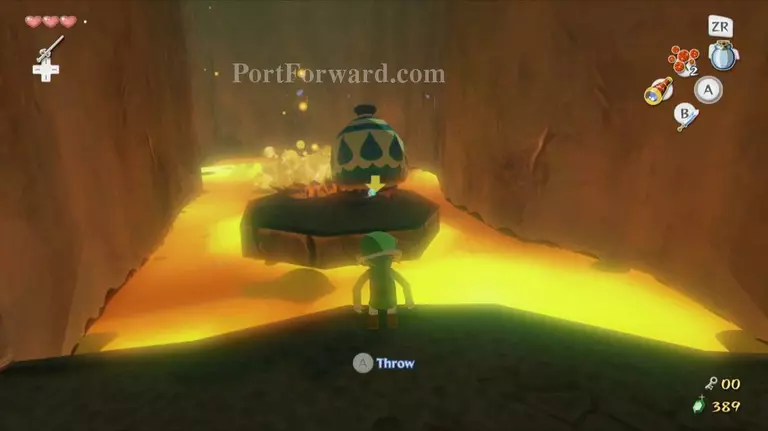
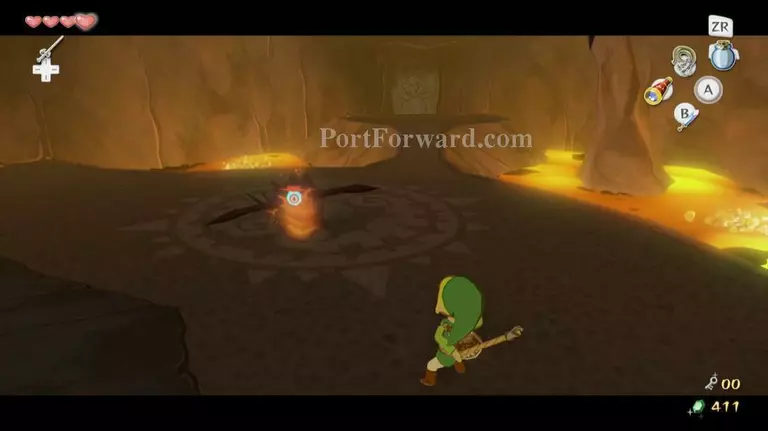
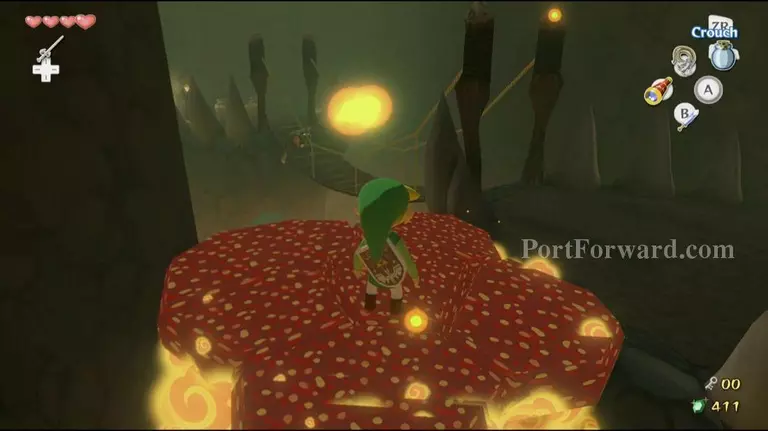
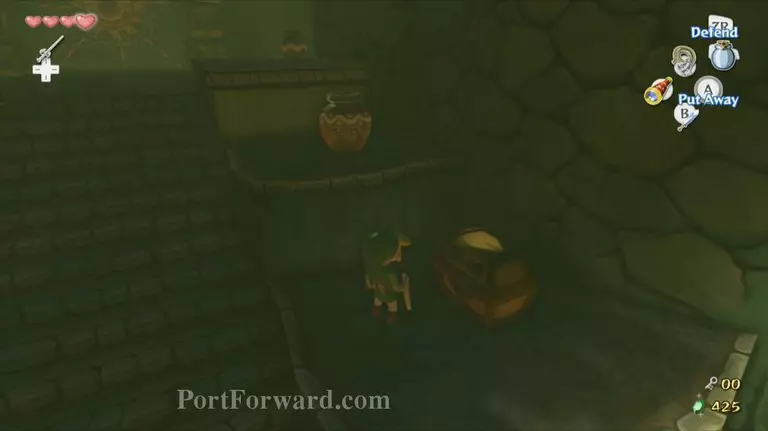
Grab the bomb flower to the right and use it to blow up the rock on top of the pot. This pot will allow us to travel back to the beginning of the dungeon, and eventually to the end of the dungeon as well.
We don't need to do this right now though, so walk across the bridge and head through the door on the other side.
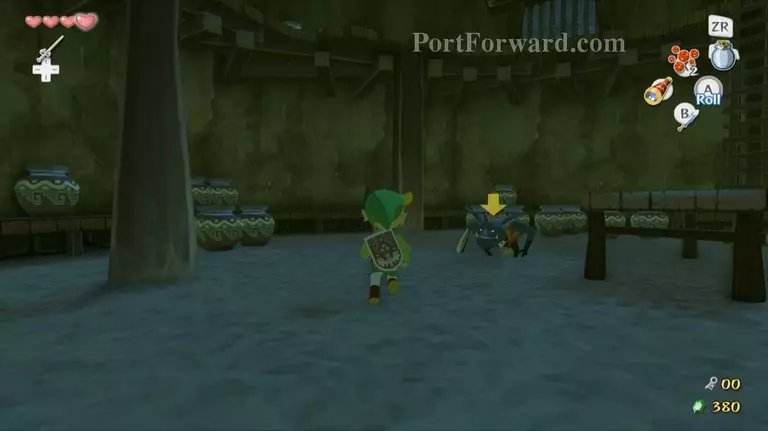
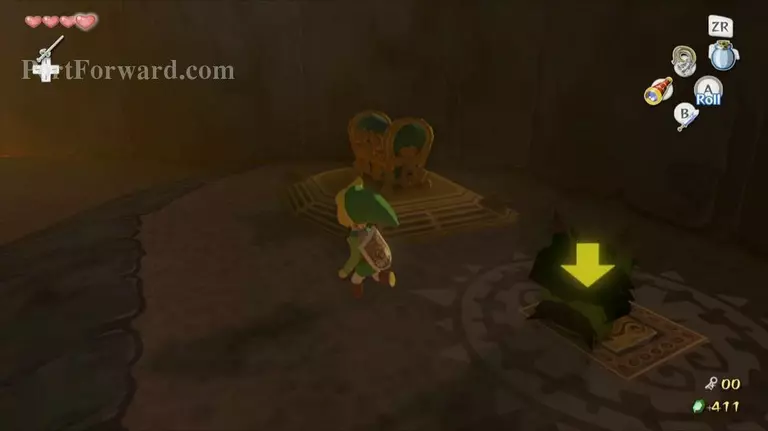
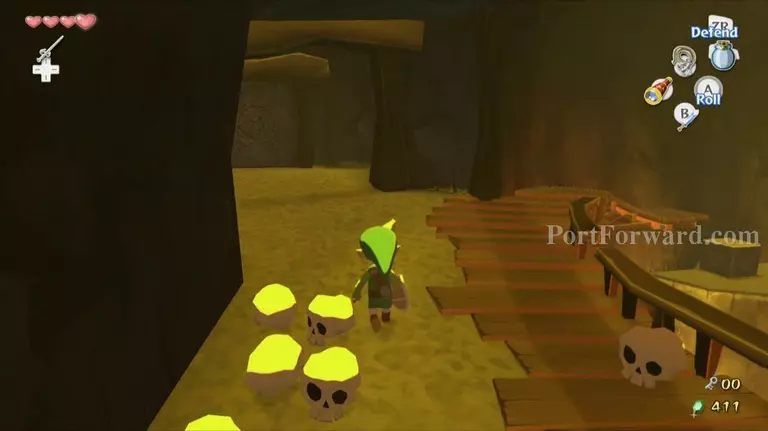
There are three Bokoblins in this room that you must kill to unlock the door at the top.
The first one is right in front of you. The second one is in the pot on the platform next to the door.
You can roll into the wall below it to knock it down and kill it.
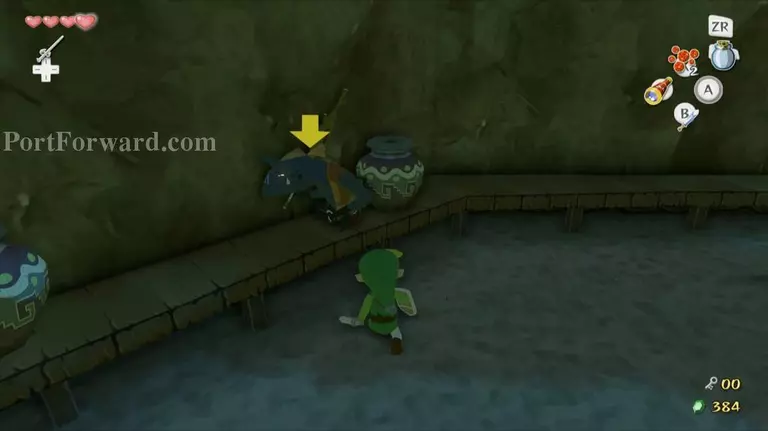
The third Bokoblin is located along the left wall, sitting on the wooden platform near some more pots.
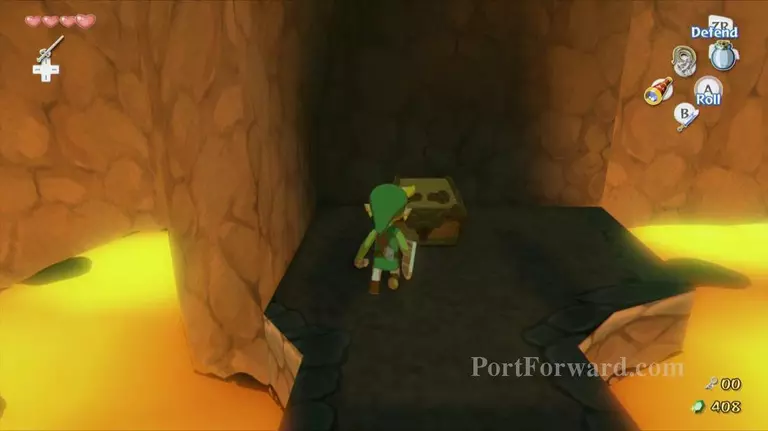
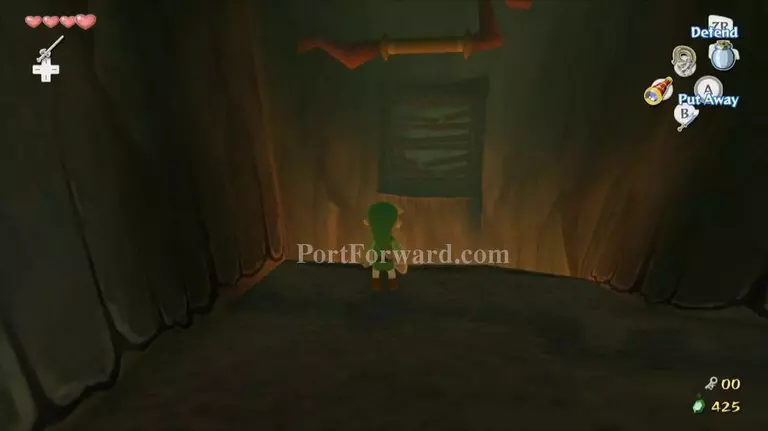
Once they are defeated, pick up one of their wooden sticks and climb up the ledge along the right wall. Light the stick on fire and use it to light the second torch. Open the chest that appears for Treasure Chart #39. Jump down off the ledge and climb the ladder, then head through the door at the top.
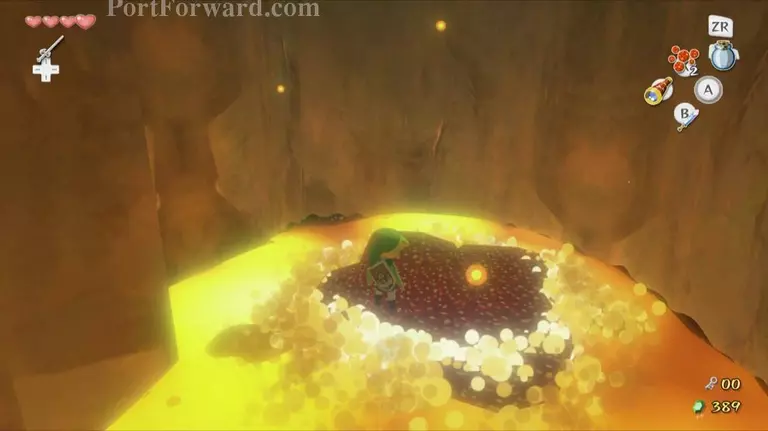
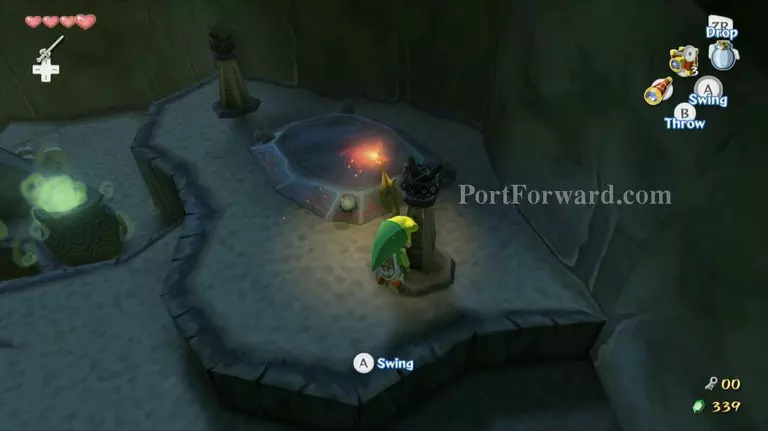
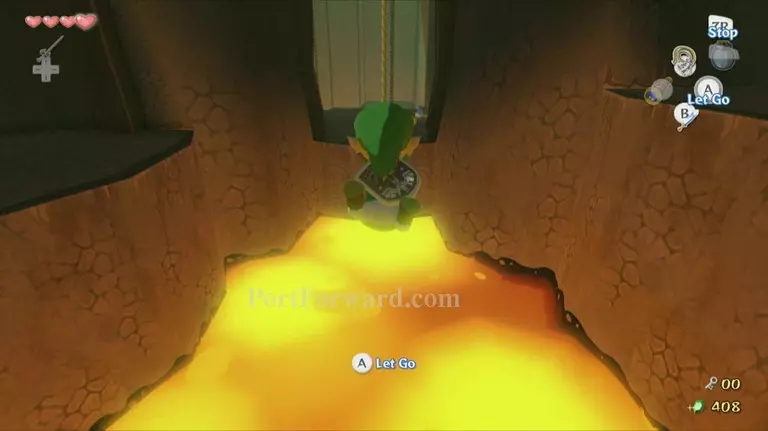
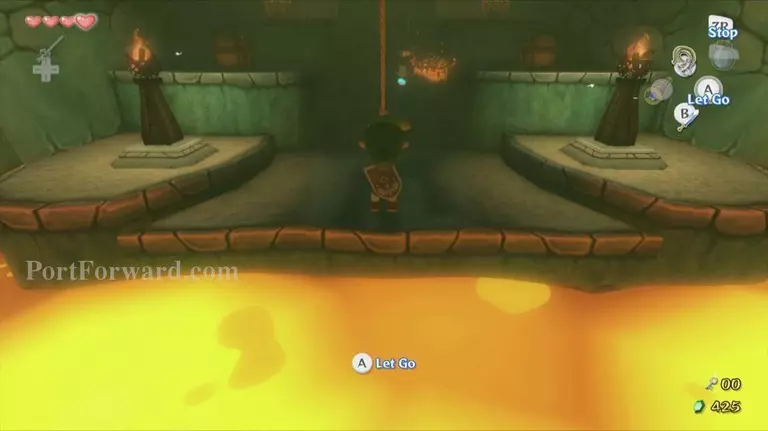
This room can be a bit tricky, as it contains a very small platform with a Magtail on it. To defeat the Magtail, grab one of the water pots and throw it at the monster, which will cause it to curl up into a ball. Jump across the gap and use your sword to defeat it.
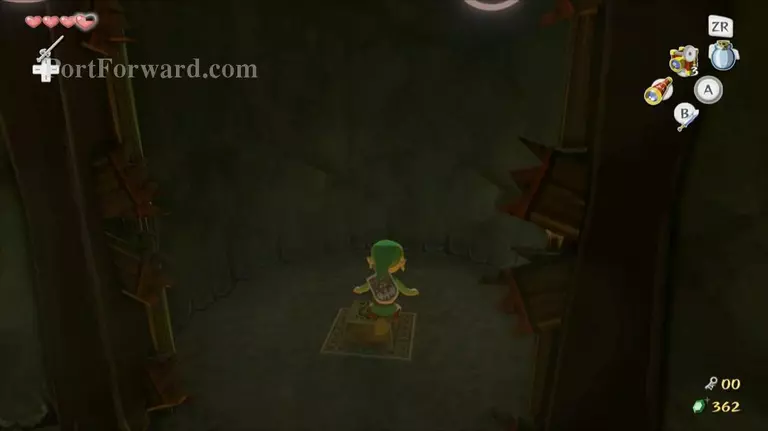
Hop back to the previous platform and grab another water pot. Jump back to the small platform and face the expanse of lava. Throw the water pot into the bubbling area of lava. Quickly jump onto the platform and you will be shot high into the room. Jump off the platform and onto the wooden platform along the wall. Exit through the door nearby.
Drop off the ledge to the right and grab the bomb located here. Quickly run to the left and bomb the small rock here to reveal the final warp pot. Grab another bomb and destroy the second rock which reveals another doorway to the outside world.
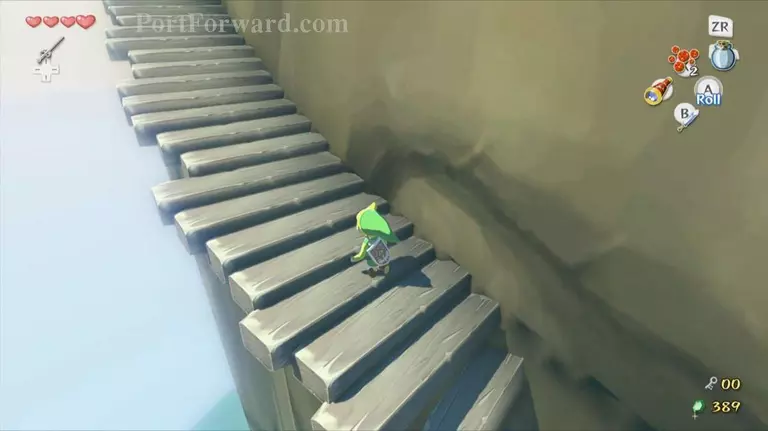
Run up the stairs here and keep running, as the stairs will start to crumble and fall as soon as you step on them.
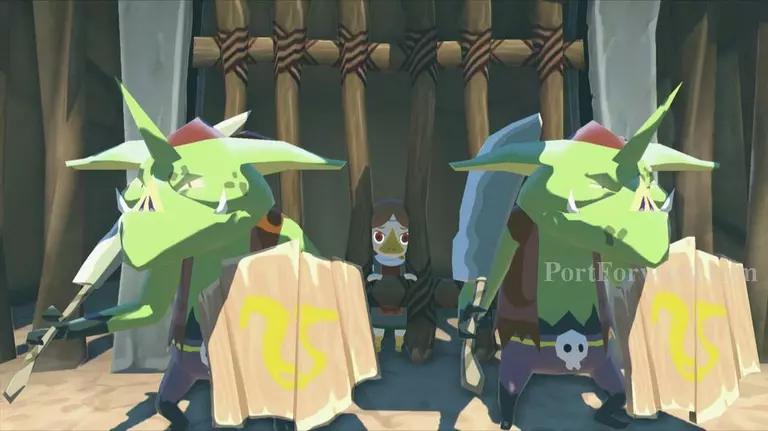
Head through the doorway at the top and you'll see Medli being guarded by two Bokoblins.
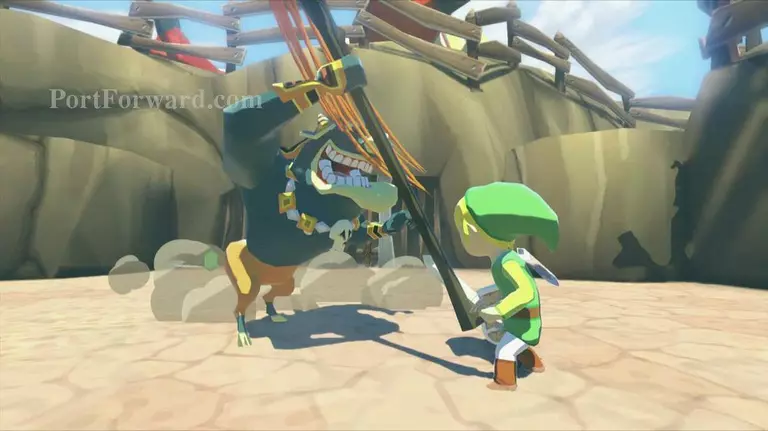
Defeat the Bokoblins and a Kargorc will drop a Moblin into the arena. This enemy possesses a long spear that will do heavy damage. Try to be aggressive in attacking these enemies, because allowing them a break will give them a great opportunity to attack.
Break any of the dark orbs that appear upon defeating the enemies and collect the Joy Pendants and Skull Necklaces as well.
Speak with Medli and she will tell you why Valoo has been so upset. She will also give you the Grappling Hook, an item that will allow you to swing across large gaps as well as pull items up from the ocean floor.
"Climb the staircase to your left and Medli will give you a short demonstration on how to use the Grappling Hook. Use the item to swing across the gap, then swing across the next gap as well. Break the wood panels with the sword, then drop down to the lower area. Look to the left and use the Grappling Hook to swing across all of these gaps. Head through the doorway you find at the end.
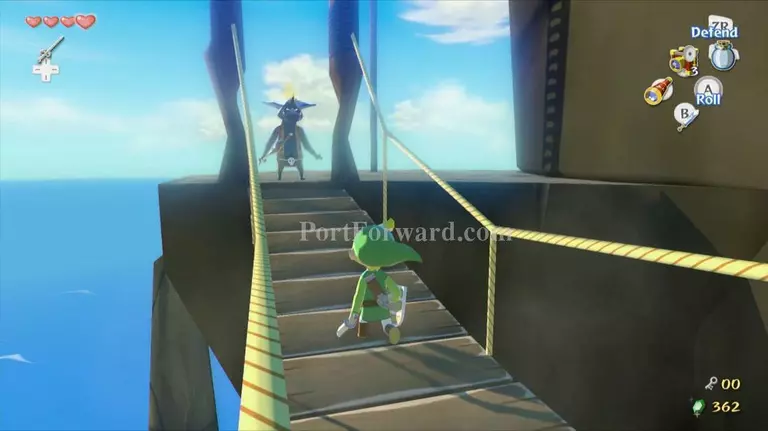
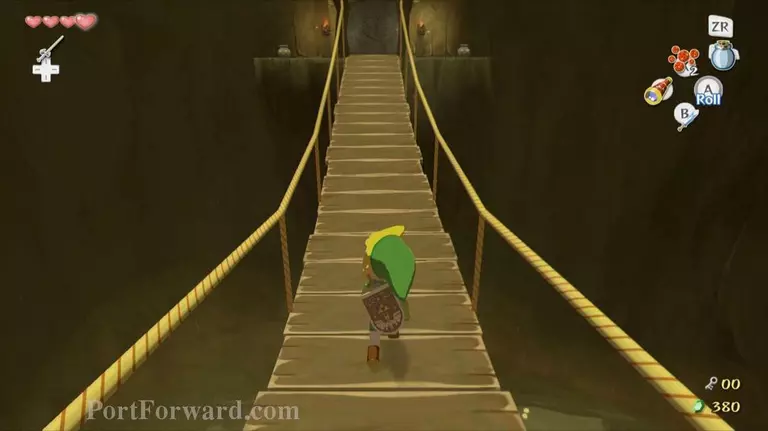
Walk halfway across the bridge in the next room and kill the Bokoblin here. Continue across to the other side and another Bokoblin will jump out of a pot. Defeat this one as well and a chest will appear the bottom of this room. Walk back to the middle of the bridge and use a spin attack to cut the ropes holding the bridge.
This will cause it to break and let Link fall to the platform below. Open the chest at the bottom for a Joy Pendant, then head through the door on the other side of the room.
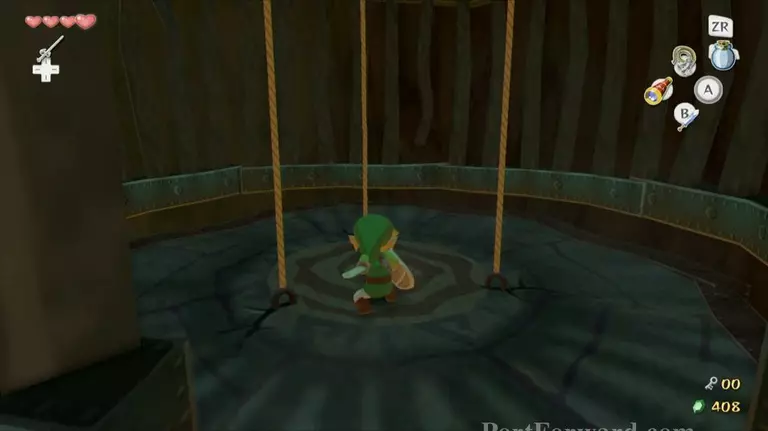
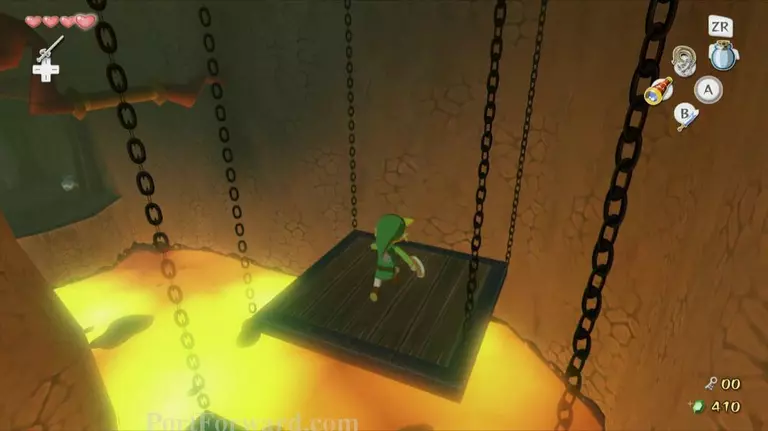
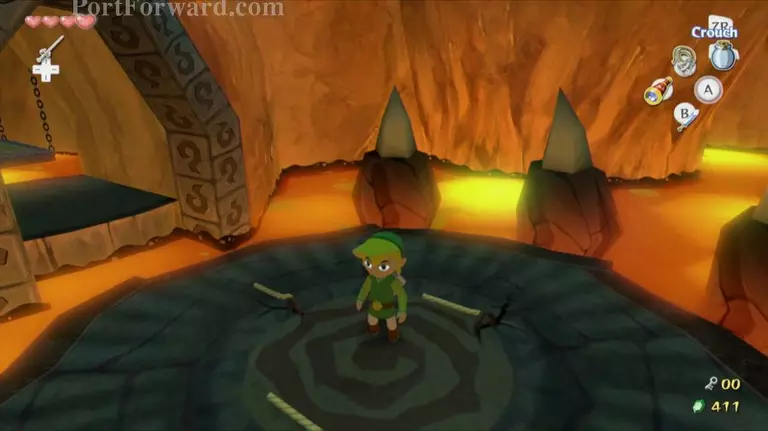
Head up the stairs here and jump onto the suspended platform. Stand in the exact middle of the platform and use a spin attack to cut all three ropes simultaneously.
This will drop the platform down to the lava below and lead to another area.
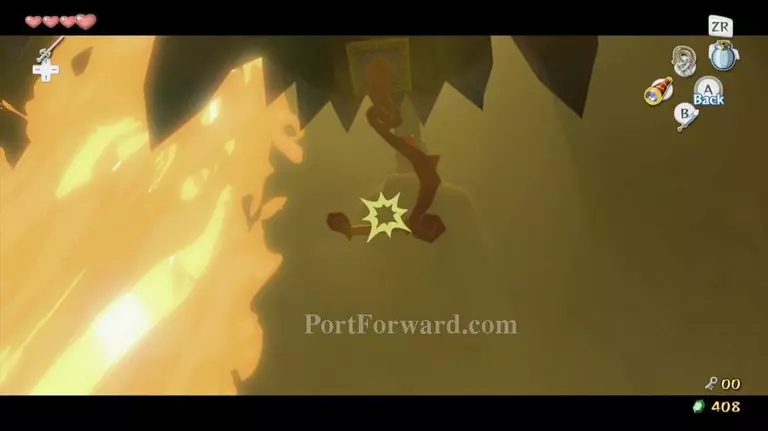
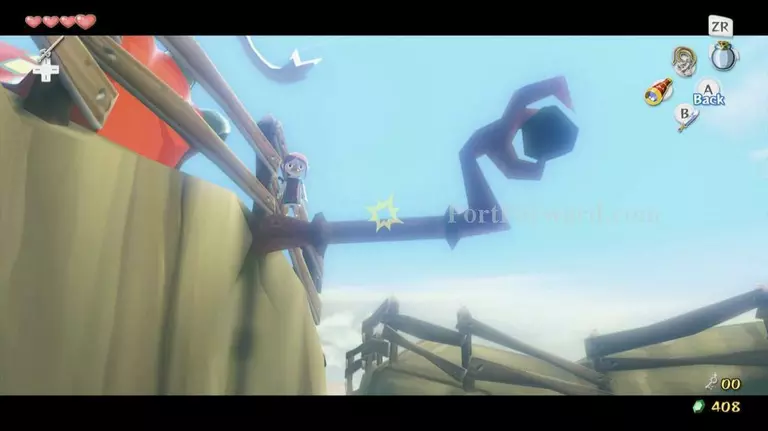
Jump off the platform into the small tunnel and hop across the platforms here. Climb up the ladder here and look to the left. Look a little higher where the Keese are flying and you will see a hook you can grapple.
Use the Grappling Hook to grab ahold of the hook. Doing this will allow the door behind you to unlock. Use the Grappling Hook to swing back to the rock platform and jump off. Then enter the door.
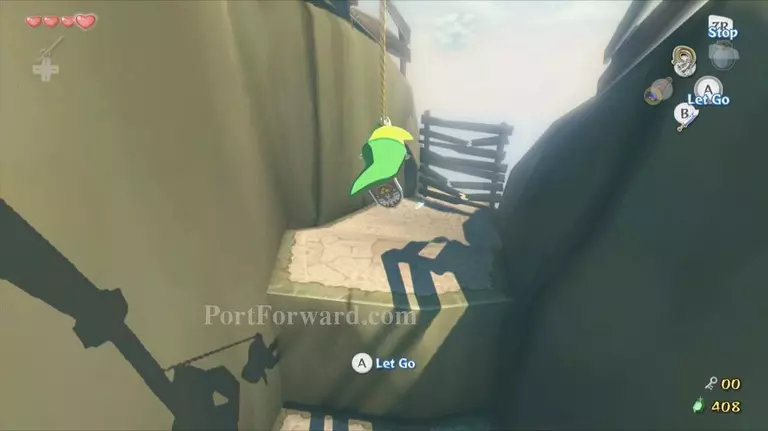
Grapple onto the hook in the middle of this room and turn to the right.
Swing to the platform below.
Then jump across the platforms nearby.
Grapple onto another hook and open the door at the end of the area.
Walk down the small stretch of path here and walk to the right. A magtail will come out of the lava and wander around. Don't kill it; rather hit it in the eye with your sword so that it curls up into a ball.
Grab the magtail and place it on the switch nearby which will lower the flames that are surrounding a chest. Open the chest for the Big Key and then exit the room the way you came in.
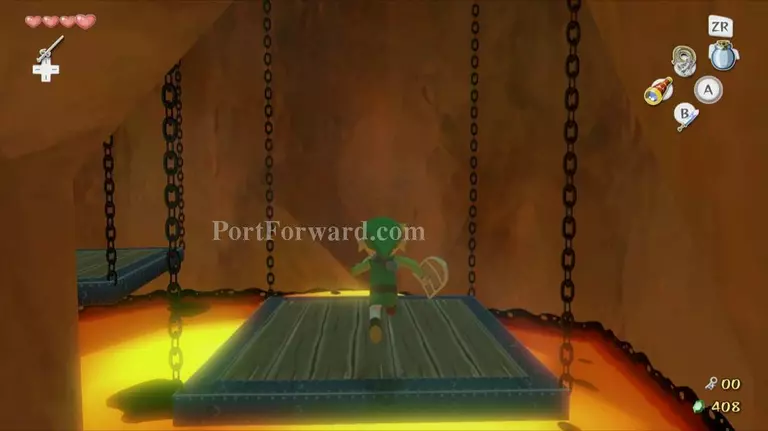
Move towards the platforms and defeat the Fire Keese that comes near. Grapple to the platforms and then hop across them. Use the Grappling Hook again on the last hook, and climb up the rope so you can swing to the higher ledge. Enter through the door back into the large lava room.
Turn left and drop down the ladder. Hop across the platforms and onto the platform on top of the lava. Ride the platform up and head through the doorway. Grab one of the water pots and walk to the other side of the room. Throw the pot on top of the bubbling lava and ride the platform up to the higher platform. Exit through the door here.
Grapple your way back up these three platforms and enter the door to the right. If you would like to collect an optional treasure chart then hop into the warp pot; otherwise, skip the next paragraph.
After you hop into the warp pot, head through the doorway into the lava room. Continue down the hallway and turn left.
Head through the doorway and this time take a right. Grapple across the gap here and break the panels on the other side for a chest containing Treasure Chart #11.

Return to the warp pot and jump into it. If you emerge from the blue pot, jump into the pot again and you should return to the correct room.
Swing across the lava gap here and kill the magtail.
he chest on the left side of the staircase contains 10 rupees and the chest on the right holds a Knight's Crest.

Break the pots at the top for some fairies.
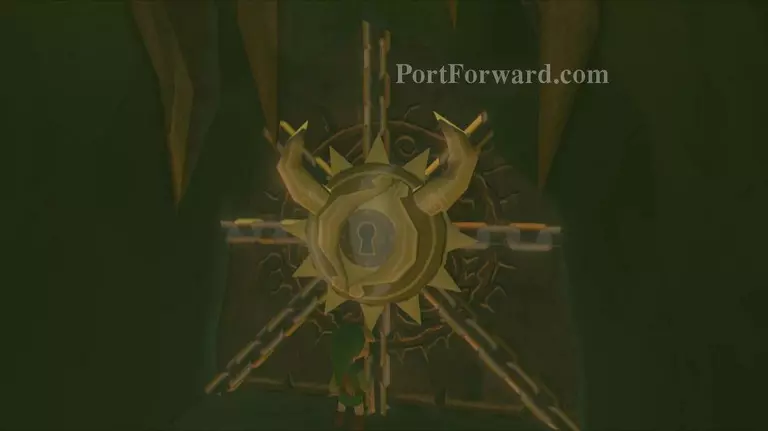
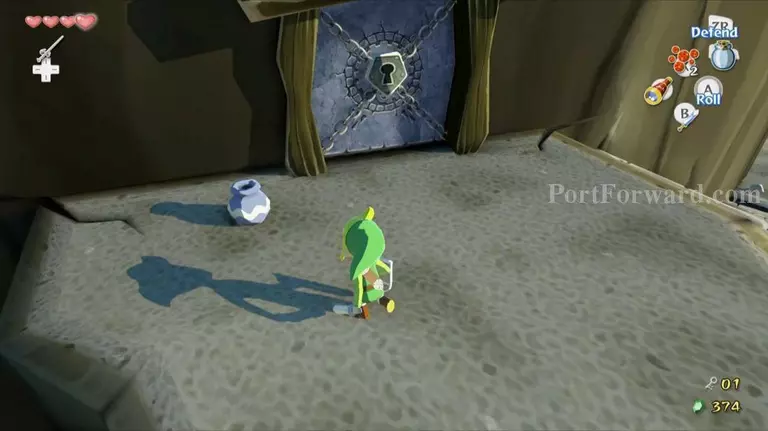
Bottle one of them if you'd like, then use the big key to enter the boss's room.

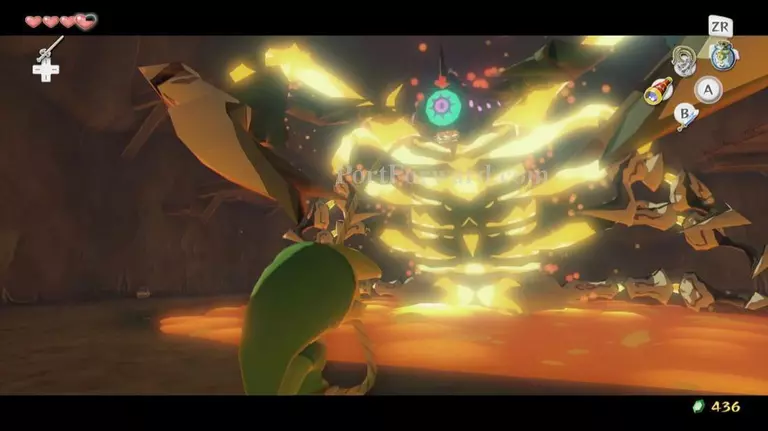
Take a couple steps forward and Gohma will arise from the lava. Gohma is the nasty creature that has been dwelling inside Dragon Roost Cavern. She has been tormenting the Great Valoo by pulling on his tail.
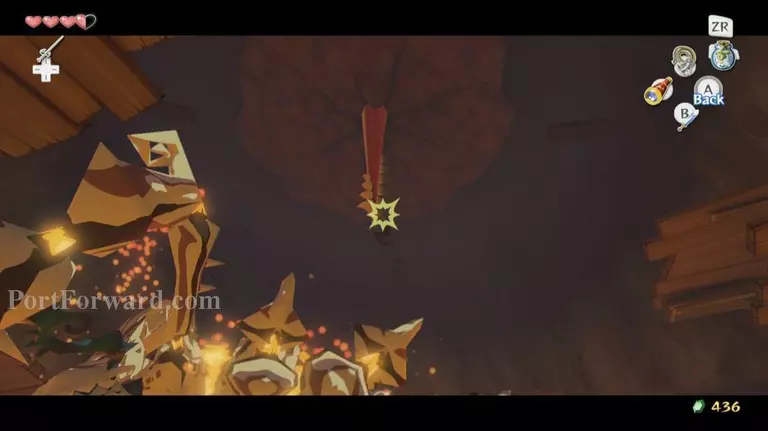
The battle will begin and you will notice that Valoo's tail is dangling up above the pit of lava. If you use the Grappling Hook, you can latch onto his tail and swing across to the other side of the room. This will make him angry and he'll stomp around up above the room. After he has his fit, he will knock down a piece of the ceiling which will fall on top of Gohma, cracking her armor. After dropping the stone on top of Gohma three times, she will become angry and destroy it, along with her own armor.
Now that Gohma is vulnerable, use your Grappling Hook to pull her eye over to you and attack it.
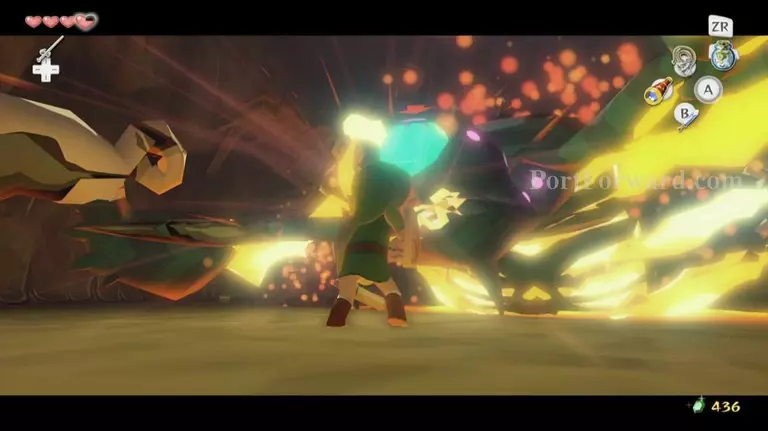
A few hits to her eye and she will be defeated. Gohma's fiery death will leave a Heart Container behind.

Collect it and step into the wind swirling in the center of the room to return to Dragon Roost Island.

"Valoo will calm down now that no one is harming him and the ashes from the volcano will disappear. When you return to land Medli will be there to greet you, along with Prince Komali. Komali thanks you and apologizes for mistrusting you and hopes to someday be like you. He will also give you Din's Pearl.
More The Legend of Zelda: The Wind Waker Walkthroughs
This The Legend of Zelda: The Wind Waker walkthrough is divided into 47 total pages.